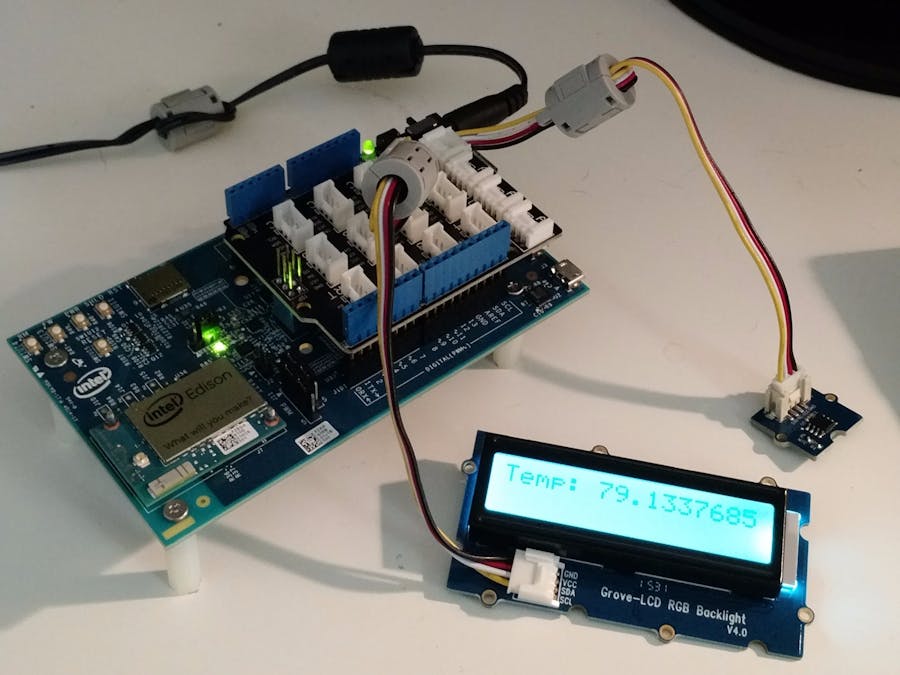
This is an easy project to make your Intel Edison development system do something - Tell you the temperature!
This project Does Not detail how to set up your Intel Edison board nor the XDK Development system. To learn that, we recommend visiting the Intel Edison Getting Started website.
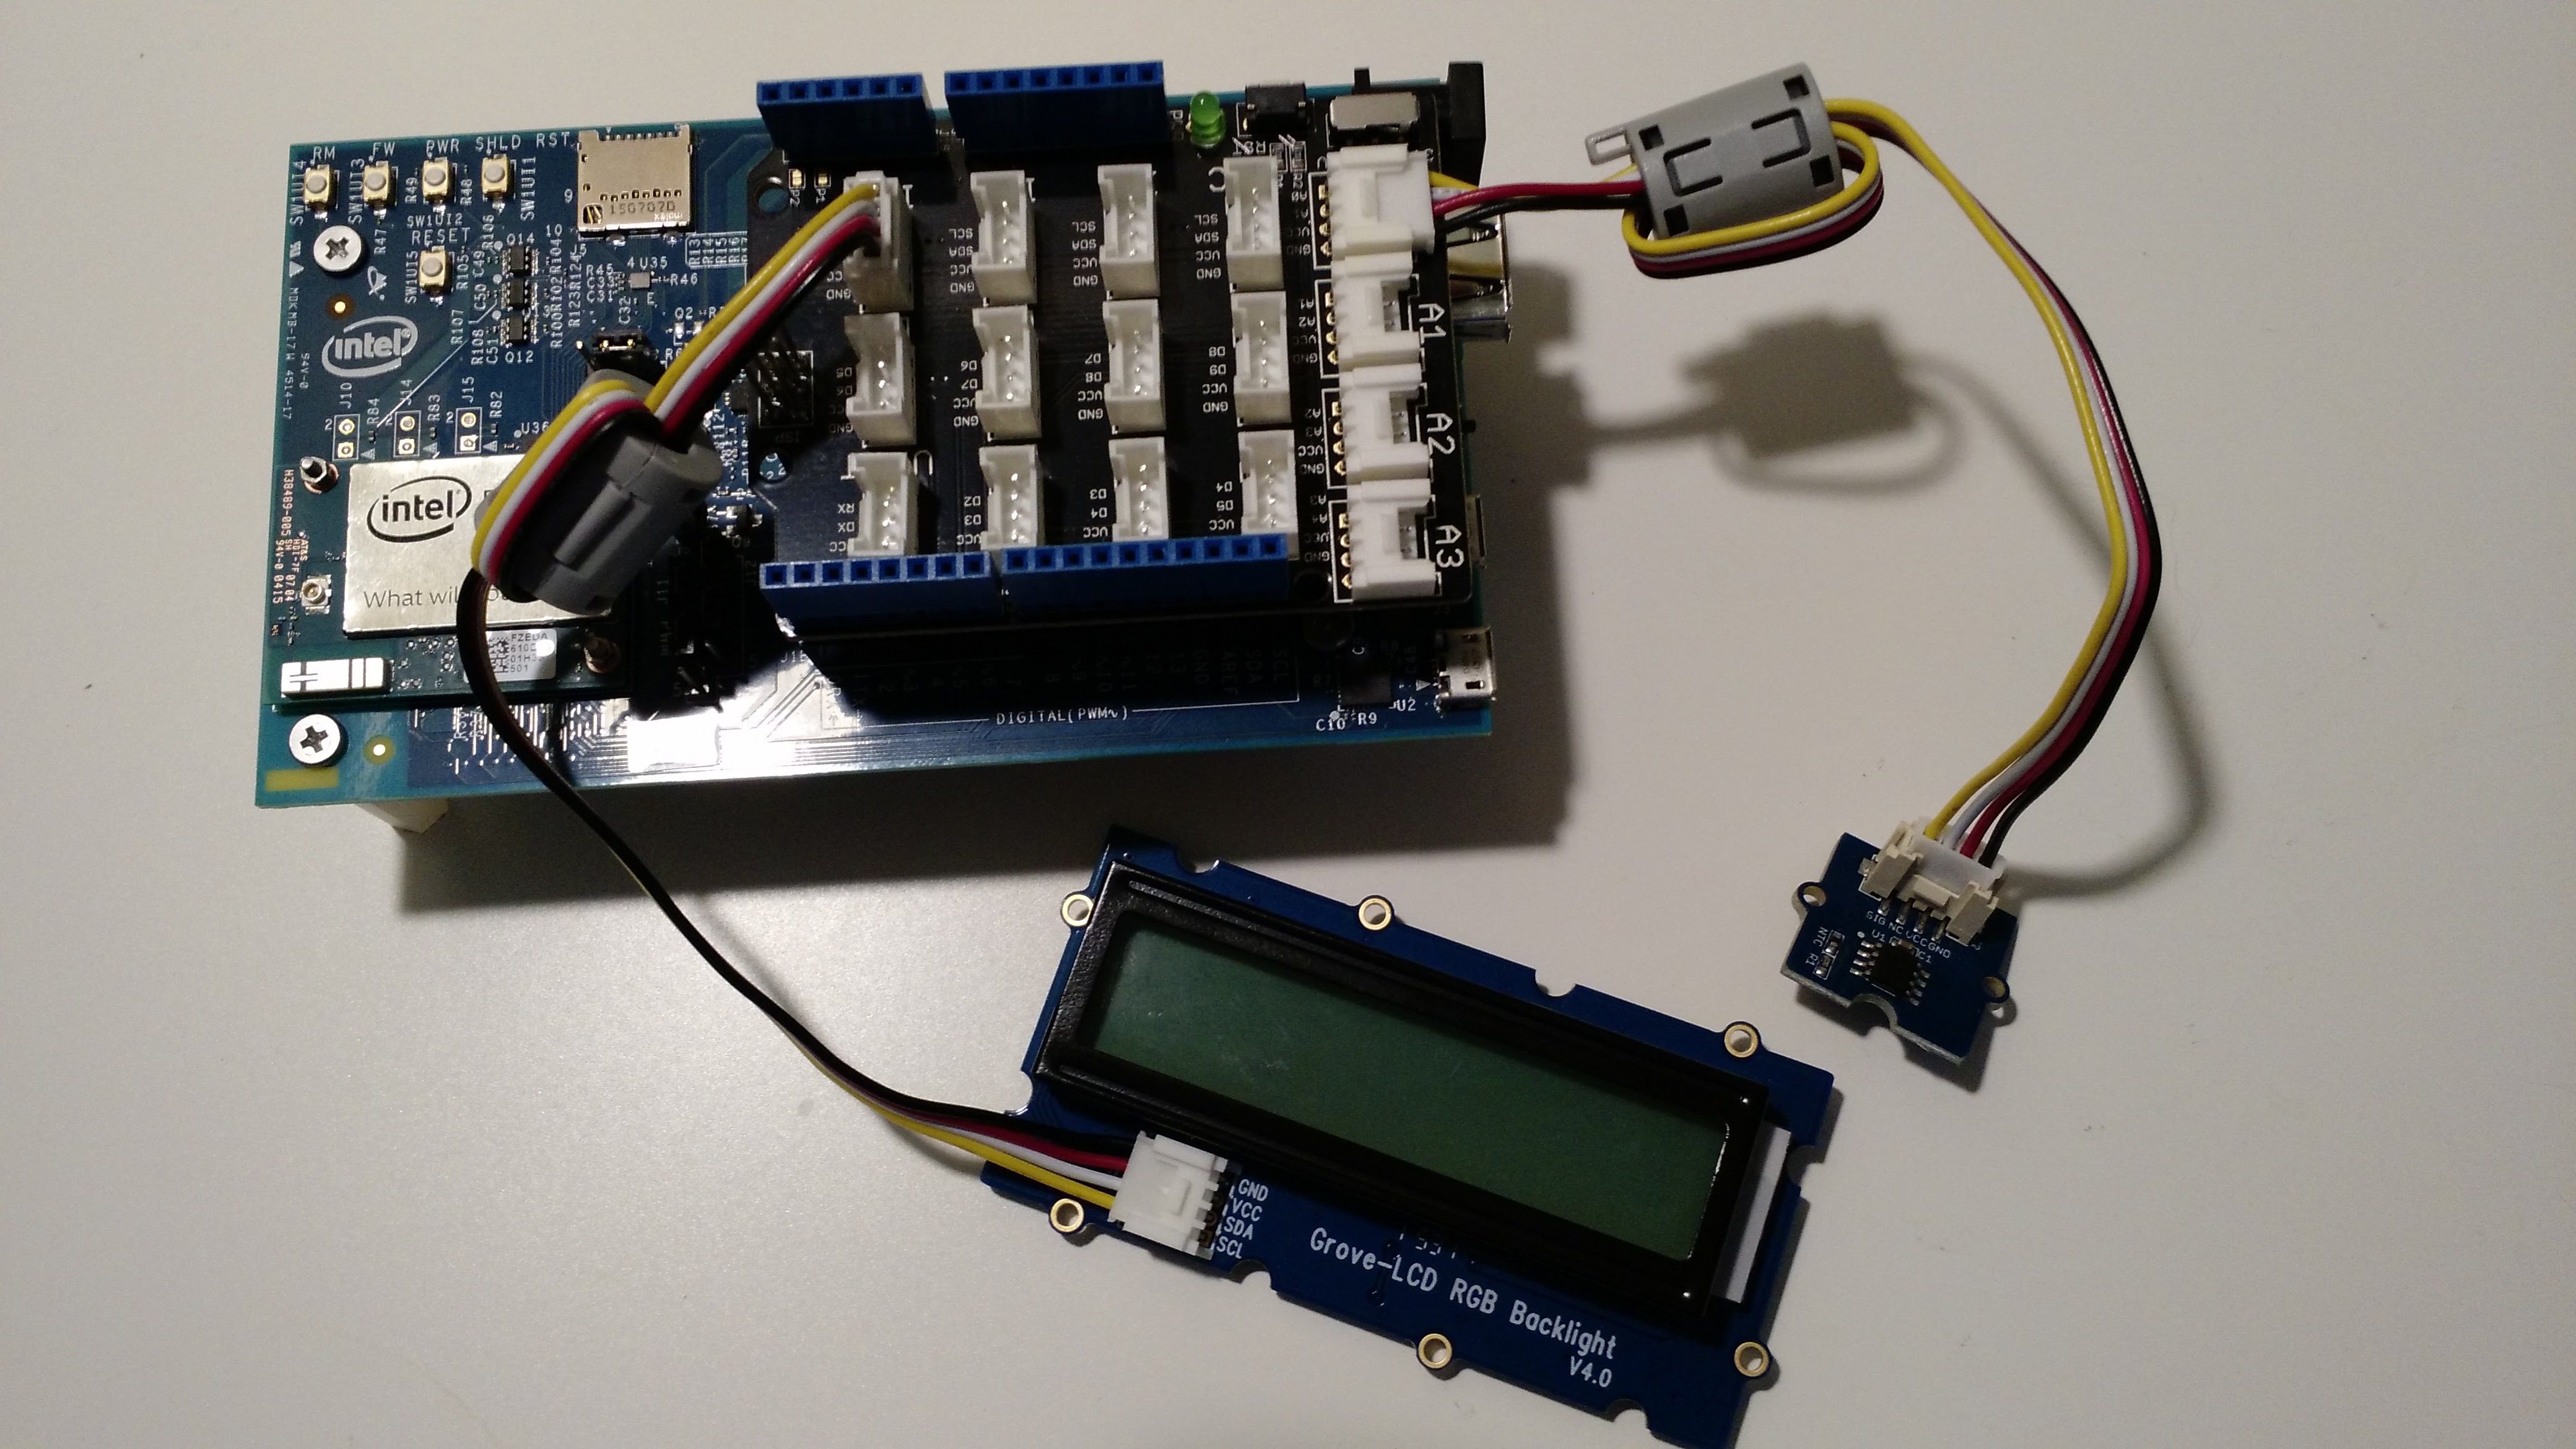
Step 1 - Connect up the ComponentsPull your parts out of the Grove kit and plug them into your board. You will need the base board, temperature sensor, and LCD RGB Backlight display. Grab a couple cables too -
- Assemble the components
- Connect the base board to the Edison development Board. Note how the pins line up, much like an Arduino board
- Connect the temperature sensor to the A0 Analog port
- Connect the Display to any I2C Port
Your system should look like this:
We assume that you have already configured your Edison to connect to you Wifi, and will not need any USB cables. So go ahead an plug it in with the power cable that comes with the Seeed kit, and let's get programming
Step 2 - Create your ProjectUsing the XDK we will start a new project and paste the Thermometer code into it.
- Open your Intel XDK for IoT App
- Click the Projects tab and then Start a New Project in the lower left hand corner
- Select Templates, and choose Blank Template, and then Continue
- Choose a nice name, like Thermometer, and click Create
- Click File, Save.
Now we can connect to our Edison and upload our code. For this step, we will focus on the bottom half of the XDK, where we can see our Edison output to confirm programming and operation.
- Select your IoT Device from the drop down menu. Type in your password.
You should now be connected to your Edison, and see "Intel XDK" in the Intel XDK IoT console window:
If you don't, or you got an error, you need to check your Edison and XDK installations by following the getting started guides mentioned above.
Now click on the Down Arrow button to upload your code to the Edison. You should see "Upload Complete" like this -
Upload Complete
Not auto starting by request
If you would like a little more detail on how to navitgate XDK, we recommend the Intel Getting Started Page
Step 4 - Run and TestGreat! Almost there! Now click the grey box with a green play button to Run your program. You should see output in your console window like this:
Take a look at your LCD display. All good? Good!
Step 5 - Experiment!Go back to your XDK. Take a look at the delay variable, and the display.setColor function. What happens if you change those values? Do it! Save, Upload and run.
Try a different analog sensor! Refer to the Grove System Wiki Page for info about the modules.
We hope you had fun working with your Intel Edison and SeeedStudio Grove starter Kit! What will YOU make?


Comments
Please log in or sign up to comment.