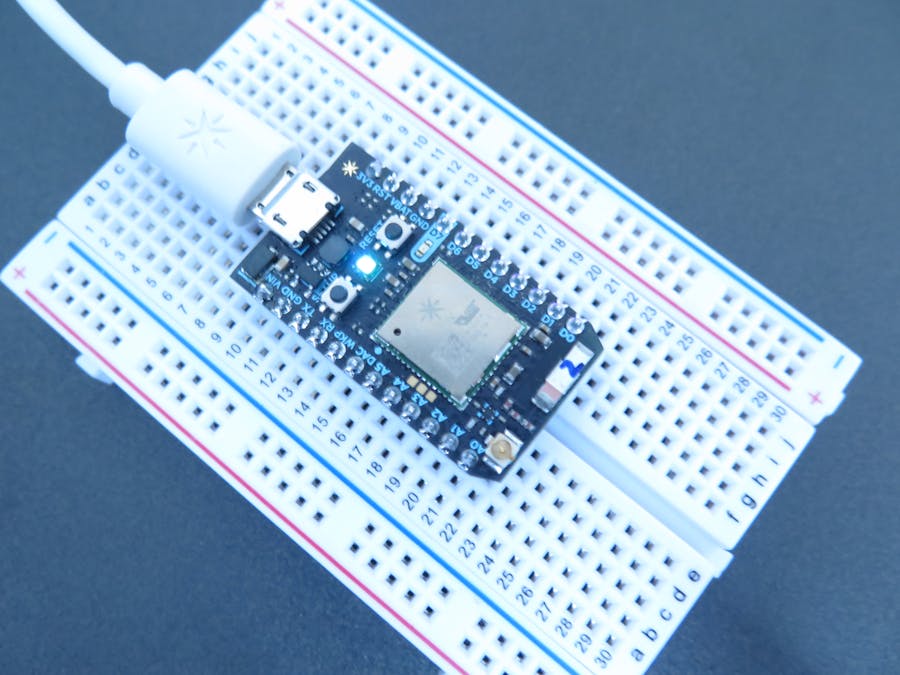
I received my brand-new Particle (Formarly Spark) Photon yesterday. The first thing I did after getting it updated and connected to my network, was to look at IFTTT integration with Photon.
I had never used IFTTT before, I had heard of it as being good for using with the Photon, so I went and checked it out.
After I learned what it was and how to use it, I decided to try to blink an LED on my photon from their mobile DO Button app. I ran into some issues along the way, and I couldn't find a guide on how to use the DO Button with Photon, so I thought I'd post this tutorial/guide.
What You'll NeedA iOS or Android device
A claimed Particle Photon
An account over at IFTTT
First of all, make sure that you've claimed your Photon and that you can "Flash" scripts from the Particle IDE
Creating the DO Button RecipeFirst on all, you'll need to link your Particle account with your IFTTT account. To do this, go here and press on "Connect Channel", and then in the popup window enter in your Particle username and password. (It's easiest to do this on a computer and not from the app)
After you've connected the Particle channel, open up the DO Button app on your Android or iOS device, and login with your IFTTT account.
You should be presented with a demo recipe button like this one:
Go ahead and hit the button if you'd like to get a gif sent to the email you registered on IFTTT with.
If the bottom right corner you'll see a little mortar and pestle icon, click on that to get to your recipe page. On your recipes page, you have the default demo recipe, along with a large plus button at the top to add a new recipe.
Go ahead and hit the big plus button, and hit ""Channels" in the upper right on the page that appears. Particle should be in your Suggested Channels, but if it isn't hit the search button in the upper right and search for the Particle channel.
On the particle page that your presented with, click on "Create A New Recipe", and when it asks you to chose an action, pick "Publish An Event".
Now it will present you with the setup page. For the recipe name you can put in anything meaningful to you, that's what will show up above the button on your iOS or Android device. Now the "Then publish (Event Name)" field is important, this is the event name that you will later set your Photon to listen for, fill it in as simply "button". In this case we don't care about the Event Includes field, since we're just going to listen for the event on the Photon, but if you wanted you could fill in data there that the Photon could use as a command to do different things, you could display it in the serial monitor for debugging, etc.
Now for the event type, make sure you set it as public, I can't find out what this is, but if you set it as private, your Photon will not receive the event. I found this out the hard way after 2 hours of debugging.
Now that you've filled everything out, you can hit Add, it will take a sec, and then display the button. you can press on the particle symbol to see the button work, but the Photon won't do anything yet!
The CodeNow to make our Photon do anything, we need to upload some code to the Photon. Open up the Particle IDE in your browser, and create a new project. To create a new project:
- Click on the code button (the <> icon) in the lower left
- Click on "Create New App"
- Type in any name you want for your app, and hit enter
Now click in the code window on the right, select all the existing code the IDE added, delete it, and then paste in the new code:
//The pin you want to control, in this case I'm blinking the on-board blue LED on digital pin 7
int led = D7;
//This function is called after the Photon has started
void setup(){
    //We set the pin mode to output
    pinMode(led, OUTPUT);
    //We "Subscribe" to our IFTTT event called button so that we get events for it
    Particle.subscribe("button", myHandler);
}
//The program loop, not sure if this has to be here for the program to run or not
void loop() {
}
//The function that handles the event from IFTTT
void myHandler(const char *event, const char *data){
    // We'll turn the LED on
    digitalWrite(led, HIGH);

    // We'll leave it on for 1 second...
    delay(1000);

    // Then we'll turn it off...
    digitalWrite(led, LOW);
}
I've commented all the lines, so hopefully you understand what everything does, but if not feel free to ask questions in the comments and I'll do my best to answer them.
After you've added all the code, press the Flash button (lightning bolt icon) in the upper left. Wait a few seconds, and you should see the light on your Photon flash magenta, and then the Photon will reboot. Now if it connects to the internet correctly (green flash, and then cyan breathing), and doesn't show any errors (eg. blinking a red SOS), you're all ready to go!
Testing The ButtonNow go ahead and hit that button! After a few seconds you should see the on-board blue LED on D7 flash for 1 second.


Comments
Please log in or sign up to comment.