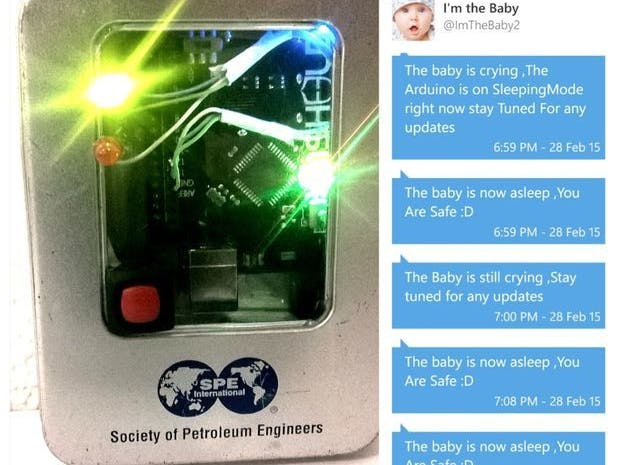
The biggest problem that mothers face is that they can't leave their babies alone in a room asleep, that they must sit next to them, and leave anything else in there hand because getting afraid if the baby starts to wake up which is a wasting of time, from there came my IDEA.
Crying Baby Detector is a project taken from Baby Monitor concept but the differences are that my idea take some ACTIONS like automatic playing music for the baby so that the baby get back to sleep, using what's called White Noise which is some quiets noise or music that comfort the baby which get him/her back to sleep, and if the baby doesn't get back to sleep, it starts playing more louder music so that the baby feel safe.
Step 1: Materials
Components:
- Arduino UNO
- 1Sheeld
- Android Phone
- 2 LEDS (Green-Yellow)
- 5V Relay
- NPN Transistor 2N2222
- 10K resistor
- 1N4004 Diode
- Baby Toy
- 9V Battery and a clip
- Box
- Switch
Tools:
- Soldering Iron
- Solder
Step 2: Downloads
1- Download 1Sheeld app from the play store
https://play.google.com/store/apps/details?id=com....
2- Download 1Sheeld library
http://1sheeld.com/wp-content/uploads/2015/01/1sh...
Step 3: Installing the library & Installing the App on Android
Installing the library:
- Open the Arduino ADK
- Open sketch then Import library then add the library
- Choose the zip file from where you downloaded
Installing the App on Android:
After downloading the app ,open it and search for the 1Sheeld and connect it , then choose the needed shield (Mic-MusicPlayer-Twitter),Then log in with Twitter, and Choose the tracks for MusicPlayer , I made 2 tracks one for SleepingMode (Quiet music) and the other for WakingMode (Children songs).
Step 4: Code
In this code I wrote in different style, I wrote it from downside to upside, I had 3 Functions (1-SleepingMode1())-(2-SleepingMode2())-(3-WakingMode()), I wrote the third at first, then the second then the first:
SleepingMode1: if the Baby starts crying the arduino starts playing some quiet Music
SleepingMode2: if the baby didn't stop crying the arduino continue playing the quiet music
In all these functions arduino send to the parents message on the twitter to inform them any updates.
Step 5: Circuits & Soldering all the components
I didn't solder the components on a board ,I solder them together to minimize the size to be easy put in the toy but it's up to you, you can solder it on a board.
after soldering put the relay circuit in the toy and connect the relay to the battery of the toy one at (COM) and the other at (NO) of the relay.
After finishing the toy circuits you will have three wire (+5V-GND-Arduino output) connect those to the arduino.
And you are ready to GO.....
Step 6: Ready to GO
Now you are ready just turn on the Arduino and open the app and scan for devices it will connect automatically ,Just put the your phone next the baby and GO WATCH A MOVIE YOU ARE SAFE :D


_ztBMuBhMHo.jpg?auto=compress%2Cformat&w=48&h=48&fit=fill&bg=ffffff)


Comments
Please log in or sign up to comment.