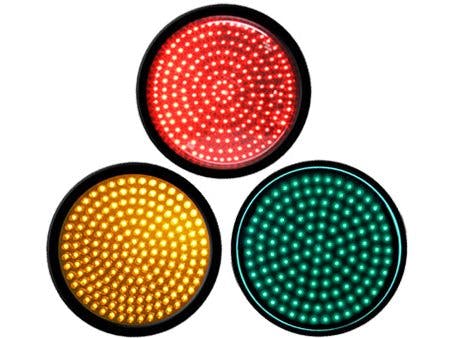
The project makes knowing temperature easier by just seeing lights as in a traffic light.
Lights always attract human eyes and we tend to get information visually more quickly by directly having a look at it rather than reading out the information.
This project involves making a system based on BOLT IOT Platform which measures the temperature and then glows the light as per the temperature range it is measuring. Temperature ranges are moderate ( normal ), sustainable extreme ( Out of the normal temperature range but not so much to be included in extreme range ) and extreme ( too hot or too cold, challenging to live ).
STEP 1 : Connecting Temperature Sensor
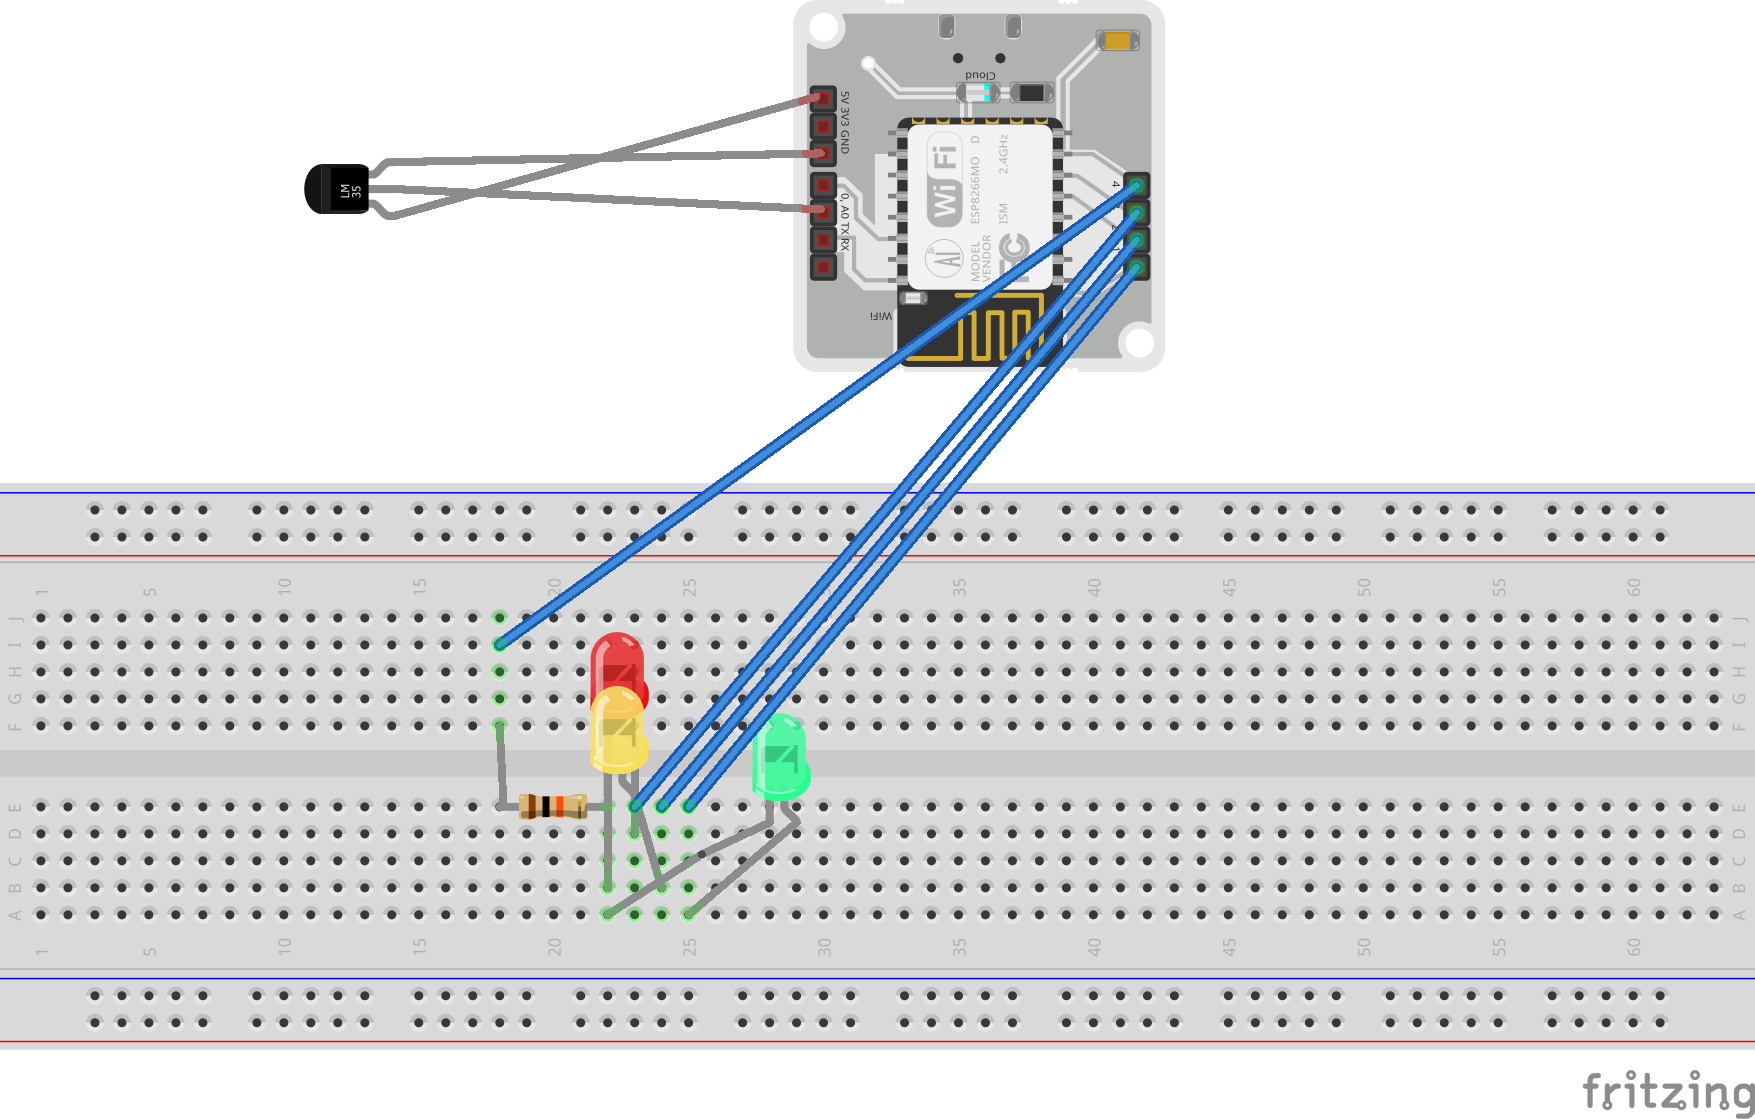
Connect the LM35 temp. sensor with jumper wires as per in the figure
Now insert the Ground Pin (Rightmost pin if flat surface of LM35 Sensor is upwards) in Ground of Bolt WiFi Module. Insert Middle Pin ( Output ) in A0 (Analog output) and finally the rightmost VCC Pin in 5V of WiFi Module.
STEP 2 : Other ConnectionsThis section requires basic knowledge of working of breadboard. ( If you don't know about the working of breadboard have a look by clicking here )
Connect the negative terminals of the LEDs and a terminal of resistor at same voltage, i.e., same row in breadboard as in the figure.
Connect the positive terminals of the LEDs in consecutive rows only one in a row.
We are choosing Green LED to show moderate temp. range, Yellow LED for in-between temp. range and Red LED for extreme temp. ranges.
Now connect the pin3 to row with positive terminal of Red LED so making them at same voltage. Do similarly for pin2 to Yellow LED and pin1 to Green LED. See the schematics for reference.
Now connect the other end of resistor in a free row and connect it with pin4. We will be using this pin as a ground source for our circuit.
Recheck the circuit connections carefully for any possible problem
You can iterate the LEDs or Pins but carefully iterate the code as well.
STEP 3 : Bolt CredentialsDownload or copy the file conf.py, and assign the variables api_key and device_id values of your Bolt, i.e., the API Key and Device ID of your Bolt WiFi Module.
Login to cloud.boltiot.com and note the ID of your Bolt WiFi Module.
Now click on the API Tab and under the section for Generate Key, click on Enable. (Ignore if already enabled)
Next click on the copy button to copy your API key.
STEP 4 : Understanding CodeDownload or copy the file code.py
# Only some confusing lines have been discussed ( A basic understanding and prerequisite of Python and Bolt documentation is compulsory )
# making pin4 to work as ground
res_ground = mybolt.digitalWrite(str(4),Low)
This line has been used to make pin 4 work as ground for our circuit as other ground is already occupied.
In our main program,
temp = mybolt.analogRead('A0')
data = json.loads(temp)
Here, we get the sensor value recorded as our input
temperature = (100*int(data['value'])/1024)
Changing sensor value to degrees in Celcius for our convinience
Divide the sensor value by 10.24 to convert it to degrees in celcius
 	if(temperature >= mid_high):
		if(temperature >= extreme_high):
			ind = pin_3
		else:
			ind = pin_2
	elif(temperature <= mid_low):
		if(temperature <= extreme_low):
			ind = pin_3
		else:
			ind = pin_2
	else:
		ind = pin_1
Here comparing the present temperature with our assigned temp. ranges to decide which LED to glow
if(ind != ind_p or ind_p==None):
	response1 = mybolt.digitalWrite(str(ind_p),Low)
If the LED next to glow is not the same as glowing before then the LED glowing before is switched off here
response2 = mybolt.digitalWrite(str(ind),High)
ind_p = ind
Glowing the LED decided to glow as per the previous algorithm
----------------------------------------------------------------------------------------------------------------
That's it. You are Done
Now run the file code.py through command prompt or terminal. Remember to put your conf.py file in the same folder as code.py
python code.py
Remember we are running a infinite while loop in our program so to close the program anytime press CTRL+C. It will interrupt the python program and it will be closed.
If you are getting any issues, try rechecking and troubleshooting by looking at the hardware connections and the code.
Conclusion
Have a go at the project and for any problem or opinion do give a comment below.


Comments
Please log in or sign up to comment.