In this tutorial, we're gonna learn how to publish sensor readings from Wio Terminal to Qubitro IoT platform through MQTT protocol.
Qubitro is the fastest way to build IoT applications with predictable pricing, developer-friendly features, and scalability you’ll love. You can connect your hardware to Qubitro, collect the data and create data visualization on your own dashboard. For more information about Qubitro you can check on its official site: qubitro.com.
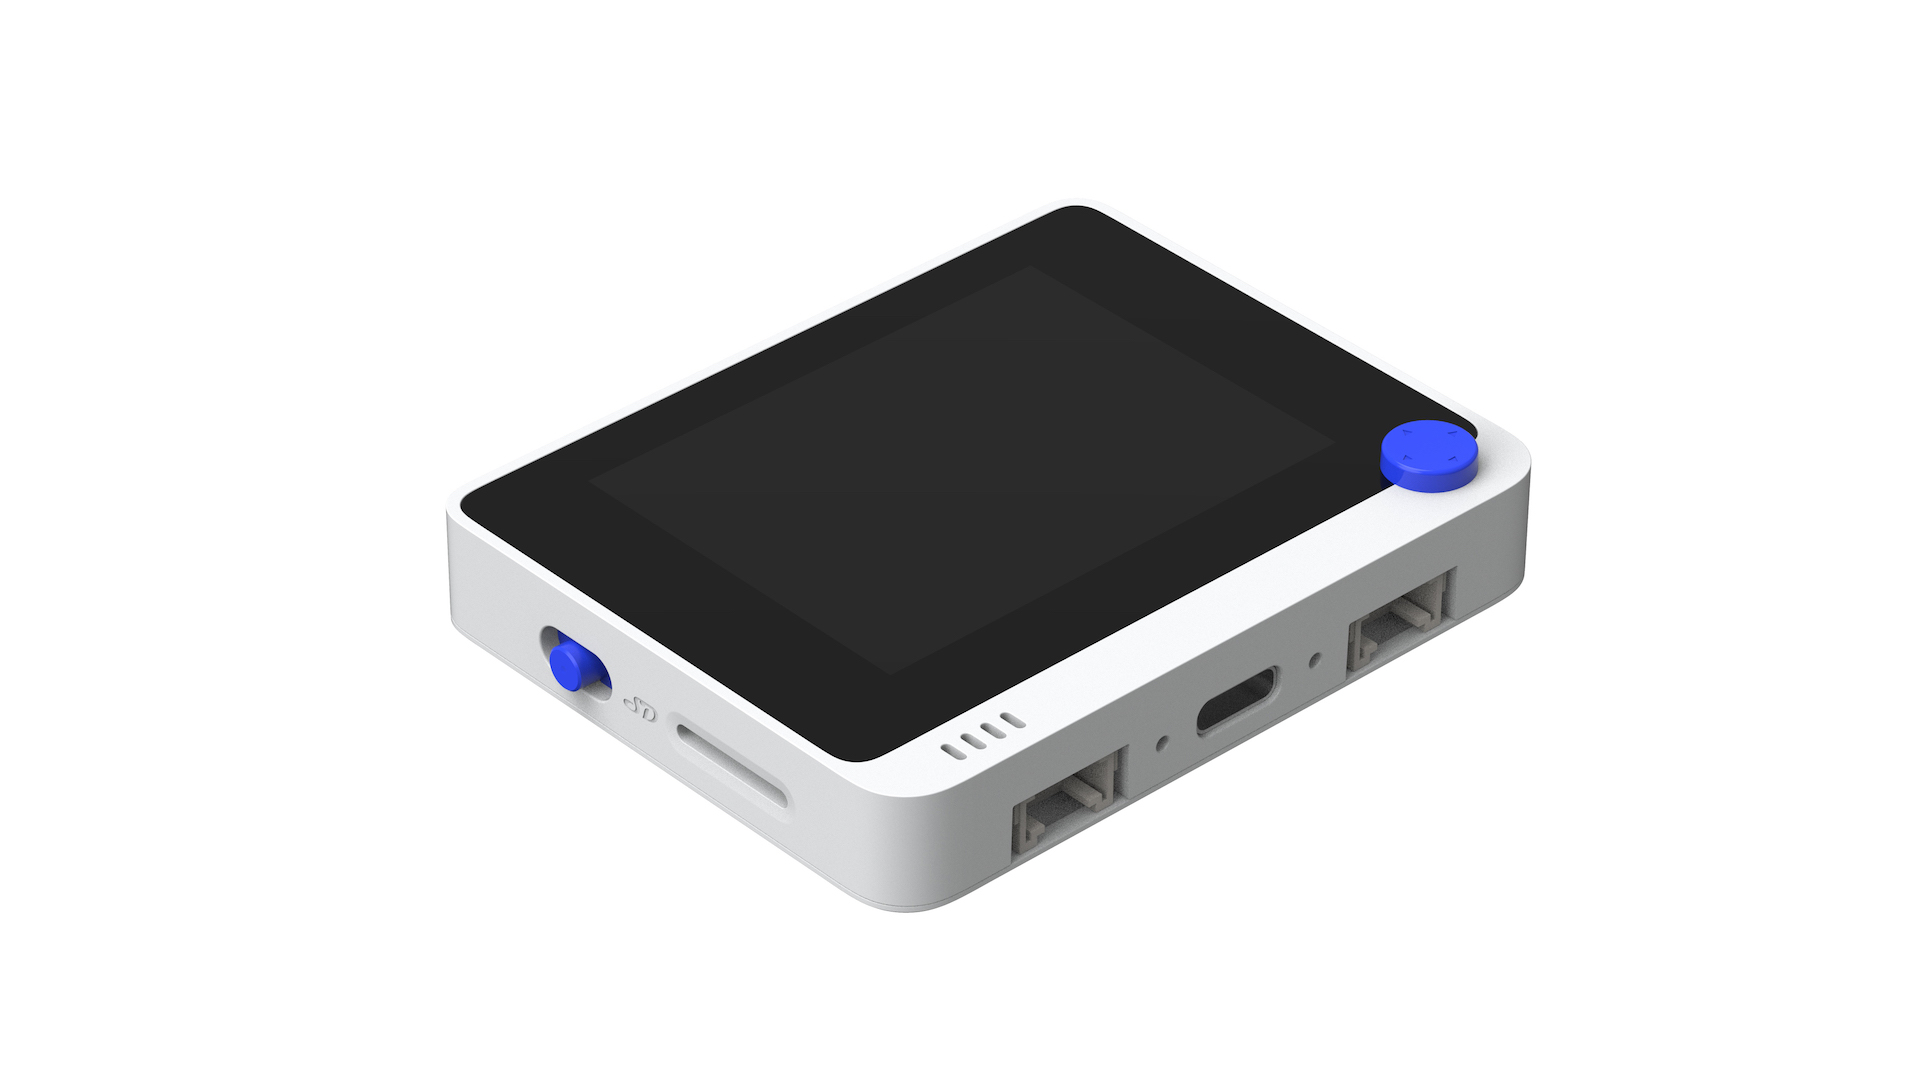
We're gonna use the Wio Terminal, a SAMD51-based microcontroller with Realtek RTL8720DN wireless connectivity by Seeed Studio. It has a 2.4 inch TFT LCD Screen, onboard accelerometer, microphone, buzzer, microSD card slot, light sensor, infrared emitter, 3 programmable buttons, a 5-way switch button, two Grove ports and 40 Raspberry pi compatible GPIO pins. For more information about Wio Terminal you can check on its official site: seeedstudio.
Step 1. Create Qubitro ProjectSignup or login to Qubitro Portal then create a new project. Click New Project button, add project name & description then click Create Project button.
Then create a new device inside your project. Choose your device connectivity method, in this case MQTT. Then enter device details from name, description, brand, model and location.
After that you'll get your credentials (host, port, username, password & clientId) to connect to Qubitro MQTT broker. Please note these values because we'll use them on our code later. You can check these values on device Settings menu. Your username & clientId are your Qubitro Device ID and your password is your Qubitro Device Token.
Connect Wio Terminal to the computer on bootloader mode. To do that, connect Wio using USB type-C then slide the switch twice. Open the Arduino IDE, select appropriate board and port. Then create a WioQubitro.ino and credential.h file with the following contents:
credential.h
#define WIFI_SSID "YOUR_WIFI_SSID"
#define WIFI_PASS "YOUR_WIFI_PASSWORD"
#define MQTT_BROKER "broker.qubitro.com"
#define MQTT_USER "YOUR_QUBITRO_DEVICE_ID"
#define MQTT_PASS "YOUR_QUBITRO_DEVICE_TOKEN"
#define MQTT_CLID "YOUR_QUBITRO_DEVICE_ID"
#define MQTT_PORT 1883
#define MQTT_TOPIC "YOUR_QUBITRO_DEVICE_ID"
WioQubitro.ino
// import libraries
#include "credential.h"
#include "TFT_eSPI.h"
#include "LIS3DHTR.h"
#include "rpcWiFi.h"
#include <ArduinoMqttClient.h>

// objects
TFT_eSPI tft;
LIS3DHTR<TwoWire> lis;
int button = 0;

WiFiClient wifiClient;
MqttClient mqttClient(wifiClient);
const char* ssid = WIFI_SSID;
const char* password = WIFI_PASS;

void setup() {
  // TFT LCD setup
  tft.begin();
  tft.setRotation(3);
  tft.fillScreen(TFT_BLACK);

  // sensors setup
  lis.begin(Wire1);
  lis.setOutputDataRate(LIS3DHTR_DATARATE_25HZ);
  lis.setFullScaleRange(LIS3DHTR_RANGE_2G);
  pinMode(WIO_LIGHT, INPUT);
  pinMode(WIO_MIC, INPUT);
  pinMode(WIO_5S_PRESS, INPUT_PULLUP);

  // connect WiFi
  WiFi.mode(WIFI_STA);
  WiFi.disconnect();
  tft.setTextSize(2);
  tft.drawString("Processing...", 20, 20);
  WiFi.begin(ssid, password);
  while (WiFi.status() != WL_CONNECTED) {
    delay(500);
    WiFi.begin(ssid, password);
  }
  tft.setTextSize(2);
  tft.drawString("WiFi connected!", 20, 50);

  // connect to Qubitro mqtt broker
  mqttClient.setId(MQTT_CLID);
  mqttClient.setUsernamePassword(MQTT_USER, MQTT_PASS);
  if (!mqttClient.connect(MQTT_BROKER, MQTT_PORT)){
    tft.setTextSize(2);
    tft.drawString("Failed connect to Qubitro", 20, 80);
  }
  tft.setTextSize(2);
  tft.drawString("Qubitro connected!", 20, 80);

  delay(3000);
  tft.fillScreen(TFT_BLACK);
}

void loop() {
  int light = analogRead(WIO_LIGHT);
  int mic = analogRead(WIO_MIC);
  float x, y, z;
  x = lis.getAccelerationX();
  y = lis.getAccelerationY();
  z = lis.getAccelerationZ();

  // event: if button pressed, publish data to Qubitro
  if (digitalRead(WIO_5S_PRESS) == LOW) {
    button += 1;

    // publish data
    mqttClient.poll();
    mqttClient.beginMessage(MQTT_TOPIC);

    // send JSON string
    mqttClient.print("{");
    mqttClient.print("\"accx\":");
    mqttClient.print(x);
    mqttClient.print(",");
    mqttClient.print("\"accy\":");
    mqttClient.print(y);
    mqttClient.print(",");
    mqttClient.print("\"accz\":");
    mqttClient.print(z);
    mqttClient.print(",");
    mqttClient.print("\"light\":");
    mqttClient.print(light);
    mqttClient.print(",");
    mqttClient.print("\"mic\":");
    mqttClient.print(mic);
    mqttClient.print(",");
    mqttClient.print("\"button\":");
    mqttClient.print(button);
    mqttClient.print("}");
    mqttClient.endMessage();
  }

  // show sensor values on TFT LCD
  tft.setTextSize(2);
  tft.drawString("Acc X:", 20, 20);
  tft.drawString("Acc Y:", 20, 95);
  tft.drawString("Acc Z:", 20, 165);
  tft.drawString("Light:", 180, 20);
  tft.drawString("Microphone:", 180, 95);
  tft.drawString("Button:", 180, 165);
  tft.setTextSize(4);
  tft.drawString(String(x), 20, 45);
  tft.drawString(String(y), 20, 120);
  tft.drawString(String(z), 20, 190);
  tft.drawString(String(light), 180, 45);
  tft.drawString(String(mic), 180, 120);
  tft.drawString(String(button), 180, 190);
  delay(100);
}
Verify and upload the sketch. Once done, Wio Terminal will connect to WiFi, connect to Qubitro MQTT broker then display the built-in sensors values on its TFT LCD screen. If the button is pressed, Wio Terminal will publish data to Qubitro MQTT broker.
On Qubitro device Data tab you'll see the data stream from your Wio Terminal. You can create data visualization on Analytics tab or create your own centralized Dashboard on Monitoring section.


Comments