How many times has did you to abandon an Arduino project due to the excessive number of connections to be made on the breadboard? How many times have you found yourself uncomfortable due to the chronic lack of resistors of the necessary value?
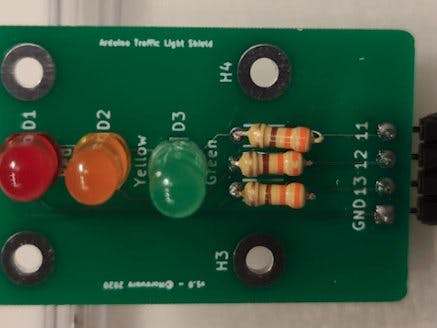
Today we present our interpretation of the problem: a board with three LEDs and three resistors, ready to be inserted on the Arduino header without breadboard or flying wires.
The printed circuit is small and tidy, leaving space for the three LEDs and their resistors. The conduction tracks lead to an L-shaped connector that allows you to insert the board directly on the Arduino, using the GND pin and digital pins 11, 12 and 13.
There are four holes that allow the circuit to be mounted in a suitable container.
At this point, it is simple to use Arduino IDE to write a sketch that simulates its operation. Or which in any case indicates the current status of a component under monitoring.
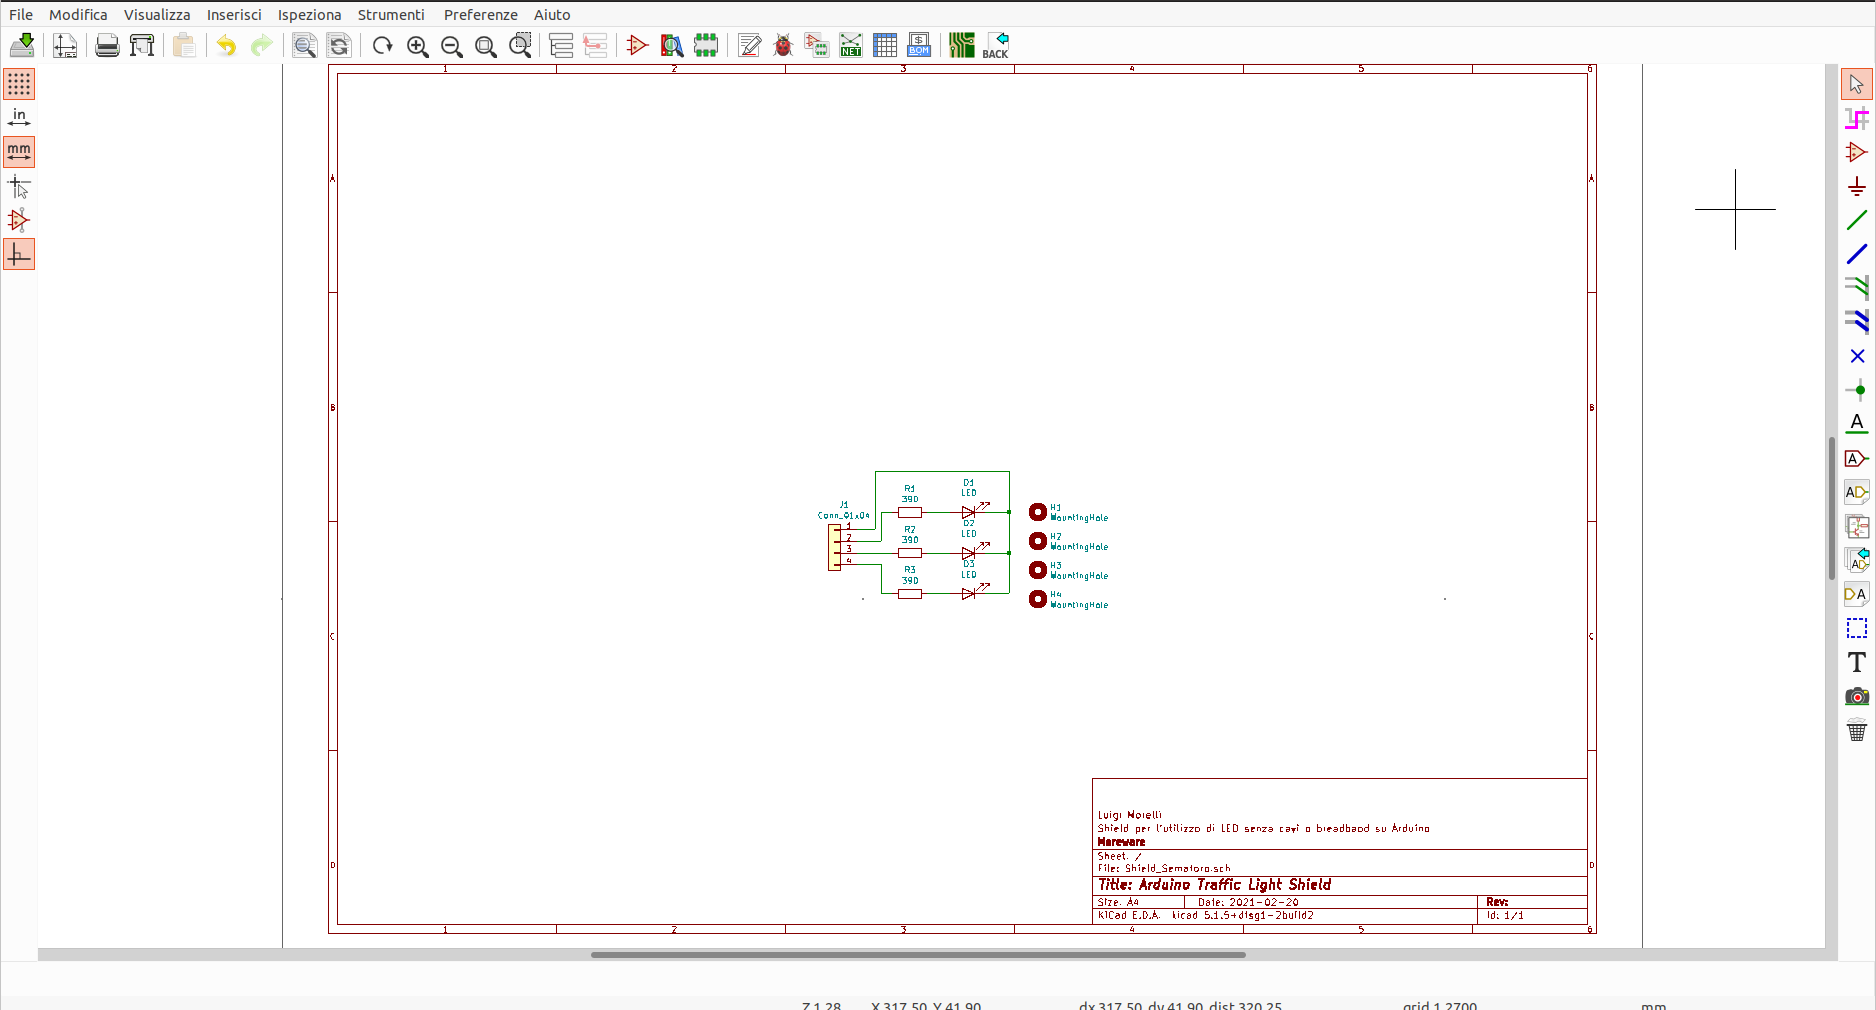
The electrical circuit, made with KiCAD, is very simple: it is in fact sufficient to connect the LEDs to the resistors respecting their polarity; the cathodes to Ground and the anodes to the digital pins.
The routing of the printed circuit did not require particular attention: once the footprint of the components was chosen, it was a matter of connecting the copper tracks to the output connector. The final size of the circuit can be further reduced by eliminating the PCB mounting holes.
And here is our "traffic light" in action. Four lines of C code, and we're ready to make the most of it. And without the clutter of breadboards or flying connectors!


_4YUDWziWQ8.png?auto=compress%2Cformat&w=48&h=48&fit=fill&bg=ffffff)


_Ujn5WoVOOu.png?auto=compress%2Cformat&w=40&h=40&fit=fillmax&bg=fff&dpr=2)


Comments
Please log in or sign up to comment.