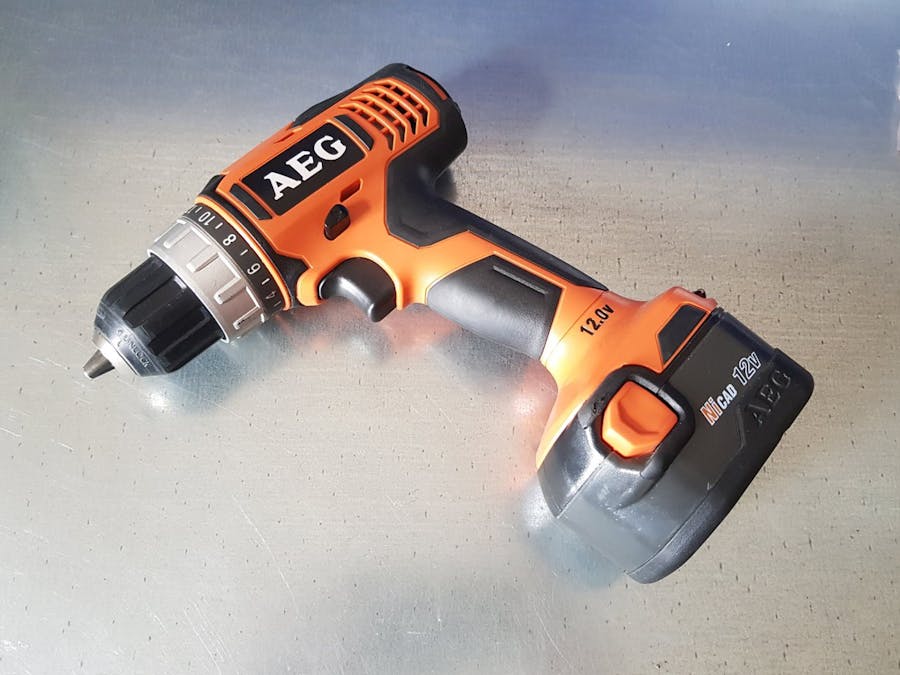
It came suddenly – a need to move appeared. And the new house was in need to be improved. It was made a decision to do it independent as there are enough skills for that. And there is a set of necessary tools also. Among the tools there is an old electric screwdriver, which could work nice, but old NiCAD accumulator batteries became completely non-operating.
The new tool was bought in the nearest shop, but when the house repairing was started, it disappeared, that the new device is not so good as the previous one. The buttons of the new screwdriver were slack, plastic smelled strong, a lock of a rotor lived it's own life. When fix a long drill, whipping doesn’t allow to work. And there was a plenty of other annoying matters. So the new screwdriver was returned to the shop the next day. If there was not the old favorite tool in hand, the new one wouldn’t seem so poor. But finally we made a revelation – the more or less acceptable tool cost a fortune.
So revival of the old tool seemed us as a good idea. And it was important to keep an aesthetic appearance and usability. So the task was set - to replace an old NiCAD battery to a newLi-Ion accumulator.
Used Components3 pcs of high current (discharging current up to 30 Amp) Li-Ion accumulator batteries size type 18650 we took from a friend, who deals with electric transport. The other details were bought via Aliexpress. All needed things were in hands in two weeks.
At first the old battery block was disassembled. The upper part with connectors was decided to use in the new unit.
Accumulator charger should also be handy, so it will be adopted to Li-Ion. So all parts except the connector should be thrown away.
Now it is a time to solder all parts together and check how does it work. To solder the accumulator pack were used a conductor, which was printed from P-Carbon plastic on our 3D printer SkyOne (https://3dlaboratorio.es/eng/3d-printers.htm).
At first the quality of printing was not good enough because of a great quantity of plastic threads during printing process (as on photo).
The conclusion – P-Carbon plastic need to be dry before printing.
After drying all parts were printed as should.
After checking that the battery is charged in the right manner and after checking the temperature of elements by a pyrometer, it is a time to model an assembling.
By the way, to get a contour of the bottom part of the case, the usual office printer withscanner was used – as we discovered it is the most simple and fast way.
After that 2 iterating of printing were done – fitting. After the first iteration some wrong places (something bears against others) were discovered, all corrections were done manually and details were fit again. The trial details were printed from PLA+ plastic. After all the details add up, the final working parts were printed from P-Carbon plastic.
Here is the ready unit:
Now it is time to create a charger unit for the battery.
To make the process easier, a contact block was used from the old device. All the rest details will differ.
The task for the charger unit were the next:
- To charge the accumulator battery by current 1.5 Amp up to voltage 12.6 VDC
- Indication of the state of charge
- Sockets to fix the unit at a surface
Trial model were also printed from PLA+, at the maximum printing speed (it is 100 mm/s for our SkyOne printer). The first configuration became too bulky and not handy. But the second attempt seems to be good enough. Of course there is something to improve again, but the time is precious and it is better to follow the principle of “as low as reasonably practicable”.
One of improvements, which could be added, is fixing circuits by clicks (as much time was spent on looking for small screws).
The final case also was printed from P-Carbon plastic. All parts inside are placed compactly and conveniently.
It can be seen on the photo, that plus lead of the indicator is break. It is connected when the battery is set on. So the indicator will work only when the battery is inserted to the charger..
The result came compact and handy.
MadFan
 Annika


Comments