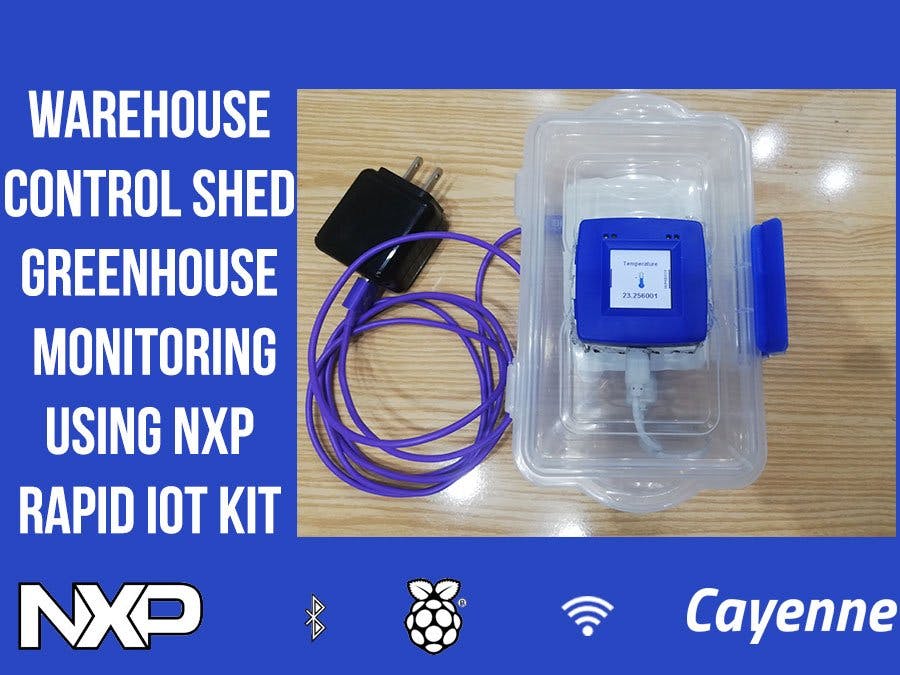
Humidity and temperature monitoring is a very important factor in Food Industry Production Area, warehouses, greenhouses as well as in homes. Instead of taking manual readings from digital meters I plan to develop a project which will automatically stream real time statistics of warehouses/Production Area (temperature/humidity) to the IoT Cloud. By this way, we can get real time result anywhere any time and take decisions on time to save products from damage.
Due to NXP Rapid IoT Kit now I am able to get more data from different sensors Like Light Level, Air Quality(TVOC), CO2 Level, Air Pressure, Device Battery Level and Charging Status. These sensors readings are very good with respect to safety. In case of any fire or smoke or unhealthy environment we can get the alert on our mobile via MyDevices App or SMS/Email and make arrangements on the time to safe the warehouses, Greenhouses or home.
I am going to Divide this Project in to below 3 Phases.
- Rapid IoT Kit Programming
- Cayenne MyDevices IoT Cloud Setup
- Raspberry Pi Programming
Below diagram is demonstrating Complete System.
in this phase we will program our Rapid IoT Prototyping Kit by Rapid IoT Studio. Just Create an account on http://rapid-iot-studio.nxp.com/ and login to account. follow the below video to create your program for rapid iot prototyping kit.
Video:Batter Level Function Code:ATMO_Status_t BatterLevelFunction_trigger(ATMO_Value_t *in, ATMO_Value_t *out) {
uint8_t batteryPerLvl = 0;
uint8_t batteryChrgSate = 0;
BatterySensor_GetState(&batteryPerLvl, &batteryChrgSate);
ATMO_CreateValueUnsignedInt(out, batteryPerLvl);
return ATMO_Status_Success;
}
ATMO_Status_t ChargeStatusFunction_trigger(ATMO_Value_t *in, ATMO_Value_t *out) {
	uint8_t batteryPerLvl = 0;
	uint8_t batteryChrgSate = 0;
	BatterySensor_GetState(&batteryPerLvl, &batteryChrgSate);
	ATMO_CreateValueUnsignedInt(out, batteryChrgSate);
	return ATMO_Status_Success;
}
Final Project design looks like below image.
Now Reset the device after resetting you will get an empty storage in your file explorer, place your downloaded bin file and wait for device reboot.
Cayenne My-devices Setup:Create your account on https://mydevices.com/ and sign into account.
Click on "Add new"->"Device/Widget"->"Raspberry Pi"
After clicking on Raspberry pi you will see the new page with insatllation instructions. just copy the command one by one and execute in raspberry pi terminal.
after this setup need to setup a separate device in cayenne portal which will show our sensors data. click on "Add new"->"Device/Widget"->"Bring Your Own Thing"
Name your devices and copy the MQTT Connection details Like username, password, client id that we will use in future and click on "Cayenne MQTT Python" which will guide you to setup cayenne python libraries on your raspberry pi. you can also access this setup guide directly from here https://github.com/myDevicesIoT/Cayenne-MQTT-Python
After sucessfull setup you will see some widgets under your device, those are showing some data. we need to remove all of these widgets and add our custom widgets to show NXP Rapid IoT Prototyping kit data. to Add Custom Widget Click on "Add new"->"Custom Widget"-> Select the Widget according to your sensor like Value, Gauge, Line Chart and etc
Sensors Channel
- Temperature 1
- Humidity 2
- Light Level 3
- Air Quality TVOC 4
- Air Quality Co2 5
- Pressure 6
- Battery Level 7
- Charging Status 8
and it will look like below image.
as we already know that Rapid iot prototyping kit supports different communication methods like Thread, NFC, Lowpan and BLE, so I plan to use BLE method to receive data from Rapid IoT Prototyping kit. in this project I am going to use Raspberry pi 3 b+ model which contains BLE feature you can ready it specification from here. before we proceed to programming phase make sure you have python version 2.7 and 3. by default raspberry pi OS came this pre installed python.
$python --version
after checking the python version will move to install very important libraries like pygatt, that will be used to communicate with NXP prototyping kit over BLE.
$pip install pygatt
$pip install "pygatt[GATTTOOL]"
$pip install pexpect
System is read to run final program. but before we move to execute the program we need Rapid IoT Protypting KiT BLE Address that is on Back side of Device. just take the six characters from Left and six character from right. this will be like 00:60:37:12:8A:BC
 #NXP Mac Address which is located at the back of the device #Starting With M Just Take First 6 Digit and 6 Digit From Last Omit the Center Values.
mac = '00:60:37:12:8A:BC'
and Take BLE Characteristic UUID (128-bit) from Rapid IoT Studio Kit for every BLE Point that is connected with sensors.
#BLE Characteristic UUID (128-bit) of Sensorschar_uuids = { "temperature": "016c5f53-4dbf-4419-9b80-beb3bf6a5893", "humidity" :"016c5f53-4dbf-4419-9b80-beb3bf6a5894", "air_quality_tvoc":"c285e3a4-c9c0-43ed-956c-a15cc1690b77", "air_quality_co2": "c285e3a4-c9c0-43ed-956c-a15cc1690b7b", "pressure": "c285e3a4-c9c0-43ed-956c-a15cc1690b76", "ambient-light": "c285e3a4-c9c0-43ed-956c-a15cc1690b7a" , "battery-level": "c285e3a4-c9c0-43ed-956c-a15cc1690b78", "charging-status": "c285e3a4-c9c0-43ed-956c-a15cc1690b79"}
after setting up device & sensors identity final thing is to add cayenne mydevices IOT Cloud credentials in code.
# Cayenne authentication info. This should be obtained from the Cayenne Dashboard.MQTT_USERNAME = "==================UserName========================"MQTT_PASSWORD = "==================Password========================"MQTT_CLIENT_ID = "==================ClientID========================"
after setting up every thing run the code in terminal, and visit the your device dashboard at cayenne mydevices.
$python nxp-rapid.py
afterwards you can setup the triggers in cayenne mydevices to maintain your threshold just like get notification when devices goes offline/online, temperature or Humidity exceeds the standards and etc.
to setup trigger just click on "Add New"->"Trigger" after that you will see the trigger page. drag the device on if side and select the parameter that you want to used in your threshold and specify the conditions.
if you have any suggestions or questions please feel free to comment.


Comments
Please log in or sign up to comment.