I wanted to be able to go from one room to another with out needing to back track to flip the switch in case I failed to turn the lights out before transitioning rooms and getting comfortable. Alexa with the help of Arduino can physically flip the switch without anybody lifting a finger. My place started out with fairly standard residential light switches.
Hardware
Step One:
The light switch panel has 4 screws in it. Using a screwdriver take out the two screws at the top and bottom, and remove the panel. The new panel that was 3D printed can now be attached to the bare switches using the screws that were removed from the original panel. Servos are placed in between the switches to get something like the picture below.
Step Two:
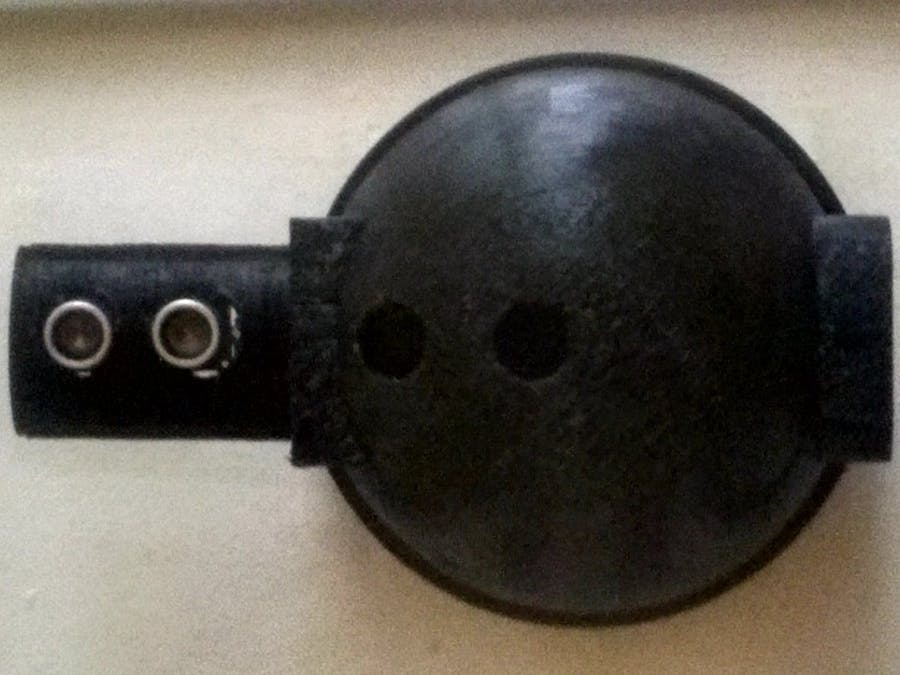
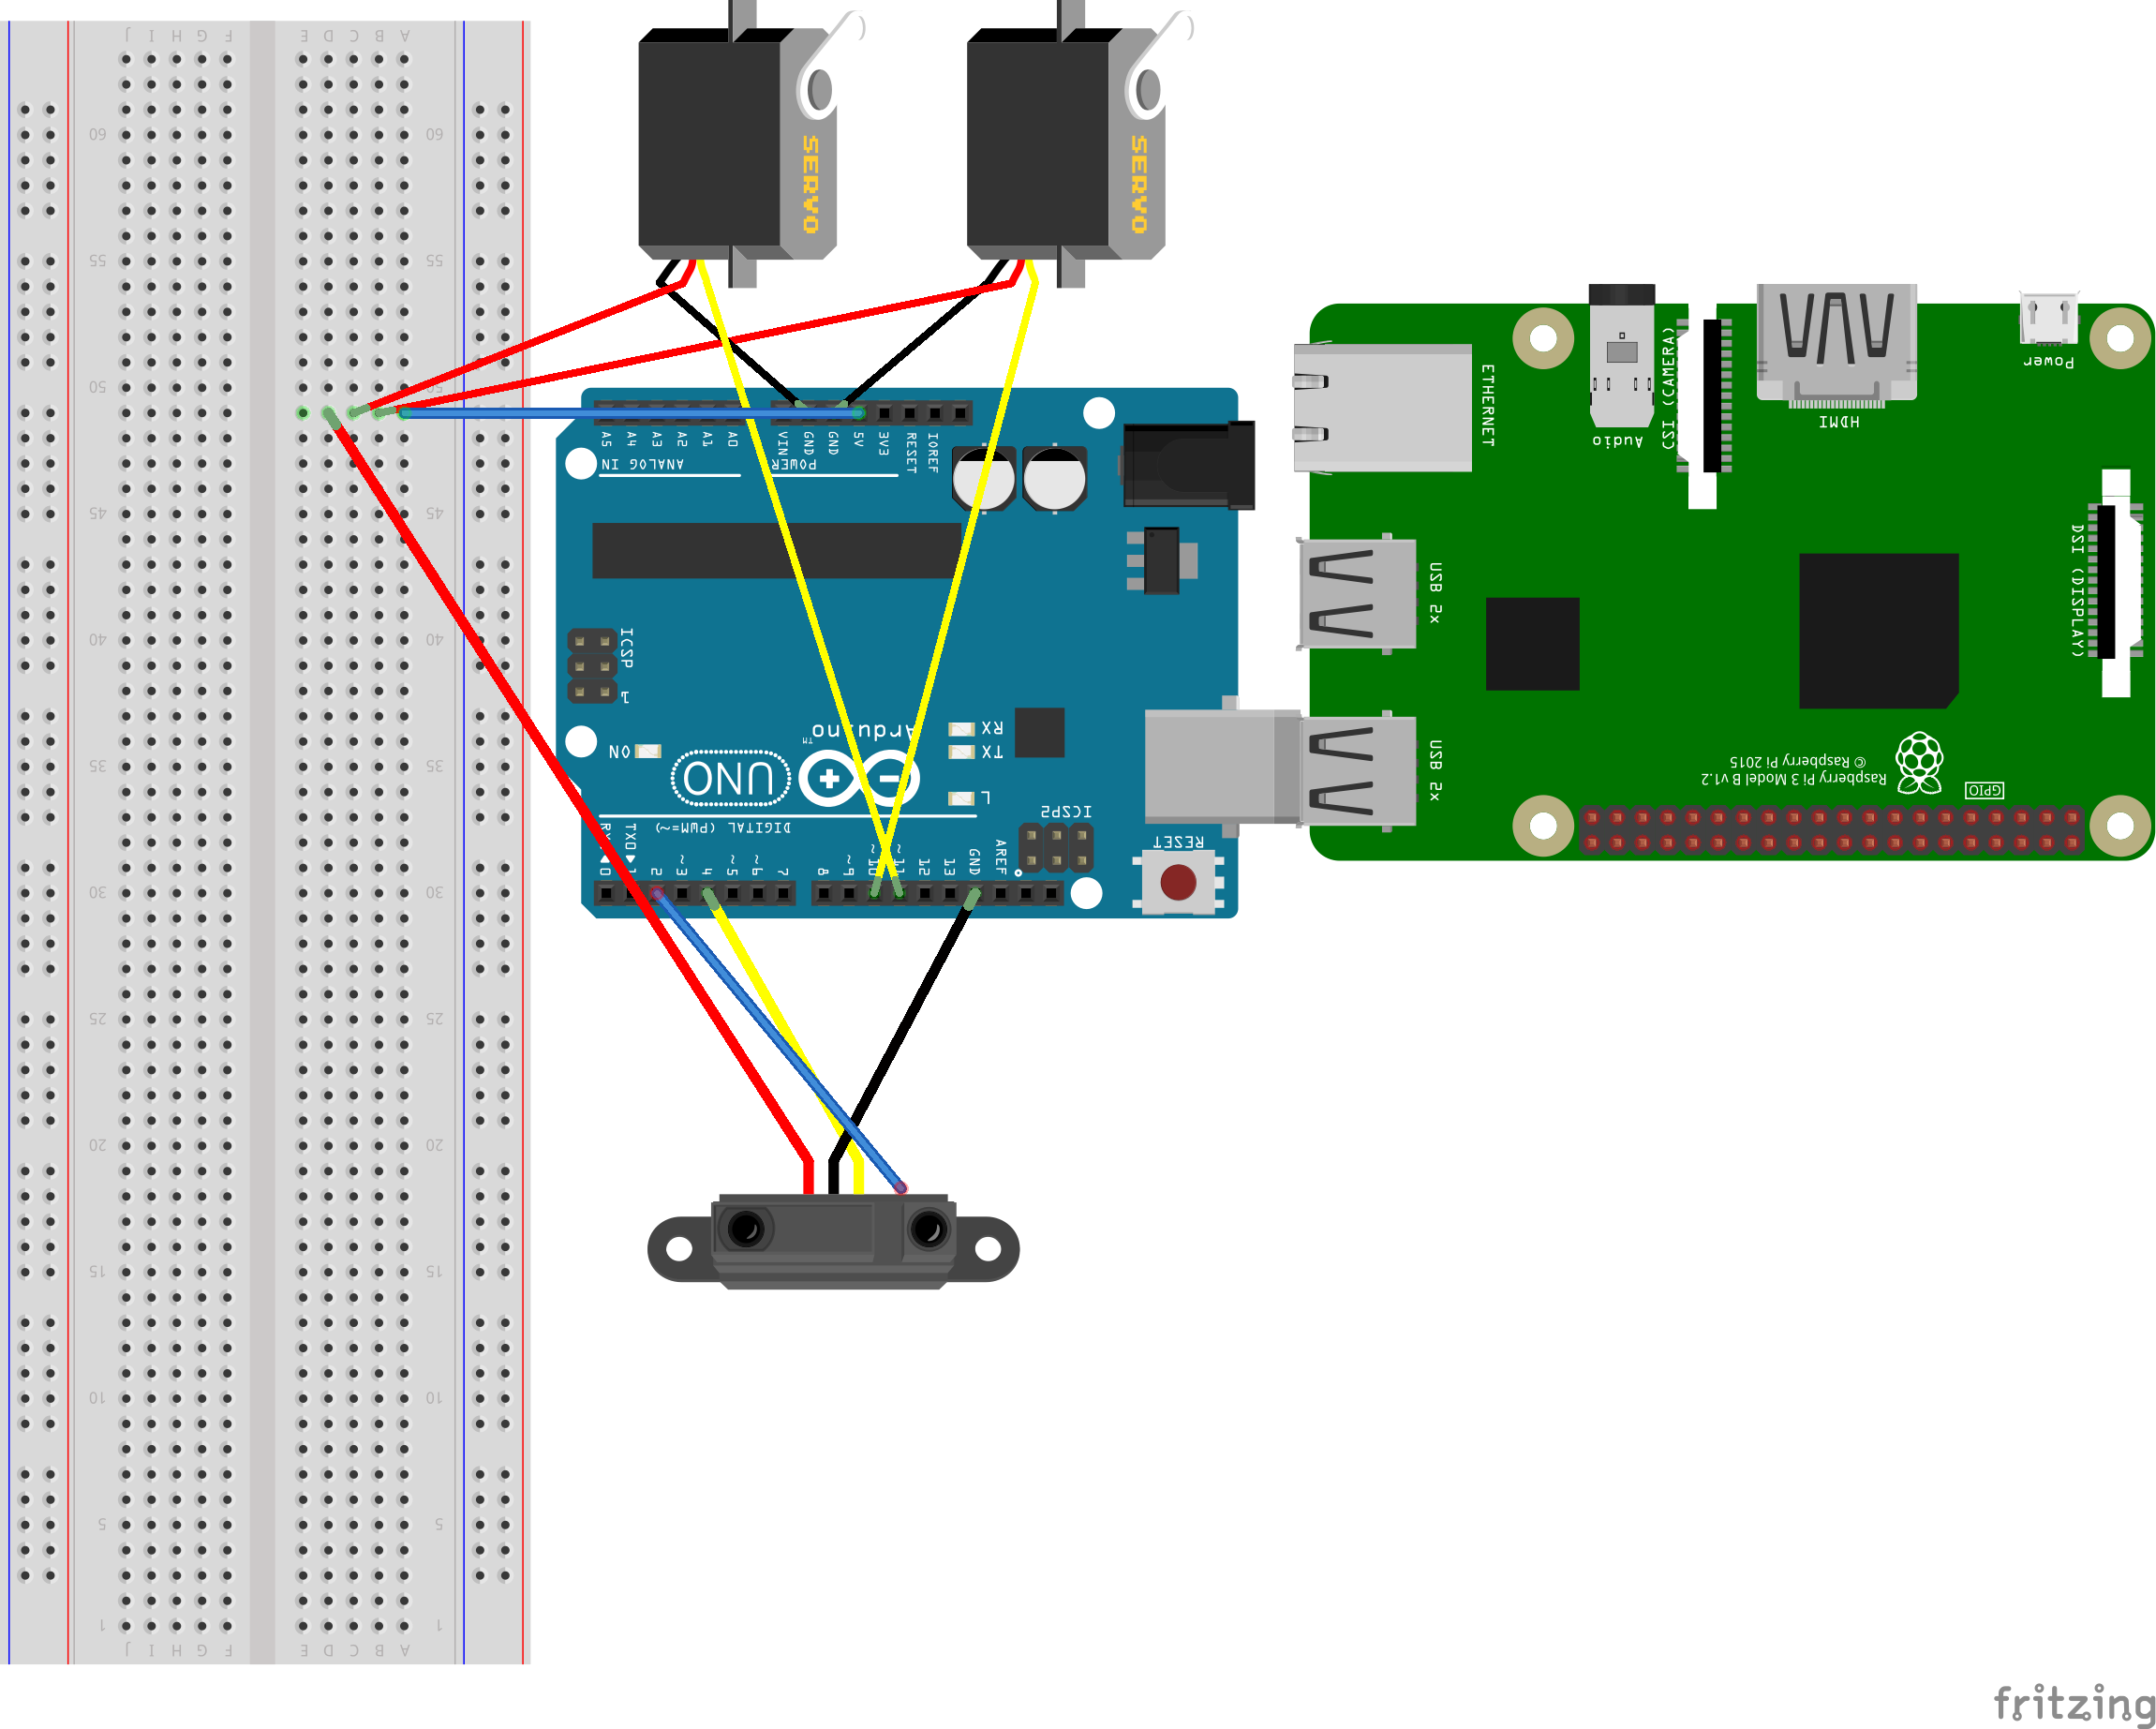
Wire the servos to the Arduino along with a sonar sensor. Connect the Raspberry Pi to the Arduino which will all be held together by a 3D printed dome shaped cover that will fit inside the circular base using a pressure fit. The sonar has its own holder which can be placed in an opening at the top of the dome. A Li-ion battery which is the blue cylinder already in the dome connects to the Pi with a USB cable.
With the hardware fully assembled you get this.
The 3D models were designed in Fusion 360. I have provided the CAD files for the circular base plate, sonar holder, dome cap, and custom servo attachments.
Software
Step one:
Setup the Raspberry Pi using the code titled Pi setup. Download ngrok which allows the Pi to act as a server. https://ngrok.com
Step two:
Setup ngrok by opening a terminal and navigeting to where it was downloaded. I had use cd Downloads, then I executed ngrok by typing ./ngrok http 5000.
Step three:
Create a script made from Python and execute it on the Pi. It's called Pi Code in my code section below. This will allow you to network with Alexa and Arduino.
Step four:
Create an Arduino script that turns the servo's depending on the sonar sensors distance readings. Include a function that will allow Alexa to turn the servos at the user's command. This script is titled Arduino Code, in my code section.
Step five:
Setup Amazon Developer Console by going to this link https://developer.amazon.com/home.html. After signing in, navigate to the tab named Alexa. Next you will click on the Alexa skills kit option and create a new skill.
After setting the skill up, the ngrok server on-line, and the Python code running, now Alexa can flip the switch.
Demonstration
https://drive.google.com/file/d/1X7uDm_i_BaA8EH0zPMqPvfmmQ99hMF1v/view?usp=sharing
Alexa Demonstration part one
https://drive.google.com/file/d/15shB4me1XET_eha4MRCoyhBjMD86TmnS/view?usp=sharing
Alexa Demonstration part two
https://drive.google.com/file/d/1XjWY1Uoqxy_x7AJF74imnSCss0ODhNtf/view?usp=sharing
Sonar Feature Demonstration
Side Notes
* As a possible update on the software side, I would like to have Alexa be able to change the timer settings for how long the lights stay on.
*As a possible update on the hardware side, it would be nice if the sonar was able to rotate.
*My Internet connection speed can be sluggish which is the cause of the delay between command and execution with Alexa in part two of the demonstration.
*The Python code as it's written now only has one chance to make a serial connection with the Arduino. If it fails, you have to restart the Python script. The Arduino also needs to be disconnected and reconnected to the Pi. There should be a way to allow Python to make multiple attempts at a serial connection.


_ztBMuBhMHo.jpg?auto=compress%2Cformat&w=48&h=48&fit=fill&bg=ffffff)


Comments
Please log in or sign up to comment.