mdraber
Published © LGPL

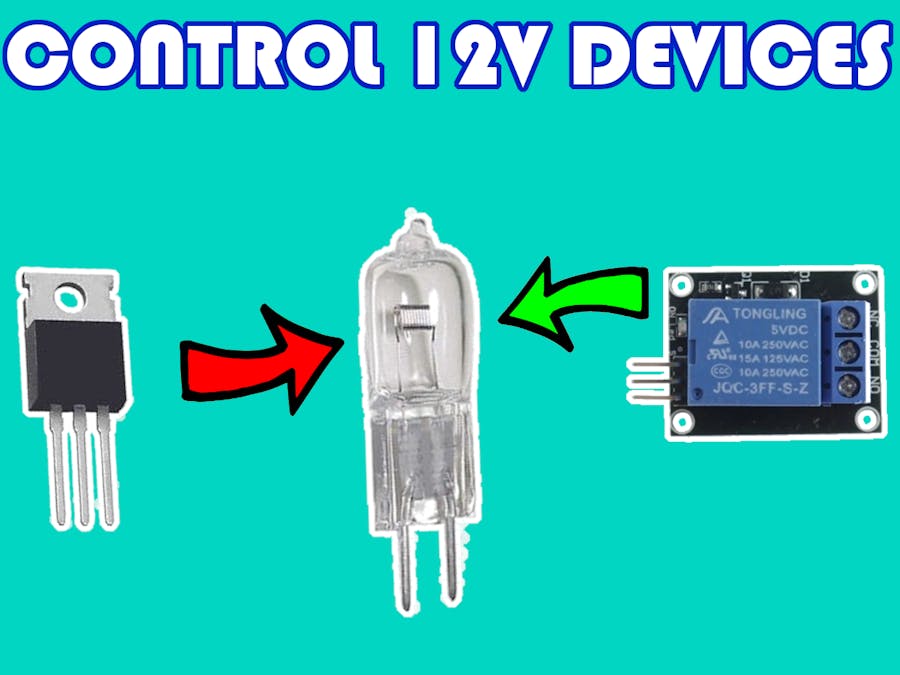
Tutorial on how to control 12V Devices with Arduino

Relay VS Transistor.

BeginnerFull instructions provided27,379
Tutorial on how to control 12V Devices with Arduino

Things used in this project

Hardware components

Arduino Nano R3
Arduino Nano R3
×1
12V Light bulb
×1
PIR Motion Sensor (generic)
×1
KY-018
×1
Linear Potentiometer
×1

Software apps and online services

Arduino IDE
Arduino IDE

Story

Read more

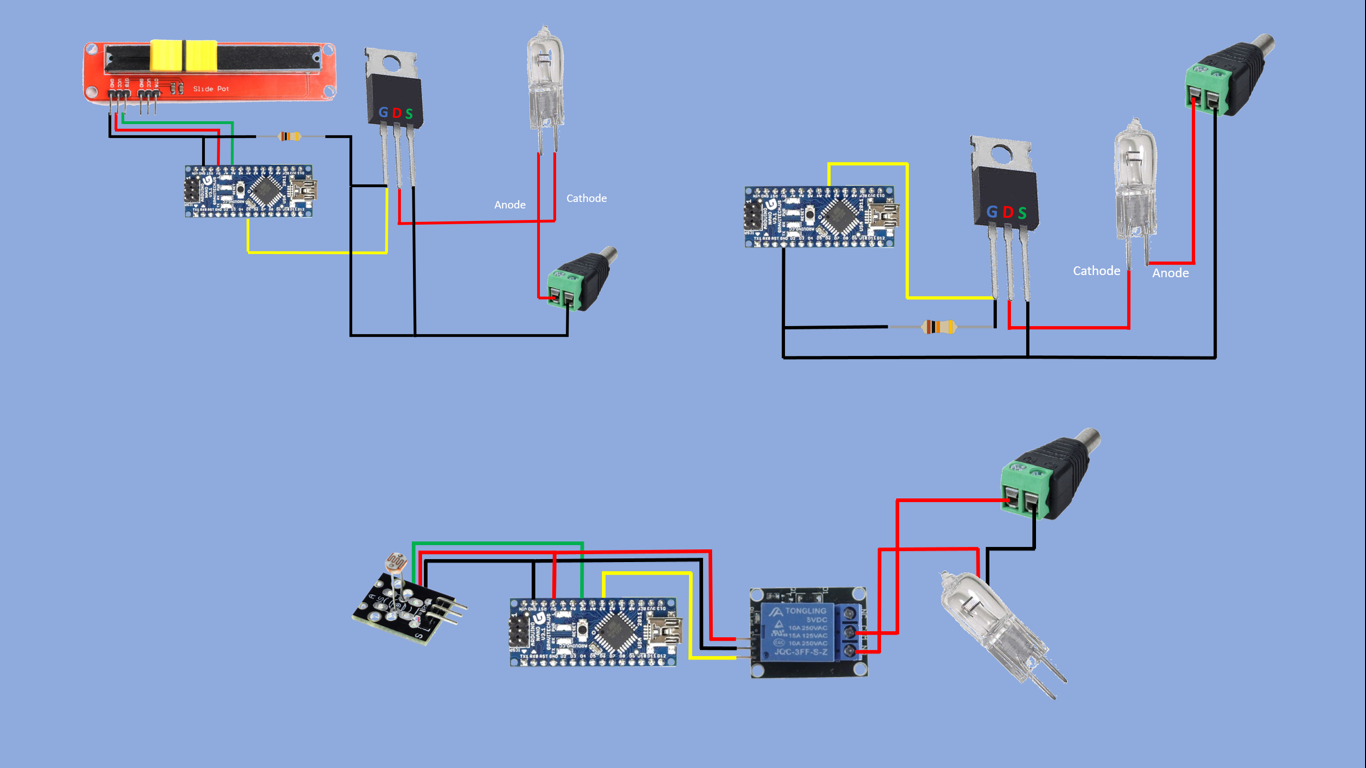
Schematics

Diagrams

Code

Diming 12V LED with potentiometer

Arduino
int LED_Intensity;
#define LedPin 5
#define PotentiometerPin A6

void setup() {
 pinMode(LedPin, OUTPUT);
 pinMode(PotentiometerPin, INPUT);
}

void loop() {
  LED_Intensity=map(analogRead(PotentiometerPin),0,1023,0,255);
  analogWrite(LedPin, LED_Intensity);
}

Switching on 12V LED using Motion Sensor

Arduino
int motion_detected;
#define LedPin A3
#define MSPin 10

void setup() {
  Serial.begin(9600);  
  //Calibrating sensor 
  Serial.println("Calibrating sensor "); 
  delay(60000); 
  Serial.println("Done"); 
  pinMode(LedPin, OUTPUT);
  pinMode(MSPin, INPUT);
}

void loop() {
 motion_detected =digitalRead(MSPin);
 if(motion_detected == HIGH)
   digitalWrite(LedPin, HIGH); 
 else
   digitalWrite(LedPin, LOW);      
}

Switching 12VLED on with photoresistor

Arduino
int light_intensity;
#define LedPin A3
#define PhotoresistorPin A5

void setup() {
 pinMode(LedPin, OUTPUT);
 pinMode(PhotoresistorPin, INPUT);
}

void loop() {
  light_intensity=analogRead(PhotoresistorPin);
  if (light_intensity > 290) 
    digitalWrite(LedPin,HIGH); 
  else     
    digitalWrite(LedPin,LOW);

Credits

mdraber

mdraber

49 projects • 67 followers

Comments