This project shows you how to build your own remote controller for the Sonos wireless home sound system based on Android Things.
Sonos is wireless home sound system which did get quite popular during the last years. It offers a seamless integration of Google Play Music.
Since the company has stopped selling their own hardware controllers several years ago (CR100, CR200), there are two ways left to control the Sonos system:
- Use the hardware buttons on the speaker for very basic tasks (Play, Pause, Volume Up, Volume Down)
- Use the Sonos App on your Tablet / Smartphone / PC
There is a certain demand in the Sonos community for a hardware remote control, which can do just a little bit more than the built-in buttons but is not as complex as the Sonos App on the Smartphone.
Why did I build it:Even though I am a software engineer, I prefer technology based products which have real physical buttons to press over touch screens when it comes to simple tasks such as switching on a light, turning on the TV or changing the music.
Imagine your are working in the kitchen, cooking a nice lasagna and you would like to change to one of your favorite playlists "Bella Italia". To do such a simple task you would have to:
- Pick up your phone from the table
- Wake-up / unlock the phone / Open the Sonos App
- Select the playlist / Hit play / adjust the volume
- Turn off / lock the phone
- Put your phone back to the table
Additionally, the speakers in my kitchen are not easy to reach to use the built in hardware buttons, so I decided to build my own remote control. And last but not least: it's fun and can be done on a rainy afternoon :-)
Sonos-Remote-Things:To simplify the steps above, I have built a clean and simple hardware remote controller for Sonos based on AndroidThings. It contains a small 128x64px OLED display and has a bunch of physical buttons to interact with the device:
- Configurable presets (music, volume, ..)
- Play / Pause
- Volume up
- Volume down
It then reacts to the user inputs, communicates over UPnP with the Sonos speakers and reports the status on the display.
Required Hardware:My example uses the Pico i.MX6UL with built-in WiFi module, an external SSD1306 OLED display and a couple of buttons to interact with the device.
When you get your Pico i.MX6UL, it arrives without an operating system. Follow the steps to flash your device with the latest Android Things image and connect it to your network: https://developer.android.com/things/hardware/imx6ul.html
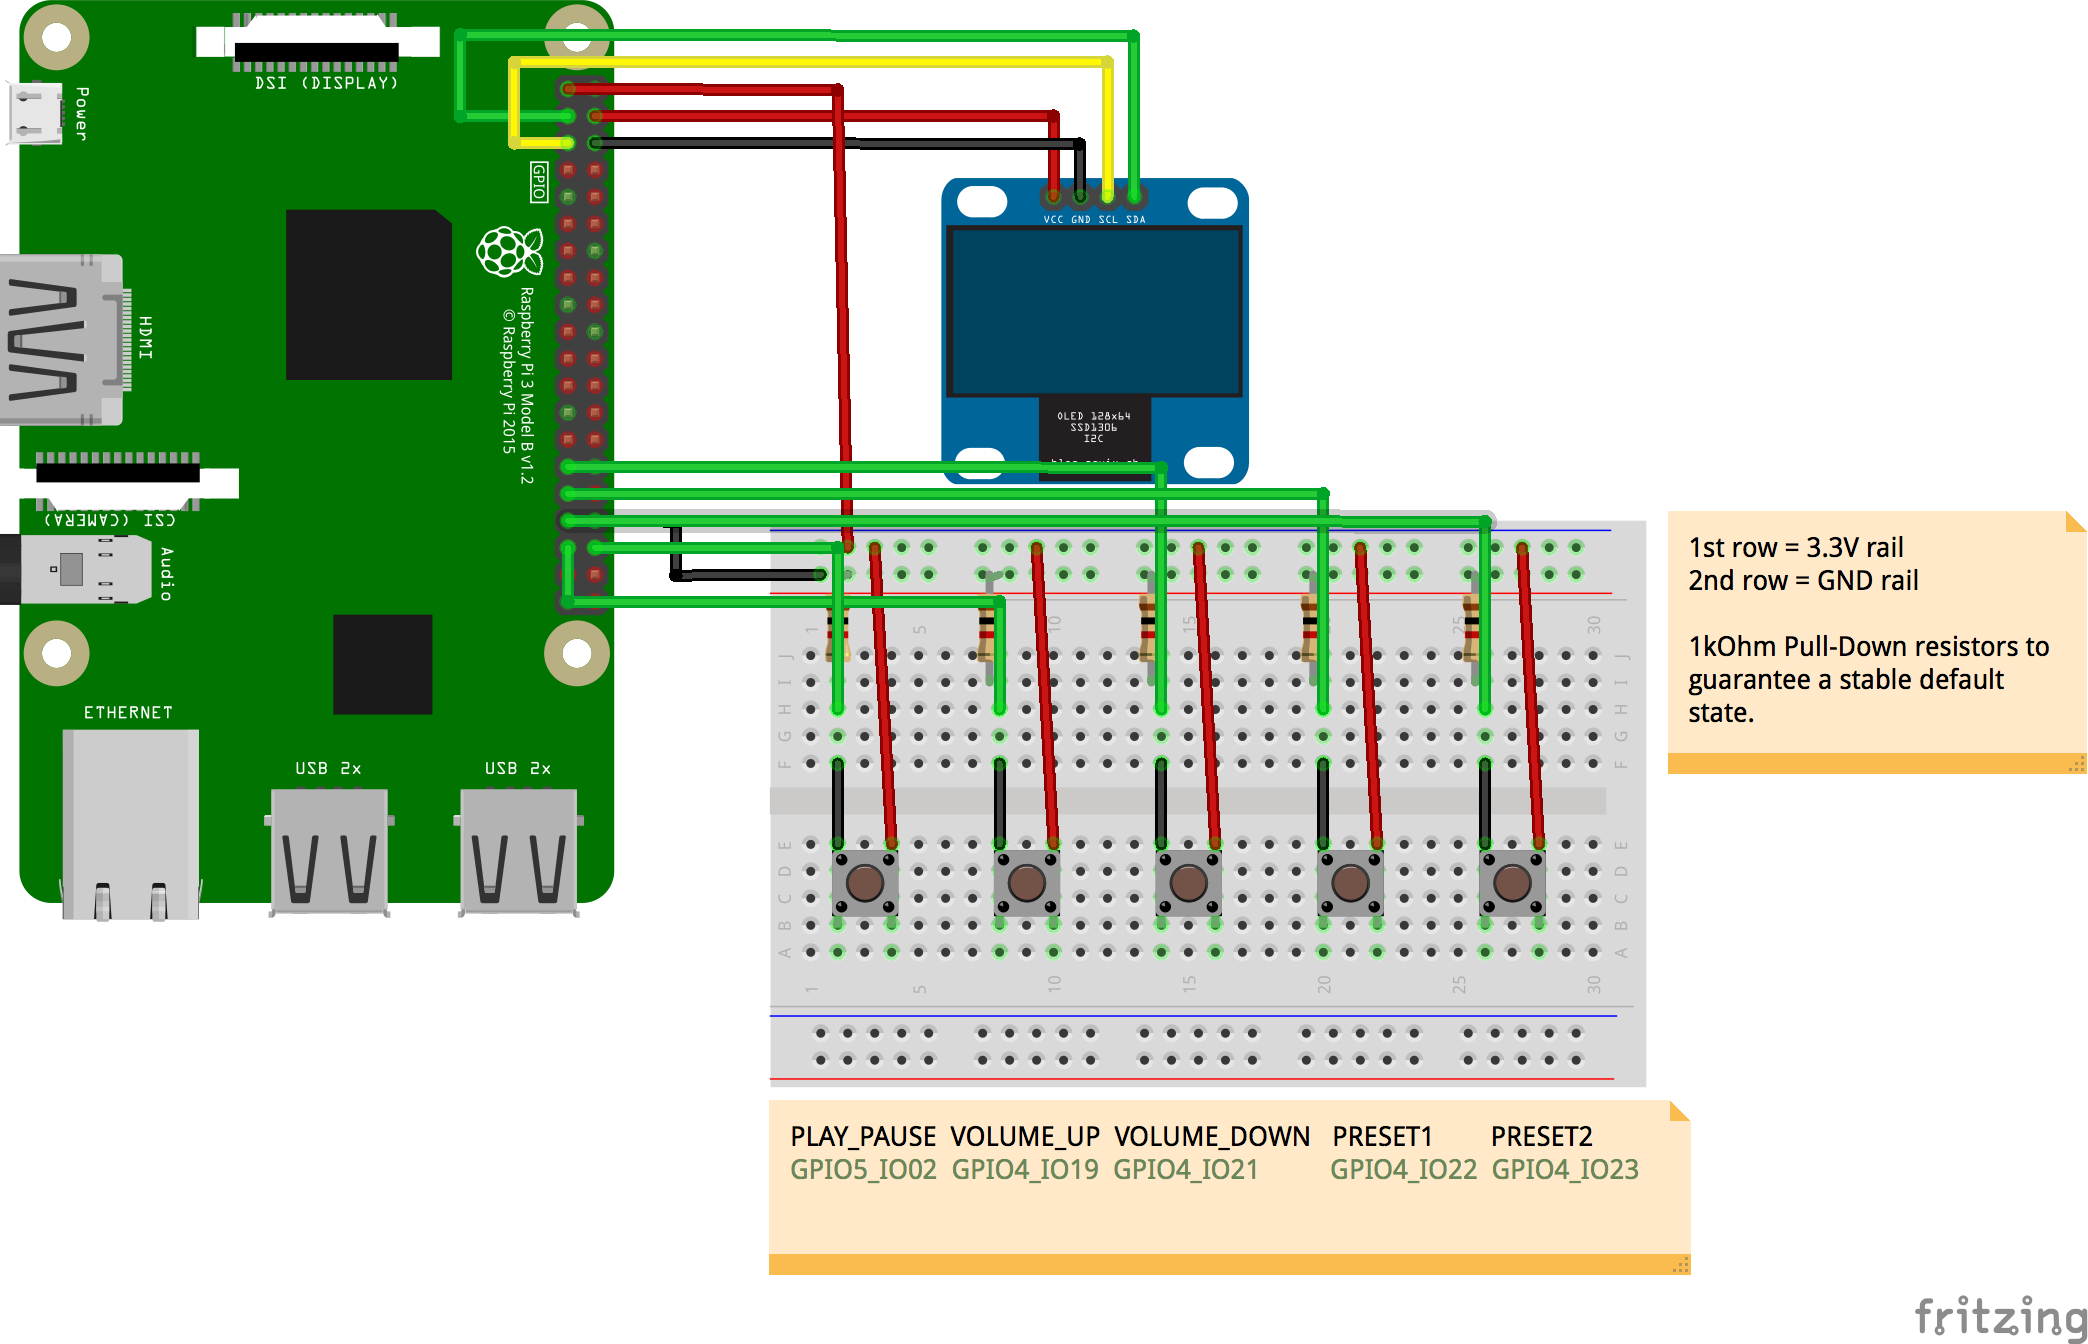
Schematics:We will use the expansion header of the PICO-PI-IMX6UL to connect our hardware peripherals. It offers all the required I2C and GPIO pins. The datasheet gives a good overview which peripherals can be used.
I2C2 is the bus used to communicate with the OLED display:
The "GPIOX_IOXX" column is the name to identify the pin in Android Things:
Connect the OLED display and the push buttons to the expansion header. If you just would like to test something quickly, it will also work without the external pull-down resistors. The OLED works with either 3.3V or 5V.
To stream music from the cloud, I personally use Google Play Music. Follow the guide of Sonos to connect your Google Play Music account to the Sonos speaker.
Once your account is setup, add your playlists to Sonos favorites:
Now we can get the URI from your player (so we can pass it from our App). The Sonos UPnP Library came quite handy to do the job:
Below is the C# code to get the Uri for each favorite:
using Jishi.Intel.SonosUPnP;
using System;
using System.Collections.Generic;
using System.Linq;
using System.Threading;
namespace SonosUPnPConsole {
   class Program {
       static void Main(string[] args) {
           SonosDiscovery d = new SonosDiscovery();
           d.StartScan();
           // give it some time so that the results can arrive
           Thread.Sleep(10000);
           // favorites are global and not related to a specific zone
           SonosPlayer player = d.Players.First();
           IList<SonosItem> favorites = player.GetFavorites();
           int count = 0;
           foreach (SonosItem favorite in favorites) {
               count++;
               Console.WriteLine("Favorite[" + count + "]: ");
               Console.WriteLine("\t- Title = " + favorite.DIDL.Title);
               Console.WriteLine("\t- Uri = " + favorite.Track.Uri);
           }
       }
   }
}
Alternative if you don't have a Google Play Music account: You can also pass in a web radio stream, as an example for Radio Swiss Pop: "x-rincon-mp3radio://www.radioswisspop.ch/live/aacp.m3u"
Android Things App:Once the hardware and Sonos system is ready, you can start to customize the app to your needs and download it to your Android Things target.
Thanks to the full compatibility to Android, I was able to integrate the existing Android sonos-controller library of Valentin to control the Sonos speakers over UPnP. Together with the Android Things drivers for the SSD1306 OLED and the button drivers, there is not much left in the MainActivity: it basically delegates all callbacks to the specific drivers.
The full source code is located on GitHub: /src/main/java/li/gunt/sonosremotethings/MainActivity.java
- Map your hardware specific pins to the code based on names and configure which Sonos zone you would like to control:
public class MainActivity extends Activity {
   // PICO-PI-IMX6UL hardware mapping
   private static final String I2C_BUS = "I2C2";
   private static final String BUTTON_PLAY_PAUSE = "GPIO5_IO02";
   private static final String BUTTON_VOLUME_UP = "GPIO4_IO19";
   private static final String BUTTON_VOLUME_DOWN = "GPIO4_IO21";
   private static final String BUTTON_PRESET1 = "GPIO4_IO22";
   private static final String BUTTON_PRESET2 = "GPIO4_IO23";
   private static final long BUTTON_DEBOUNCE_DELAY_MS = 50;
   // Sonos speaker zone to control
   private static final String SONOS_ZONE = "Kitchen";
   ...
- Create your own presets with the stream URI and speaker settings:
public void onPreset1Clicked() {
    sonosDevice.playUri("x-sonosapi-radio:...", null);
    sonosDevice.setVolume(35);
    updateView(SONOS_ZONE, "Bella Italia");
}
And that's basically it. The rest of the activity just contains system initialization of peripherals and provides the callbacks to the user interaction.
Let's build it!Once everything has been tested with with the debugger, we are ready to detach it from the development station. AndroidThings will start your MainActivity by default at startup - so install the APK the last time and say goodbye to Android Studio. A small USB battery pack will deliver the power for our experiment.
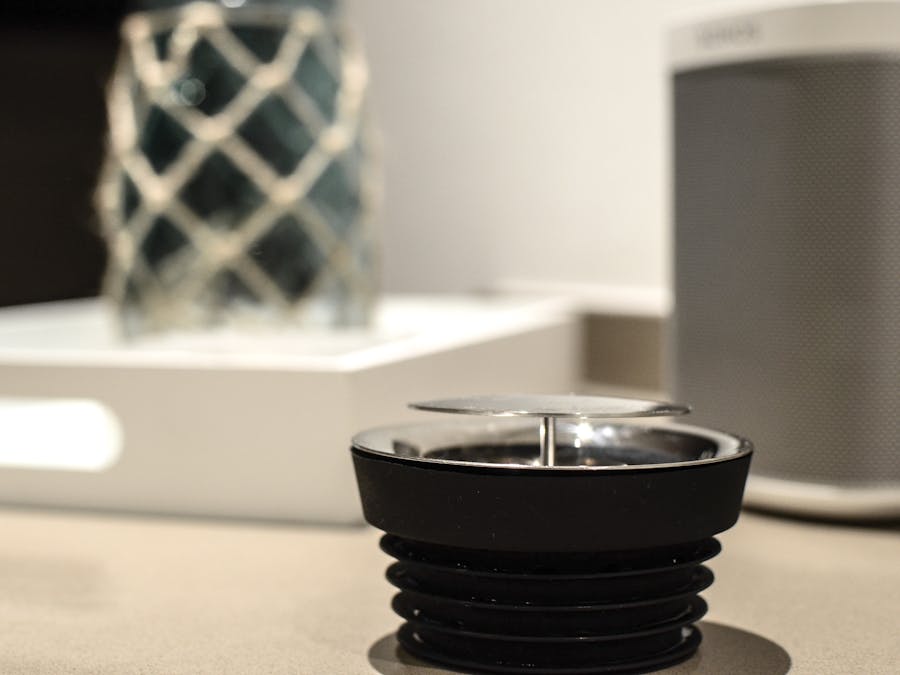
Did you hope that it will look as stylish as the teaser picture? Yes? ..me too :-D
Well, after all this is a hackster contest. Let's be realistic and build something that can be done in less than 15 minutes, but keep that nice piece of design in mind for the future..
I have used the cardboard box of the PICO-PI-IMX6UL, so don't throw it away ;-)
Ensure !that the cables are long enough..
And start to drill the rest of the holes.
Now is the final and hardest part:
Do it like a proper engineer - just squeeze everything into the box and hope you don't create an evil short circuit ;-)
After some time your MainActivity gets called and the OLED screen is initialized.
Last but not least - a video that proves it actually works:
Well, didn't I configure it to control the kitchen speaker?
Android Things for sure showed it's potential in order to create a rapid prototype within hours. Connectivity and application development just works out of the box - awesome!
However, I have my doubts if I could really use this platform for an actual embedded product, especially due to the following factors:
- Hardware costs (500MHz+ ARM Cortex-A CPU, >512MB RAM, >2GB Flash storage)
- Power consumption
- Startup time
- Reliability
As an embedded software engineer, I am particularly interested to see how they are going to address the huge diversity of SOC configurations, since every chip and board manufacturer has it's own way to do certain things. Support for additional bus communication protocols (e.g. CAN), more specifc pad configuration (e.g. pull-up, drive strength, slew rate) and offloading I/O operations with DMA are just some topics that need to be addressed.
All those hardware specific details will be a particular challenge to create an elegant and useful API which actually reduces complexity - and not simply delegates all hardware problems to the Android Things developer.


_3u05Tpwasz.png?auto=compress%2Cformat&w=40&h=40&fit=fillmax&bg=fff&dpr=2)

Comments
Please log in or sign up to comment.