

Hardware components | ||||||
 |
| × | 1 | |||
 |
| × | 1 | |||
 |
| × | 1 | |||
 |
| × | 1 | |||
Software apps and online services | ||||||
 |
| |||||
Hand tools and fabrication machines | ||||||
 |
| |||||
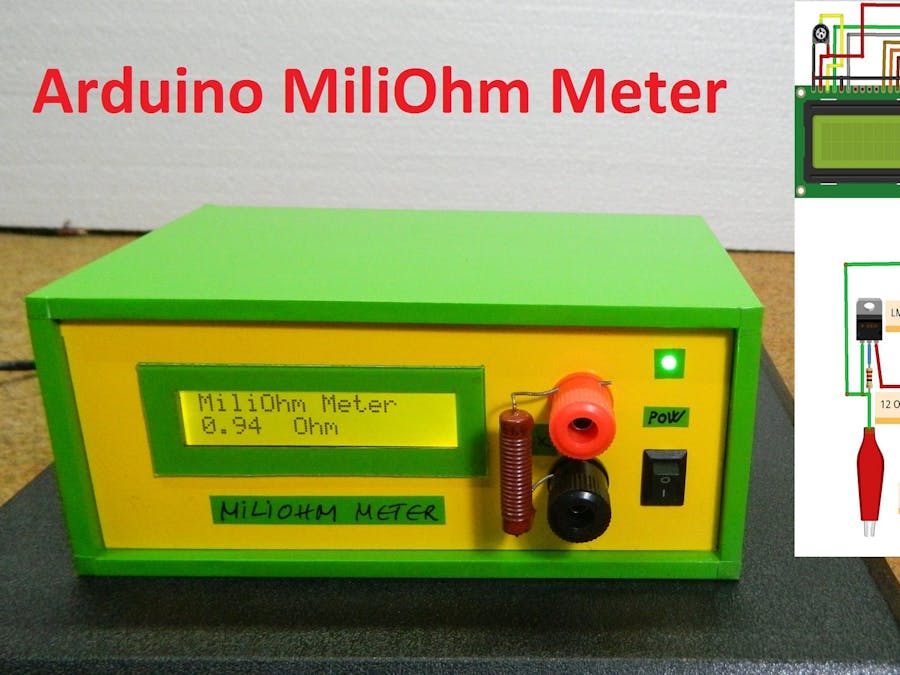
Measuring low resistances with a standard multimeter is difficult and very inaccurate. This device solves this problem and serves for accurate measurement of small resistances in the range of 0.1 ohm up to 50 ohms.
It is very simple and easy to make and contains the following components:
- Arduino Nano microcontroller
- 16x2 LCD display
- LM317 voltage regulator
- Potentiometer
- and resistor 12 Ohm
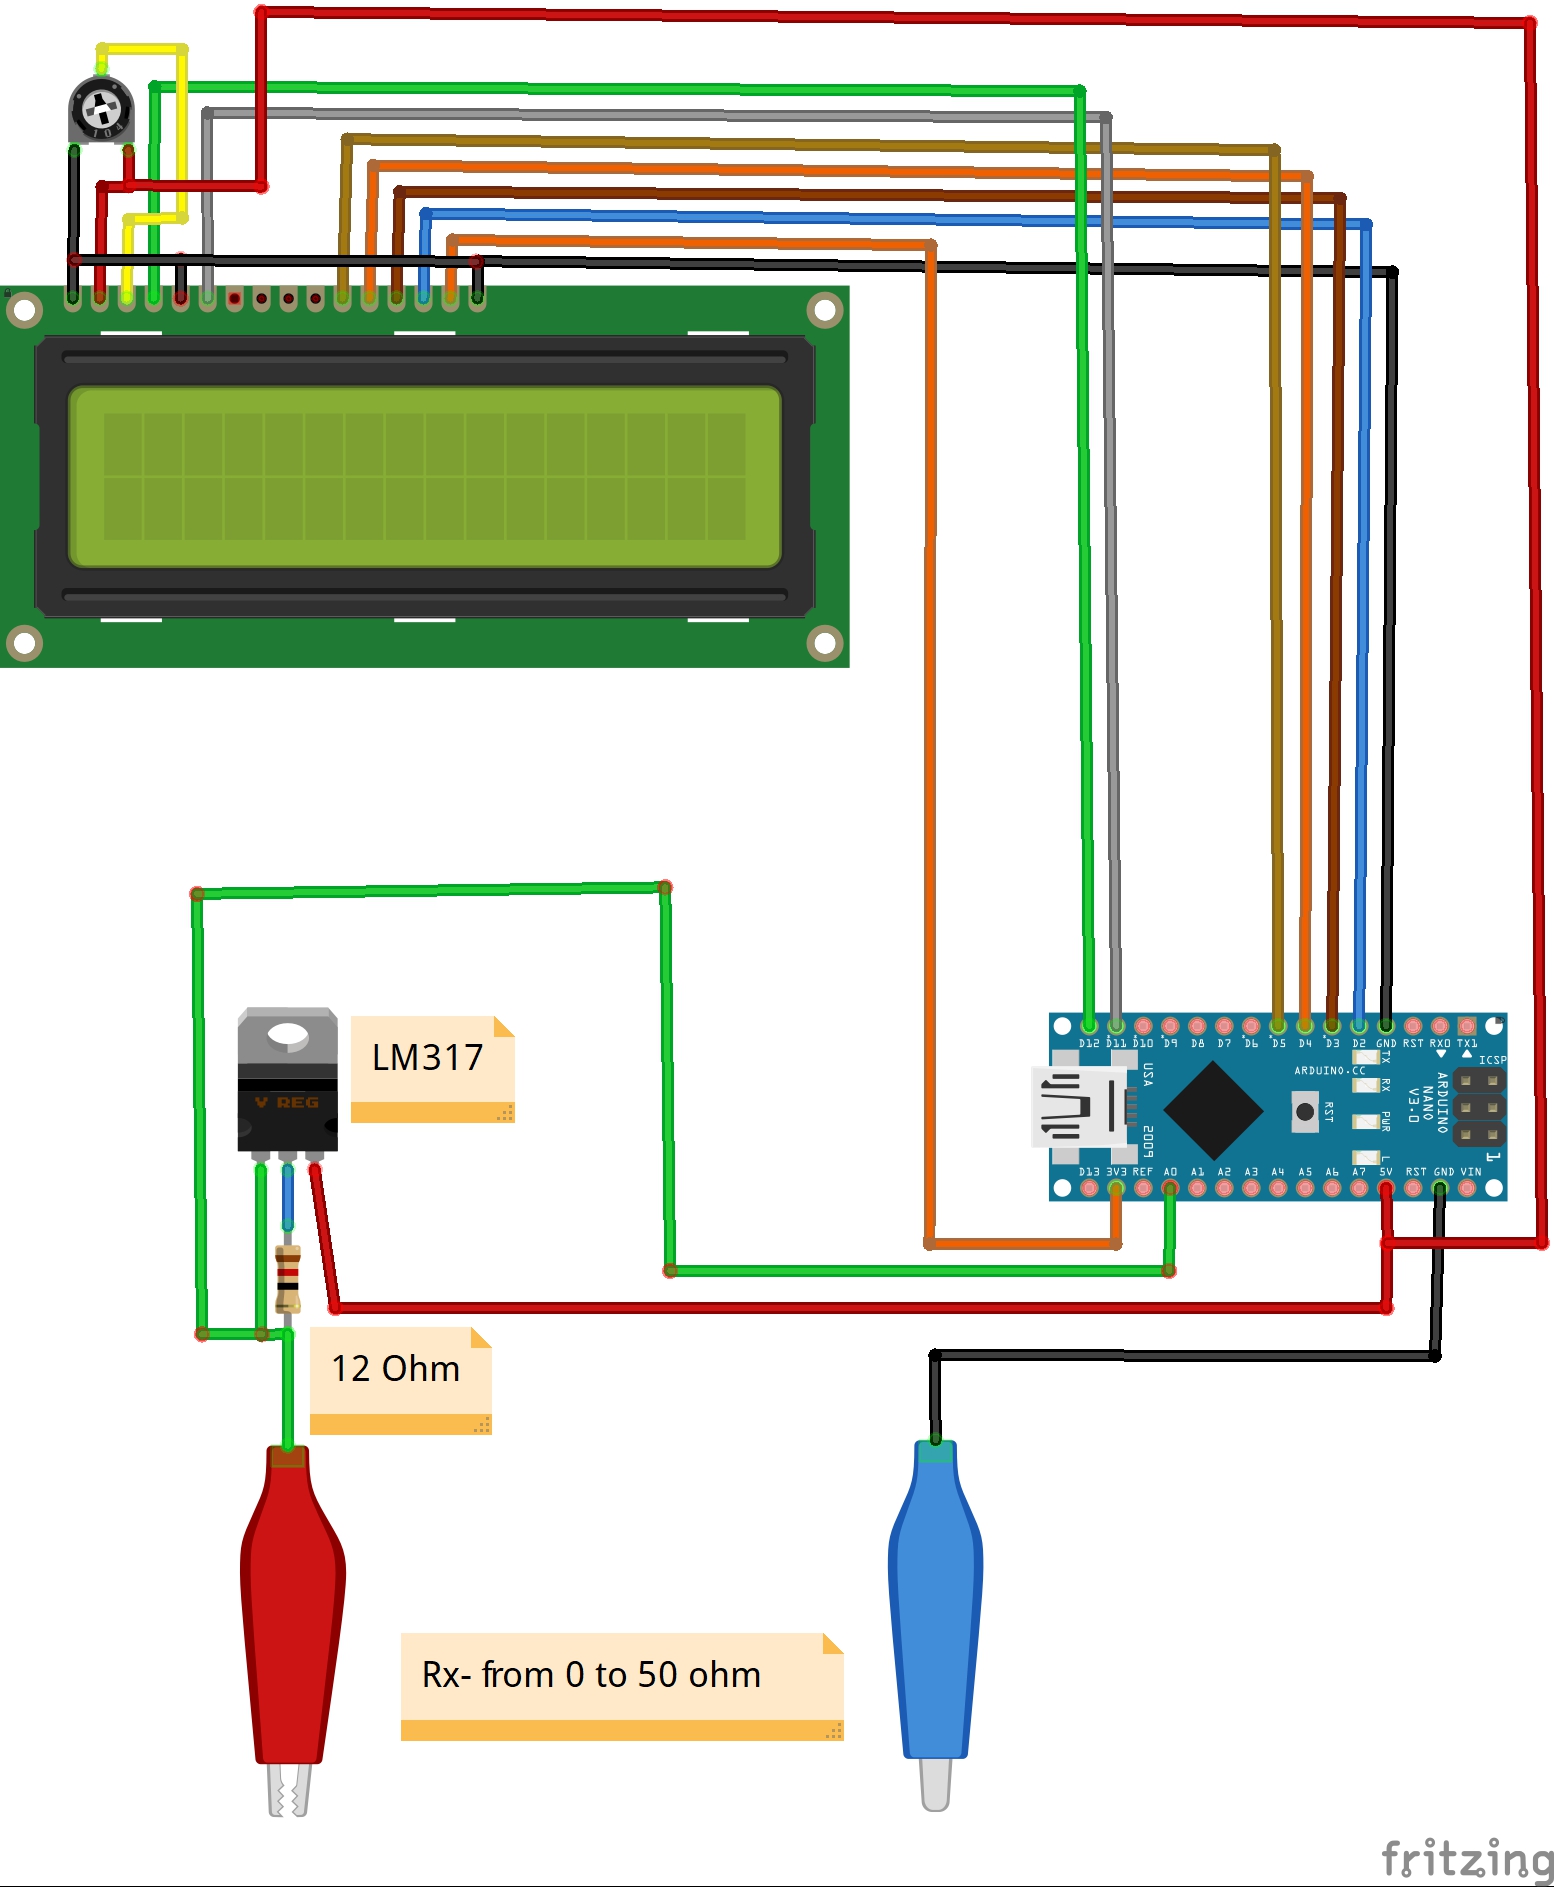
It consists of constant current source of 100mAmp. Constant current source is built using LM317:
Iconst = Vref / R where: Vref of LM317 is 1.25V
Iconst = 1.25 / R
Iconst = 104mAmp
Measuring voltage drop across a resistor having constant current gives us resistance value (R = V / I), Where:
I = 100mAmp as we are using constant current source of 100mAmp
V = Measured by Arduino
This code and circuit will not work for values more than 50 Ohm as 50 * 100mA = greater than 5V.
The accuracy of this Milliometer is satisfactory and mostly depends on the accuracy of the 12 ohm resistor and the stabilized voltage of 5 volts. Finally, the device is placed in a suitable box and is another useful tool in your laboratory.


Comments