Simply put, the target is crop yield optimization by automatically scanning the land and look for stressed areas which need the farmers attention. This might be useful if You are monitoring huge areas and with such land mapping one can see which parts of the field are in bad health (crop diseases, human induced changes, etc). The de-facto standard for this is using an infrared camera and with the infrared channel is calculated the NDVI index, which maps the health of the crop. Hyperspectral imaging improved on that with slicing the bands further into smaller bands, making it even more precise. However, both hyperspectral and infrared cameras are a bit expensive for the ordinary farmer, while RGB cameras are cheap and abundant, like the Google Coral RGB. Although it is well known that without infrared it is not possible to obtain meaningful data, we try the pseudo-NDVI index called VARI (Visible Atmospherically Resistant Index). The formula using RGB is simple: VARI = (Green - Red) / (Green + Red – Blue). Values are then normalized to show a grayscale image.
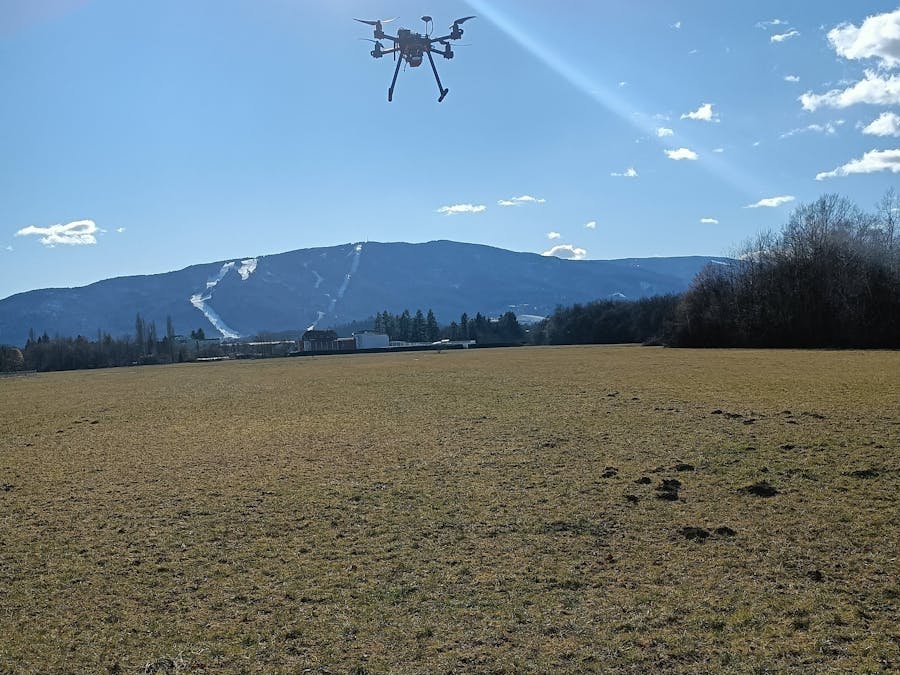
Apart from the NXP provided drone kit, no additional HW was used. The drone was assembled as per the gitbook with the NAVQ mounted on top. Flight was done on "Position" mode, after calibration on QGroundControl.
On NavQ is running Ubuntu which was tweaked to take pictures via gstreamer command. A simple systemctl service was written which runs a bash script on boot before login to take a picture with the Coral camera every 5 seconds and save it in predetermined folder, executing GStreamer command:
$ gst-launch-1.0 -v v4l2src num-buffers=1 ! jpegenc ! filesink location=capture.jpegSo no mavlink connection with PX4 flight computer was established, NavQ runs independendly. Afterwards a python: -m http.server 8080 command is executed in the navq to run in a server mode, while from the ubuntu PC the images are copied with wget (also with bash script).
Once the images are extracted, they are processed in a .NET WPF C# desktop application using openCV and standard C# image manipulation. The final results are shown on the GUI , from where screenshots are provided.
The assembly was per the NXP gitbook with some issues, notably the original motors were damaged by using the wrong screws. Mounting the camera was a bit problematic too, for the application a better solution is to mount it underneath instead of in front of the drone. The build quality of the drone is sturdy, survining a couple of hard crushes.
There is also a video of flying in "Position" flight mode and landing.
Results are somewhat lacking, as the images taken with the drone suffer from blurring, direct sunlight, badly position camera and vibrations. Last image is a stock photo of the desired target, the same algorithm on a clear image. Despite the lower resolution, results are more convincing. A small speck of black visible on the upper left side is corresponding to the gray/less green patch in the original image, signaling stressed area and possible bad health of the crop.
On the following image (not taken with the Hovergames drone) was the actual target of the application. Although invisible for naked eye on first sight, the black pointed patch corresponds with a somewhat gray area in the original image on second inspection.


Comments
Please log in or sign up to comment.