


Hardware components | ||||||
 |
| × | 1 | |||
Hello Beasts!
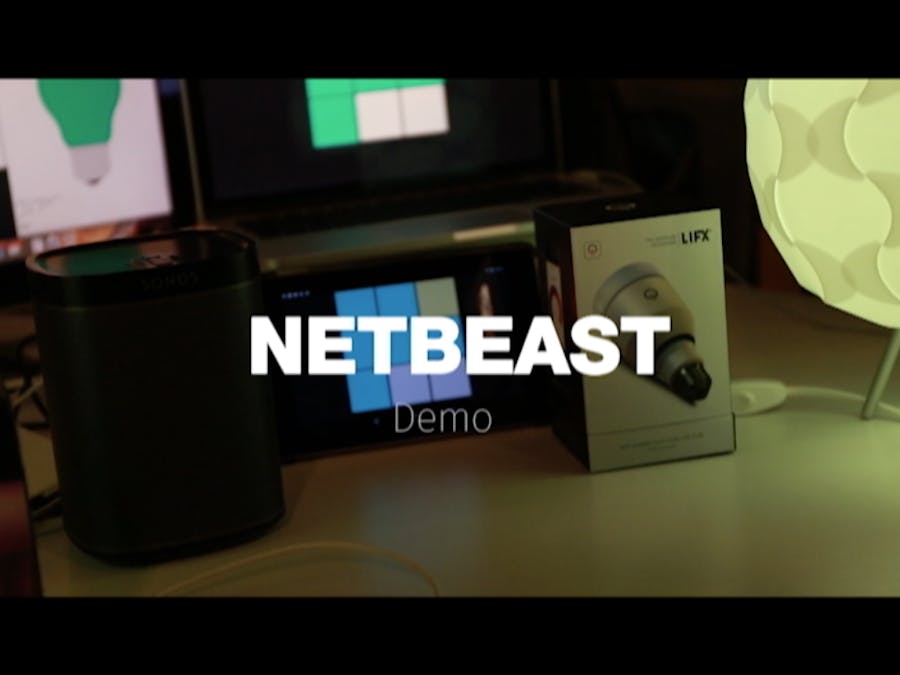
On this blog post, I'm going to explain how we can turn our Raspberry Pi 2 into a Smart Hub. With that, you will be able to control all your smart home products with only one interface thanks to Netbeast Platform.
In this example, you will be able to control Philips Hue, Lifx and Sonos with a pad. So when you push a button on the pad, lights change their color and Sonos speaker reproduce a sound.
Requisites:
Raspberry Pi 2
SD Card (At least 4Gb, 8Gb recommended)
Dongle wifi (Optional)
Smart Devices Like Philips Hue, Sonos or Lifx
1. Burn Netbeast OS for Raspberry Pi2 in the SD Card :
First of all, we need to burn the Netbeast OS make for Raspberry Pi in the SD Card. Download the Netbeast OS here
Now uncompress the .tar.gz file and burn the NB-OS.img file on your SD as you do usually. You can find a guide about how to do it here
2. Turn On your RPI :
If you have a wifi dongle, put it on and then turn on your Raspberry Pi. Otherwise, just turn it on.
It is also necessary connect you RPI2 to your router through ethernet to have internet connection (At least until you download all the applications and plugins or if you don't have a wifi dongle).
3. Access to the Netbeast dashboard :
The Netbeast dashboard is the platform where users can install applications and plugins in order to start controlling smart devices.
There are two ways to access to the netbeast dashboard :
If you have a wifi dongle access to the Network called Netbeast-$Animal which has been created automatically on boot with these credentials:
- SSID: Netbeast-animal
- Password: netbeast
Then, go to your favourite browser and type on the url bar
"http://home.netbast"
If you don't have a wifi dongle, go to your favourite browser and type on the url bar
"http://IP_Assigned_by_your_router_to_the_RPI2"
If you want to know how to find out the IP which has been assigned to you RPI2 go here
After this process, you can access to the Netbeast dashboard, and you will see something like this :
4. Install the Padjs Application through github option :
Link: https://github.com/jsdario/padjs
5. Install Sonos, Lifx and Philips Hue plugins :
6. Let's Play! Remember you have to configure all your hardware on the network where the RPI is connected
If you miss some step or you don't understand something, feel free to comment.
Join our slack community channel here
You can find more information in our documentation
Don't forget subscribe and visit netbeast.co
Remember you can collaborate with us! We are Open Source!


Comments
Please log in or sign up to comment.