


Hardware components | ||||||
 |
| × | 1 | |||
Software apps and online services | ||||||
 |
| |||||
Hand tools and fabrication machines | ||||||
 |
| |||||
 |
| |||||
 |
| |||||
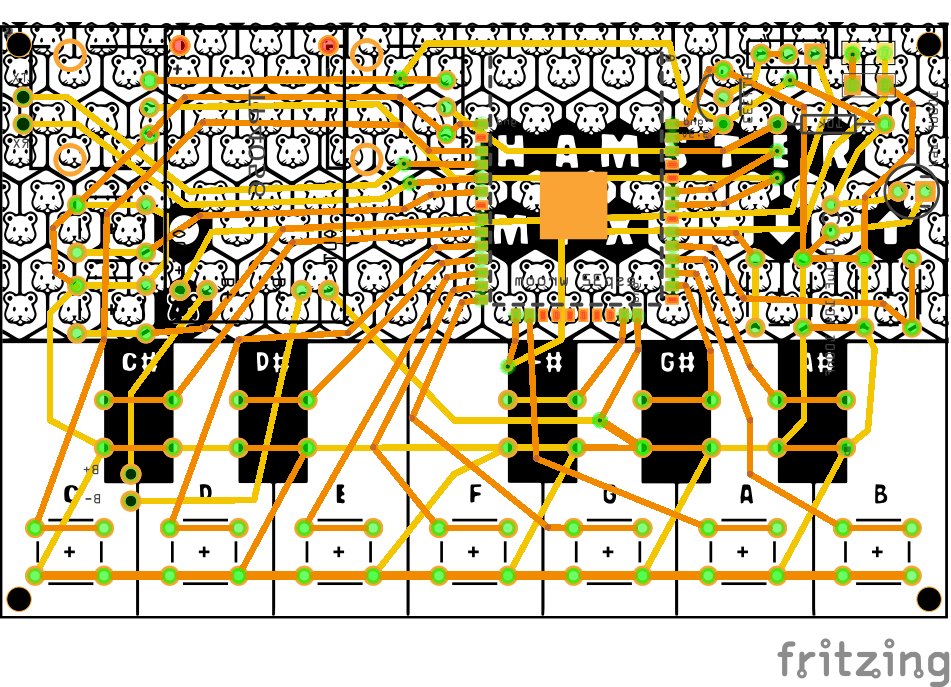
After designing and having a PCB board printed, I’m ready to start soldering the components for which I’ll provide a short overview in how I build my Hamster Mix Piano.
The hardest part is aligning the ESP32 chip. We need to solder each point, making sure two pins do not connect with each other. I’ve 3d printed my own jig to hold the chip to make it easier to exactly align the chip where I want it.
I start by soldering just a few points to hold the chip in place. I only solder the pins needed and leave the rest unsoldered. Once you have a few pins soldered you no longer have to hold the chip in place and can let the solder points hold it on.
If you make a mistake and need to remove some solder, you can use a desoldering wick to suck up the excess solder. A solder pump also works well to remove extra solder from any holes in the board.
Use a multimeter to confirm the solder points aren’t touching. I confirm that the positive and negative solder points read around 330. The esp32 needs around 3.3v volts so should read close to 330.
Next we want to solder on various access points like TX and RX. These let you program the board and upload code through Arduino.
You can confirm your solder points were correctly made by connect the pin to ground, which on this chip should read in the 500s.
When we want to upload code, we need to connect ground to pin 0. I have mounted a button so that I can hold it down when I want to initiate upload mode. When pin 0 is connected to ground at start, it puts the chip into upload mode so that code can be uploaded.
Pin 0, located at the bottom right-hand side of the chip, is connected to ground when the tactile button is pushed.
Next I line up the power management board to solder. I use a TP4056 power management board so that I can use a rechargeable LiPo battery.
To confirm everything is soldered correctly, I use my multimeter to confirm that each point is connected to other points on the board. It should read 0.00 meaning there is a solid connection.
Now that I have confirmed the rest of the components were soldered correctly, I make sure to solder the rest of my components.
I’ll snip off the excess wiring from the components.
Through carefully soldering, the board is complete.
Find out more about this project at Hamster Mix - Bluetooth Piano
See it in full display


Comments
Please log in or sign up to comment.