- Spray Paint
- Glossy clear coat spray paint
- 3mm acrylic sheet with protective paper still on
- Xacto Knife or sharp blade
- Pin backs
- Superglue or E6000
- Sandpaper (80 grit works great)
For Christmas 2016, Shayna and I created a custom boxed wine cover for our besties Lance & Lewis. Shayna's design was reminiscent of a Louis Vuitton pattern.
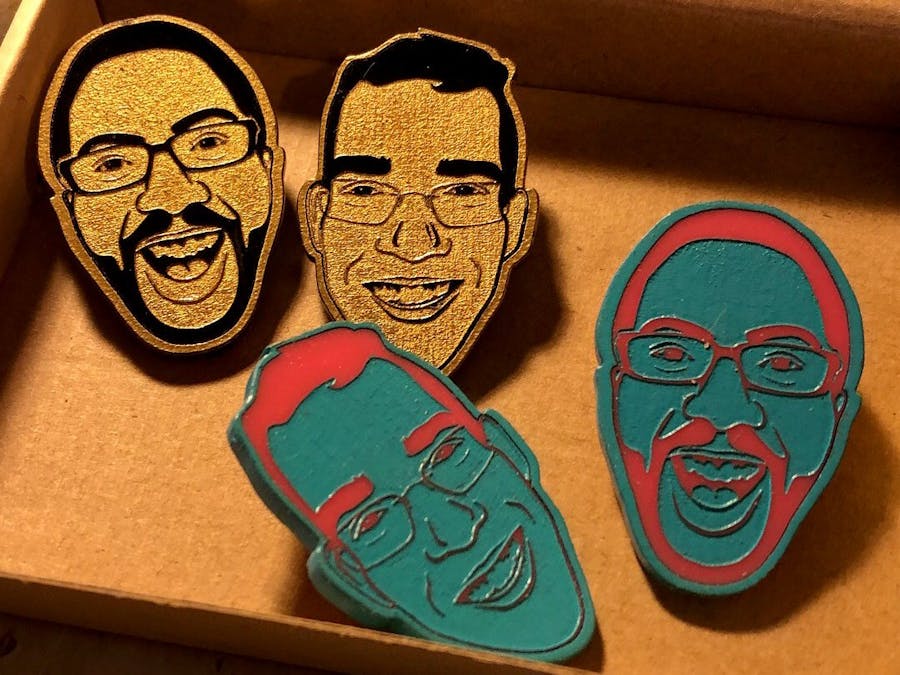
Fast forward to 2018, enamel pins are back and we now have access to a 40W CO2 laser cutter.
Step 1: Create the design in a program like Illustrator or InkscapeThis is where you'll create/modify your design. Remember, (in this example) wherever is black will be etched away by the laser. This is important because it is what will be the spray paint color.
Darker acrylic with lighter spray paint works well for the normal designs, lighter acrylic with darker (contrast) spray paint works well for the inverted designs.
Be careful in your design, very tiny lines make it more difficult to remove the protective paper later in the process.
Step 2: Cut out on Laser CutterSet up your laser cutter to etch away the black areas of the design.
Once that is done, you can cut out the outside outline.
Step 3: Spray Paint PinsSpray paint the pins, giving each an even coat. Let them dry for longer than you think is necessary. Any smudges or finger prints are pretty obvious.
Step 4: Remove protective paperThis is the really cool part, using an xacto knife, CAREFULLY remove the remaining protective paper from the pin.
I found that holding the blade almost flush with the surface and getting it just under the paper enough to lift it up works pretty well. Be careful that you don't scrape away the spray paint in the etched out areas.
Optional Step: Clear CoatI found giving it a glossy clear coat gives it that "enamel pin" feel. It also helps protect the paint in the long run.
Optional Step: Create Jig, Etch in pin holeI've been etching out a circle for the pin back to go into. It keeps everything flush and gives the glue a little more tooth to grip onto.
To do this, I took just the outline, and flipped it horizontally. Then cut them out on cardboard to make a jig. Then place the pins face down in the holes, and run the laser cutter to only etch a 10mm (the diameter of my pin backs) into the top/back of the pins.
Step 5: Glue Pin to Fauxnamel PinThis part is easy, I sand (80 grit) the pin back slightly, and use my xacto blade to give a few good scrapes into the newly etched circle.
Carefully put a bit of glue (both superglue and E6000 work) into the etched circle, and firmly press the pin (with cap still on) in.
Now's the hard part... DON'T TOUCH THEM UNTIL THE GLUE IS TOTALLY DRY. I do this at the end of the night and come back in the morning.
Step 6: Enjoy!

.jpg?auto=compress%2Cformat&w=40&h=40&fit=min&dpr=2)


.jpg?auto=compress%2Cformat&w=60&h=60&fit=min&dpr=2)
Comments
Please log in or sign up to comment.