Hi Guys! Wouldn’t it be really cool if whenever a room gets dark, a light bulb automatically turns ON and eliminates the darkness? In this very simple project, I am focusing on eliminating darkness. You can even use this as an emergency lighting system.
Steps:
- Connect the 3.3V of arduino to the positive rail and ground to the negative rail of breadboard.
Connections for LDR sensor:- Place the LDR on the breadboard and attach the 10k ohm resistor to one of the legs of LDR. Connect the A0 pin of arduino to the same column of resistor and LDR.
- This is to fetch the intensity of light from LDR to the arduino through A0 pin.
- Connect the other end of resistor to the negative rail of breadboard.
- Connect the other end of LDR to the positive rail of breadboard.
Connections for LED:
- Place LED on breadboard and connect positive end of LED to the 220ohm resistor.
- Connect the other end of resistor to the pin 13 of arduino.
- Connect the negative end of LED to the negative rail of breadboard.
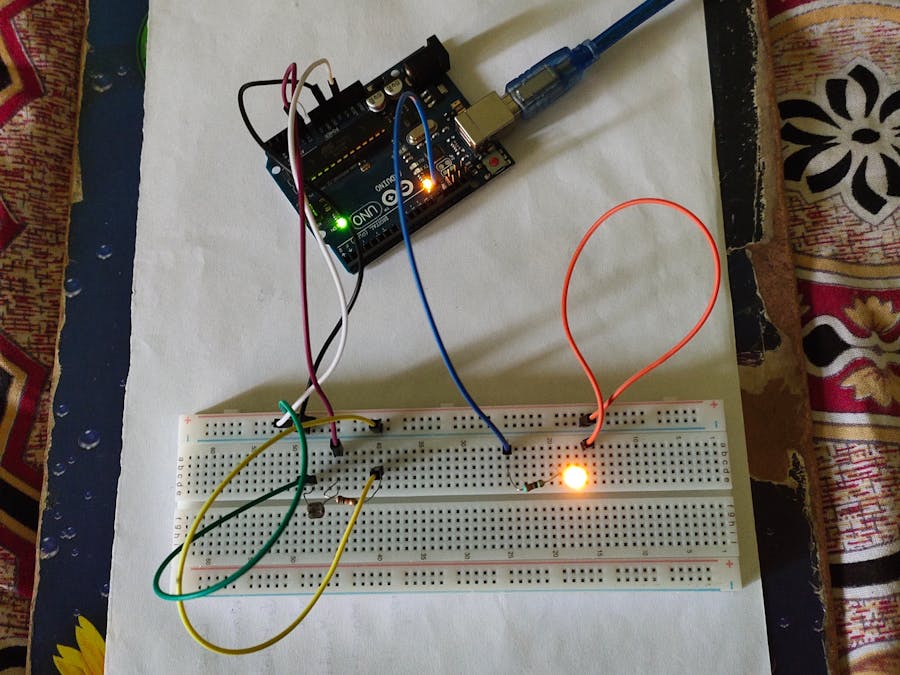
The setup is now ready. Now load the code in Arduino IDE and then upload it to Arduino. Check the light intensity near LDR. Try changing the Brightness of light near LDR sensor.
The Final Project:


_ztBMuBhMHo.jpg?auto=compress%2Cformat&w=48&h=48&fit=fill&bg=ffffff)


_OdyH7WqphF.png)


_OdyH7WqphF.png)
Comments