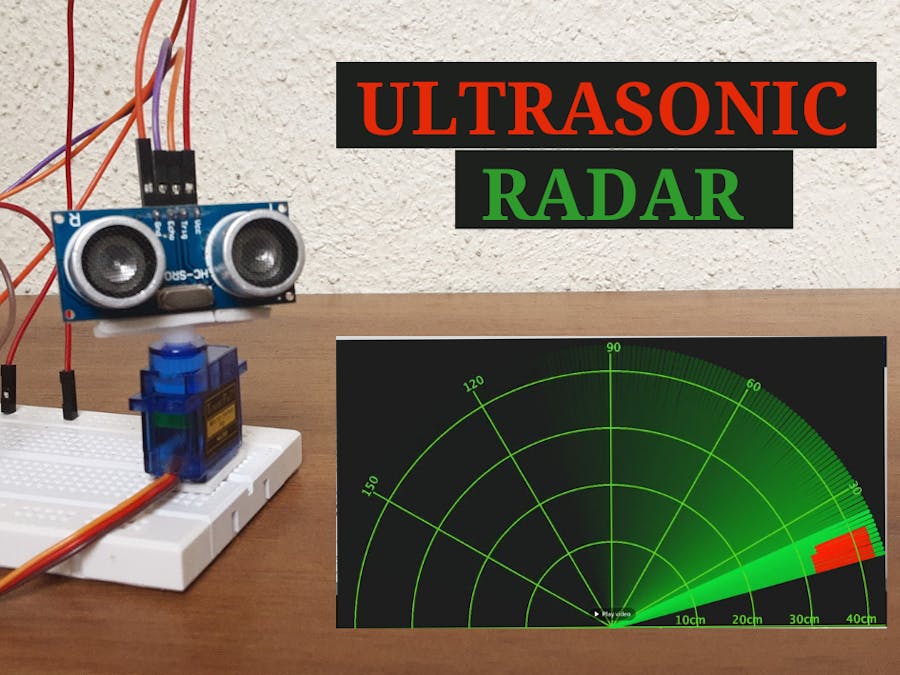
Scroll down to read more about how to make a radar with ultrasonic sensor and Arduino. The programming is done in the Arduino IDE and the radar is displayed using the Processing IDE.
In simple words this is how the project works. The ultrasonic sensor is mounted on a servo motor which rotates sideways. The sensor scans he area within it's distance (around 200cm far).
If there is no object in a specified range let's say that there is nothing in front of the sensor at about a distance of 40cm then all green lines are display on the radar.
On the other hand if we place an object within the 40cm range then the sensor detects the object and that is indicated by the red lines on the radar.
Building the project-
I always start with the hardware connections first so that I remember the pin number while writing the code.
First I connected the Ultrasonic sensor with the Arduino Board in the following way:-
VCC -5V
GND-GND PIN
TRIG -2
ECHO-3
Then next I connected the servo motor as follows:-
RED wire - 5V
BROWN wire- GND
ORANGE - 4
Once all the connections were done I stick the ultrasonic sensor on the servo motor with a glue gun (it doesn't stay for long but is great as a temporary solution)
Moving forward with the coding part I created a function to measure the distance from the sensor and then inside a loop I gave command to rotate the servo motor from left to right.
In the Processing IDE simply open the code for radar and mention the PORT name and then run the program.
Try bringing an object near the sensor and you will see a difference in the pattern of the radar
(P.S I forgot to take pictures of the process so forgive me for that but I am uploading a video hope that it will be helpful)


_ztBMuBhMHo.jpg?auto=compress%2Cformat&w=48&h=48&fit=fill&bg=ffffff)


Comments
Please log in or sign up to comment.