


- INTRODUCTION: -
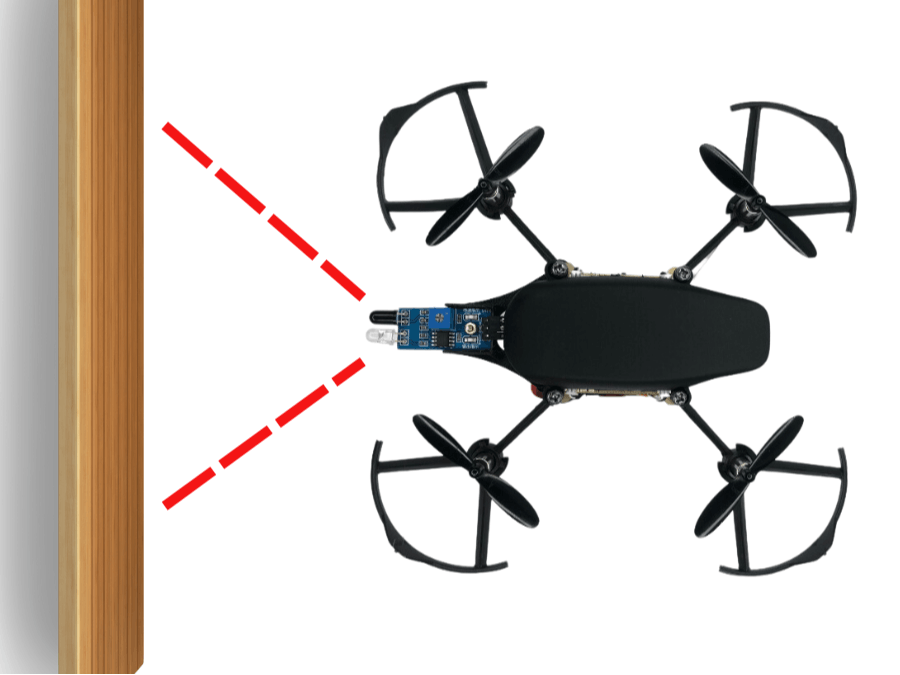
In this project we will delve into the integration of an IR (infrared) sensor in Pluto 1.2 and learn how to tinker with it. We are going to use this IR sensor to avoid the drone from crashing from the frontal direction. This guide will equip you with the knowledge and skills to leverage IR sensors effectively within the Pluto ecosystem.
- OBJECTIVES: -
• To learn how to integrate an IR sensor with Pluto 1.2
- PROBLEM STATEMENT: -
We will use the IR sensor to sense an obstacle and make the drone move backwards and then again be available to be controlled by the user.
- APPROACHING THE PROBLEM: -
Initially we need to understand how an IR sensor works; what values does it provide while it is sensing an obstacle and when its not. And later how to use those values to calibrate the drone’s motion. So firstly, you need to know the hardware connections for which you need to know about the GPIO 10 pin.
GPIO PINS: -
GPIO (General Purpose Input/Output) pins are a fundamental feature of many microcontrollers; these pins serve as flexible interfaces that can be configured to either input or output mode, allowing the microcontroller to interact with external devices and circuits. Similarly, the pin 10 is used as an interface between the IR sensor and Pluto 1.2 flight controller, where the sensor values are transferred through.
- MOUNTING AND CONNECTION: -
PRIMUS (BOTTOM) AND IR SENSOR (TOP)
Like shown above, you need to properly connect the ground, ppm and power pins of Pluto 1.2 to the IR sensor pins respectively. (Zoom to avoid misunderstanding)
- SOLUTION: -
- EXPLANATION OF THE SOLUTION: -
Firstly, we understand that when IR sensor senses an object in front of it, it gives the value ‘0’ and when the surrounding is clear it gives ‘1’. So before starting the logic of how the drone should be acting, we need to give an entry condition wherein the action code should only work if the IR sensor is giving ‘0’ as its value. After reading the pin 10 where the IR sensor is connected, we check if its ‘0’ and add a ‘not’ function to make the ‘0’ as ‘true’ as the if statement would work only if the condition is true. Further, after the IR sensor has detected an obstacle, the drone needs to move backwards(pitch backwards) to avoid a crash. Do not use desired pitch.
Which is why we use RC pitch which works on calibrated values that go from 1000 to 2000 wherein 1500 being the neutral pitch where it neither moves forward nor backwards. 1000 pitch is also a very strong backwards pitch but it is given because of the high momentum of the drone while moving forwards and it is kept this high to be on the safer side.
Later, the pitch control is again given in the user’s hands by setting the pitch as the pitch received from the RC in the pilot’s hands (mobile phone). Do not keep this command outside the else condition or else the previous condition won’t work properly.


Comments
Please log in or sign up to comment.