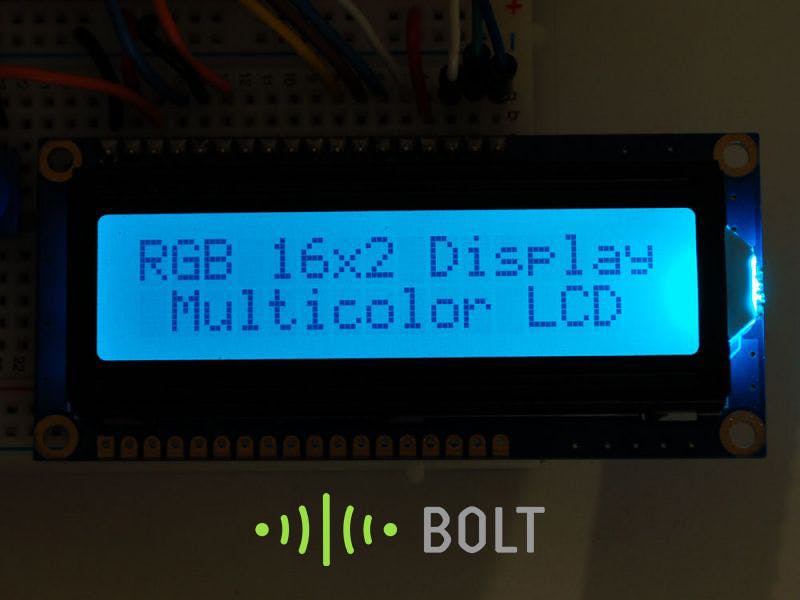
Imagine you wanted to keep track of the cricket score, or the current price of a stock you have your eye on, or maybe evenhow many likes you have on a specific post on facebook, all while having to work on the very important report. Checking up on any of these would mean you would have to go throug the steps of unlocking your phone, going to the specific app and searching for the specific iformation, and then viewing it. Now imagine you could track any one of these things with just a single glance.
With the help of Bolt IoT platform you can get this kind of display up and running in just a few minutes.
Bolt was recently launched via a Kickstarter campaign and was more then 484% funded. It is now available via Indiegogo Indemand. Click here to know more . Bolt IoT also offers a lifetime cloud access to the early adopters who buy it via the Indiegogo Campaign, so do check it out soon.
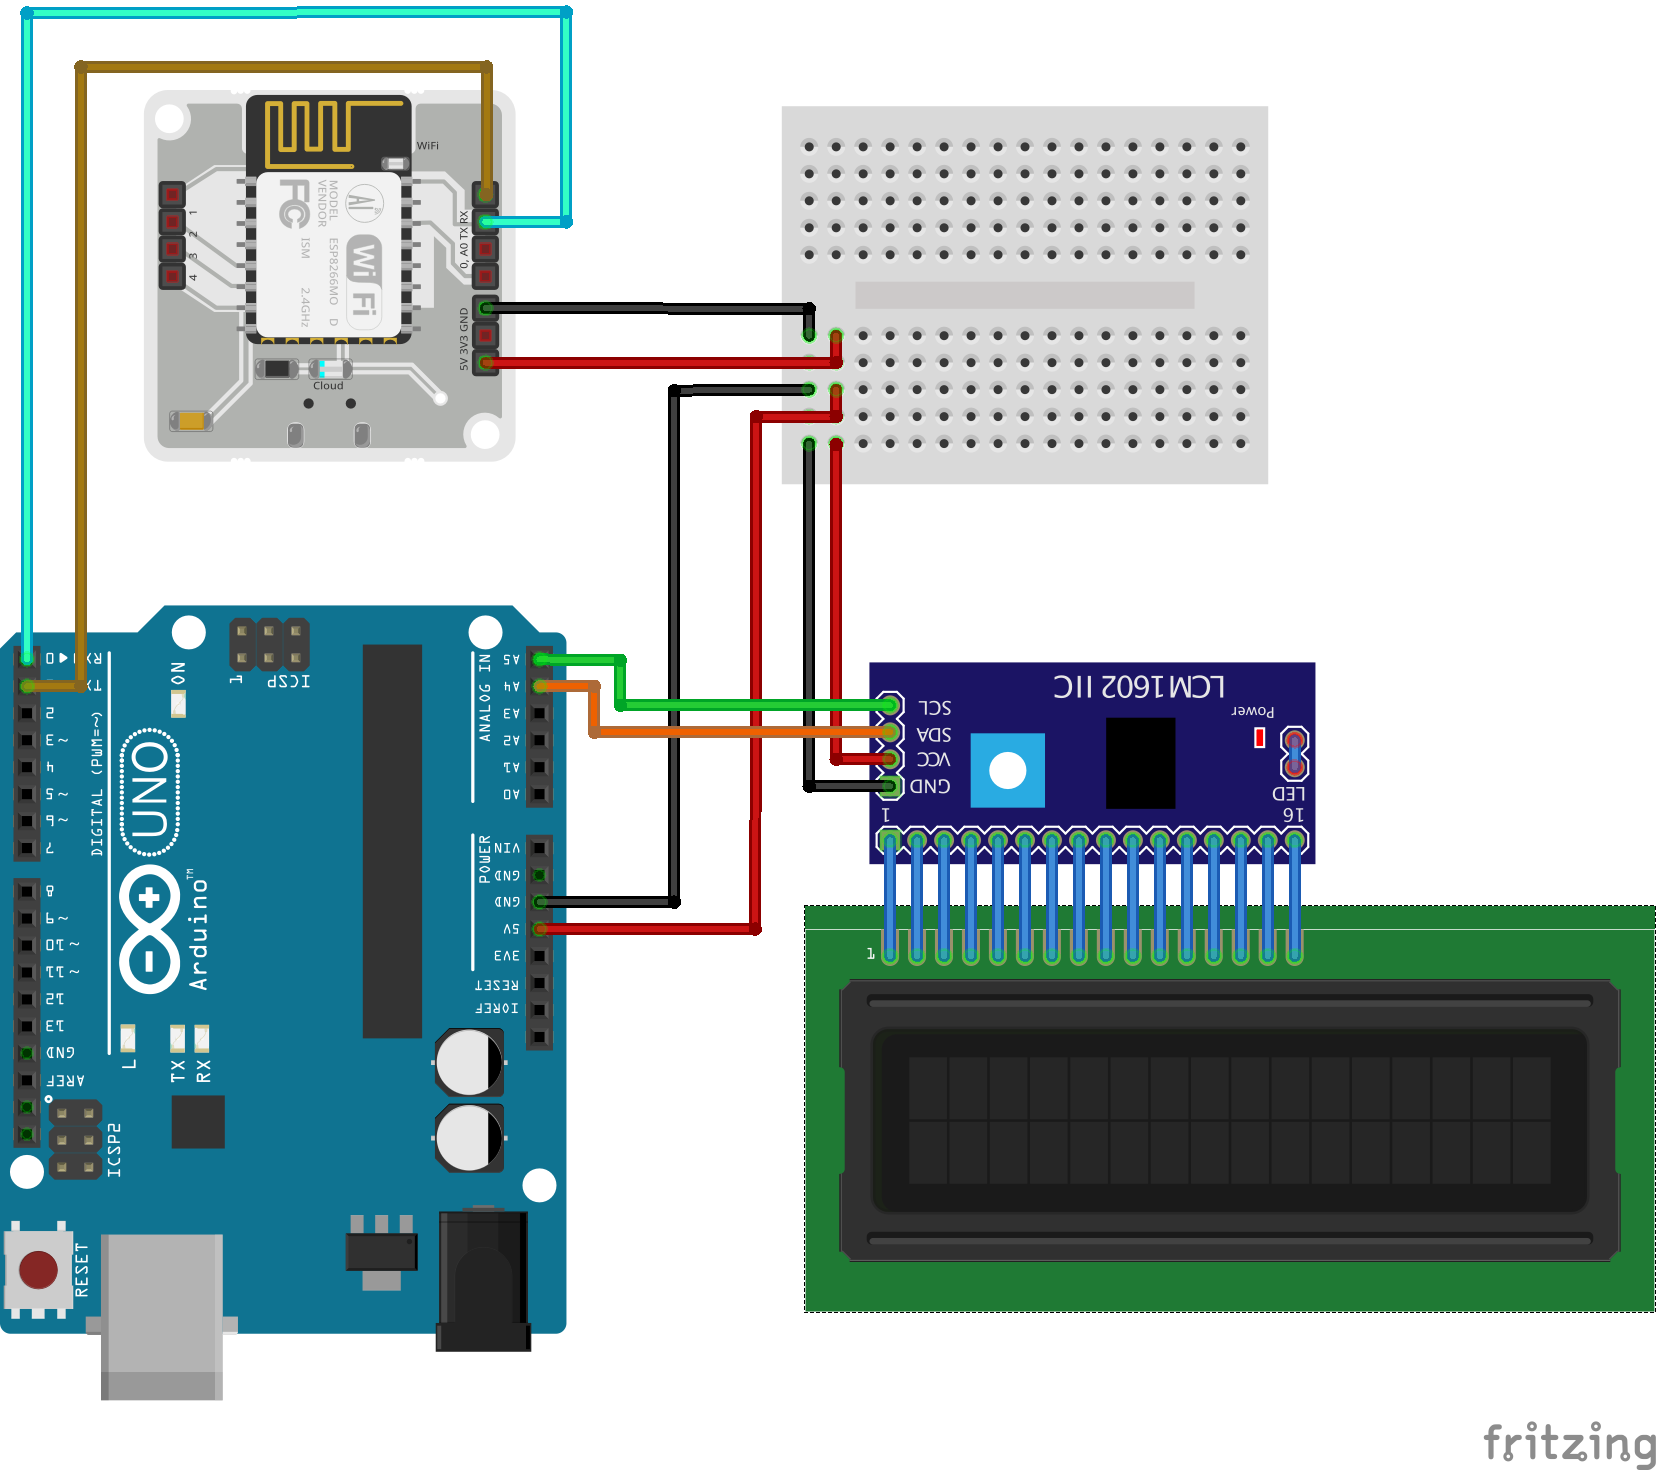
Hardware setup:This project builds on Interfacing with controller section of the BoltIoT docs , and the connections may seem overwhelming at first, but when you get into it, the connections get done pretty quickly.
The use of an I2C enabled LCD display reduces the effort required to connect the LCD to half. It has only 4 connections (Compared to a regular 16*2 lcd which has 16).
Step 1) Connect the LCD to the Arduino as follows
- SCL of the lcd goes to A4 of Arduino.
- SDA of the lcd goes to A5 of Arduino.
- VCC of the lcd goes to 5v of the Arduino.
- GND of the lcd goes to Gnd of the Arduino.
Step 2) Connect the Bolt WiFi unit to the Arduino as follows
- Tx of Bolt to Rx of Arduino.
- Rx of Bolt to Tx of Arduino.
- Gnd of Bolt to Gnd of Arduino.
- Vcc of Bolt to Vcc of Arduino.
Please refer to the following Fritzing diagram to simplify your connections.
The LCD along with the Bolt unit draws quite a bit of current from the system. Use of DC adapter is recommended.
Software setup:- Step 1) If you have not already done so create a Bolt Cloud account here.
- Step 2) Download the Bolt app (for Android and Iphone), and follow the steps in the app to connect your Bolt WiFi module to your WiFi. (Skip if already done)
- Step 3) Download the Arduino code from here. Flash it into the Arduino Uno(Do remember to disconnect the Bolt unit while doing so. The serial programming sometimes gets messed up due to it's presence.)
- Step 4) Login to cloud.boltiot.com and note the ID of your Bolt WiFi Module.
Now click on the API Tab and under the section for Generate Key, click on Enable.
Next click on the copy button to copy your API key. Your API key will may look something like this: f1f918e9-d9c2-4e5b-aed0-b7cb743f74cf
- Step 5) Save the following code as lcd_control.html, and open in in a browser. Once you enter the required data into the form, the form will run the command and also show you what the command looks like so that you can use it in your custom monitoring code.
Disclaimer: I am an Electronics engineer, and as such very new to javascript. But I have tried to put in all interlocks required to ensure that you can have the api call generated in a proper manner. If you face any issues do drop me a message, I will do my best to help you out.
ConclusionHave a go at this project and in case you like our Cloud Connected Display, check us out on Indiegogo, back us, and spread the word! We have exclusive discounts for developers and the first batch of Bolts ships out in February 2018.
Here are some other interesting projects around the Bolt IoT platform:
Also here are some projects based on this blog
Got-Ya'sThere is a possibility that the display ends up showing your message in the following manner (see image below). This bug was detected in the Bolt Wifi module Firmware version 1.0.4 and fixed in the Bolt Wifi firmware version 1.0.5. If you see this error just follow the instructions, just use fing (Android and Iphone), to find the ip address of the Bolt Unit, and run the following command with it in a browser. The problem should go Away.
ip.addr.of.Bolt/update
Full Disclosure: I am an Embedded systems developer of the Bolt IoT Platform. So I will praise it quite frequently during this blog, not only because I have to sell it but also because I sincerely believe that one of the best IoT platform ever. I have used many other IoT Platforms in the past and Bolt makes IoT development seamless like none other.


_ztBMuBhMHo.jpg?auto=compress%2Cformat&w=48&h=48&fit=fill&bg=ffffff)


Comments
Please log in or sign up to comment.