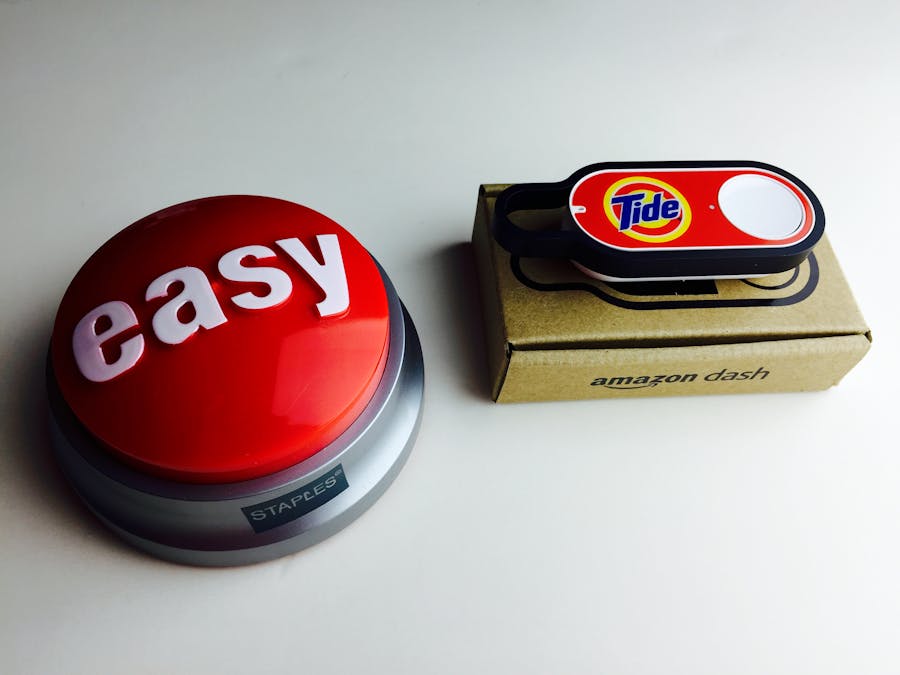
The AmazonDash button its all the buzz lately. Regardless whether you think it is the greatest invention or just a passing fad, it is a nice little IoT device. There is already work underway to try and make it work with custom code.
There are a couple crowdfunding projects (flic and btn) that are attempting to create a custom IoT button as well. But both come with a high price tag (around $100).
This is where the up and coming ESP8266 MCU can shine. For under $3 you can have a wifi chip plus a programable micro-controller. You just need to add a cheap button (like the Staples Easy Button for around $7.) Add good ol' IFTTT and you will be set to go with your custom IoT button for about $10.
UPDATE: I created a v2 version that is more energy efficient plus it has OTA wifi configuration! Check it here.
UPDATE: I created a v2 version that is more energy efficient plus it has OTA wifi configuration! Check it here.
First you need to flash your ESP-01 with the latest NodeMCU firmware. I used this nice breakout board from the hackaday store, but all you really need is a USB-to-Serial cable adapter and provide separate 3.3v to the ESP-01. Here is a really nice tutorial on how to program the ESP-01.
Head over to IFTTT Maker Channel and create key with a trigger named "button".
Once you have uploaded the latest NodeMCU firmware. All yo need is to upload init.lua, button.lua and ifttt.lua. Don't forget to modify your SSID, password, IFTTT trigger and key.
Open the Easy Button (you can find more detailed pictures in here). Remove the original speaker. Make a square opening to leave enough space for the ESP-01. Solder the button in the existing board and wire it all up.
That was easy!
*This version is not energy efficient. The 2 AA alkaline batteries will last about 2 days. I am working on a more energy efficient version by either putting the ESP-01 to deep sleep or using CH_PD to wake/shutdown.
UPDATE: I created a v2 version that is more energy efficient plus it has OTA wifi configuration! Check it here.


Comments
Please log in or sign up to comment.