Note: This tutorial could be outdated, please go here for a more current version.
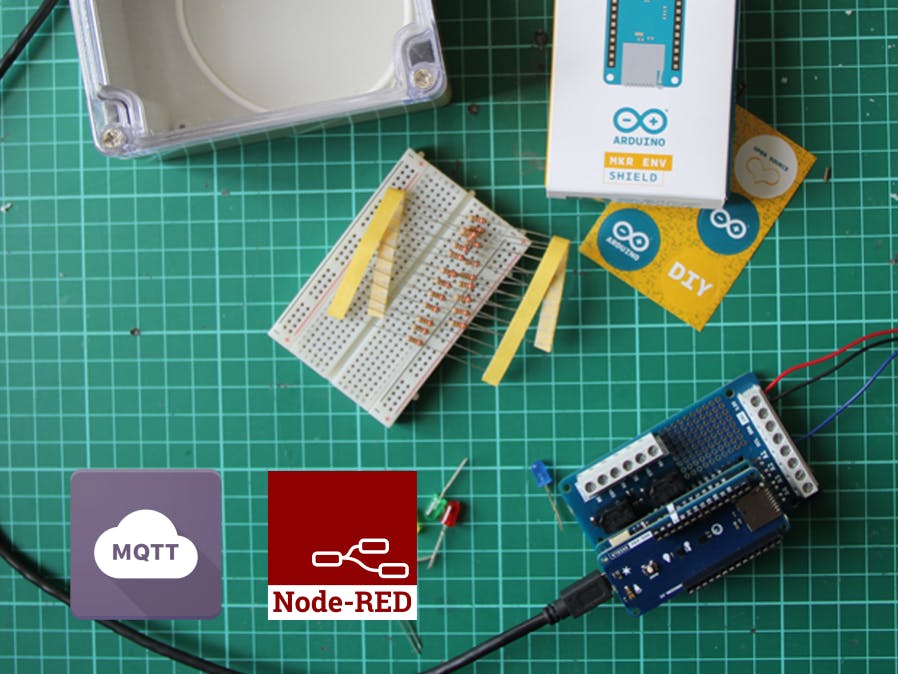
We are going to make our MKR IoT Bundle connect to a local server (this very same technology could be hosted on AWS or wherever).
The connection is going to be held throught MQTT, a lightweight message protocol developed for machine to machine communication.
In order to do this we need to do some work on the server side. I'm using a Raspberry PI with Node-RED on it, but you can host an instance of Node-RED on Windows/MAC/Linux or on the Cloud (Bluemix, AWS, etc..).
This tutorial heavily relies on Interfacing Arduino MKR or ESP via MQTT - Node-RED 101 we did back in January. We are touching all the points and adding the data visualisation, but don't hesitate to go through that tutorial in order to see all the steps in the setup of the cloud instance.
The ServerIn order to prepare your Node-RED instance propery you need to install two Nodes: Node-RED Dashboard and an MQTT brocker written in node.js.
Once you are done, copy the flow you find in the sowftare section in your palette by doing import > clipboard
We are using the Iot Prime MKR Bundle to visualise Light, Humidity, Pressure and Temperature using MQTT. We are going to create a channel for each one of this data, as well as the two relays.
We'll be using the MQTT Library by Joël Gähwiler 256dpi (you should be able to run everything from your Arduino Online Editor sketch, bu adding Wifi infromation to have the board conneting to the internet.
Don't forget the MKR_ENV Library you need to use the data from the board (if going with the online IDE, it's going to be impoted automatically 👌
The sending of the data is done in loop:
 // read enrivornmental data
 float t = ENV.readTemperature();
 float h = ENV.readHumidity();
 float p = ENV.readPressure();
 float l = ENV.readLux();
and later published, casted ina a string()
 if (millis() - lastMillis > 1000) {
   lastMillis = millis();
   client.publish("/hello", "world");
   client.publish("/temp", String(t));
   client.publish("/humidity", String(h));
   client.publish("/pressure", String(p));
   client.publish("/light", String(l));
 }
In oder to read the value of the pushbutton of the Node-RED Dashboard, I've nested two condition inside of the messageReaceived function.
If the topic is /relay1 or relay2, trigger it (and trigger the onboard LED, as a notification)
void messageReceived(String &topic, String &payload) {
 Serial.println("incoming: " + topic + " - " + payload);
 if (topic == "/relay1") {
   if (payload == "true") {
     digitalWrite(R1, HIGH);
     digitalWrite(led, HIGH);
   } else if (payload == "false") {
     digitalWrite(R1, LOW);
     digitalWrite(led, LOW);
   }
 }
 if (topic == "/relay2") {
   if (payload == "true") {
     digitalWrite(R2, HIGH);
     digitalWrite(led, HIGH);
   } else if (payload == "false") {
     digitalWrite(R2, LOW);
     digitalWrite(led, LOW);
   }
 }
}
You can #copypasta the code and test & tweak it yourself. Don-t hesitate to comment in order to make this growing and developing!


Comments