


Hardware components | ||||||
_ztBMuBhMHo.jpg?auto=compress%2Cformat&w=48&h=48&fit=fill&bg=ffffff) |
| × | 1 | |||
 |
| × | 1 | |||
| × | 1 | ||||
| × | 1 | ||||
| × | 1 | ||||
 |
| × | 1 | |||
 |
| × | 1 | |||
 |
| × | 1 | |||
| × | 1 | ||||
 |
| × | 1 | |||
| × | 1 | ||||
Software apps and online services | ||||||
 |
| |||||
 |
| |||||
Hand tools and fabrication machines | ||||||
 |
| |||||
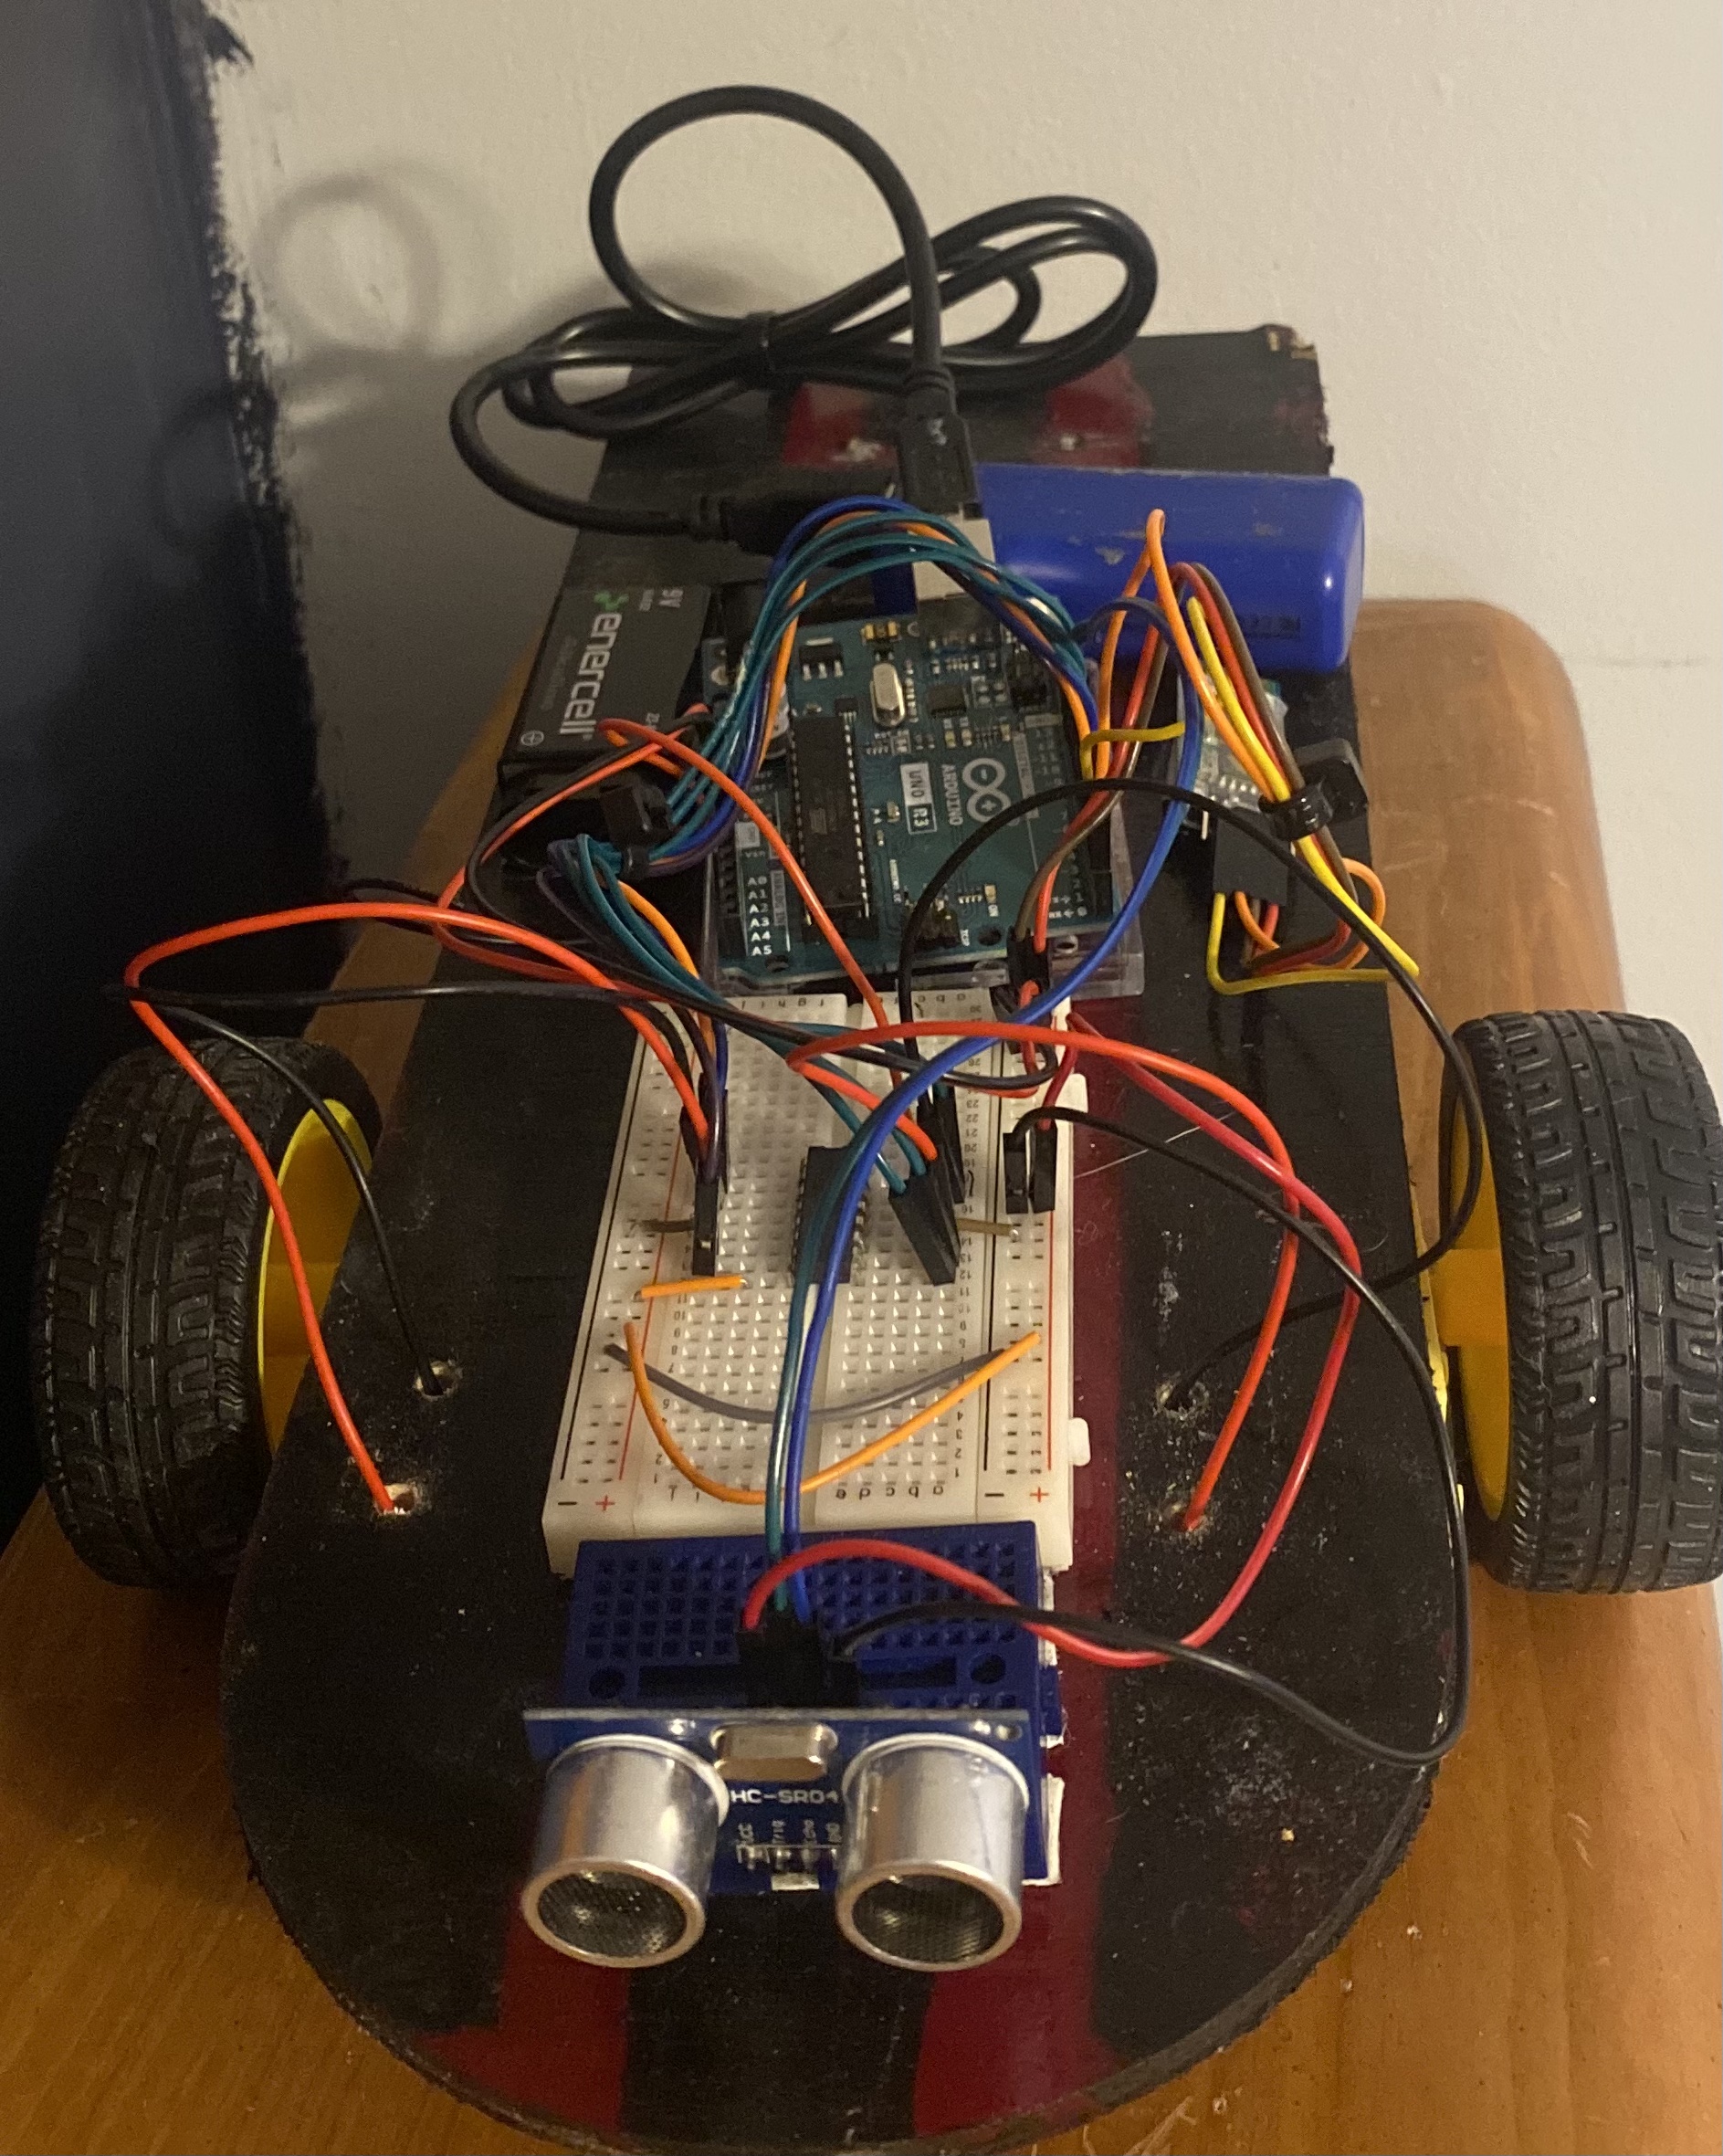
This project allows the user to control the direction of the car through the coding of an Arduino and MIT app inventor. Building and coding this RC car is a great learning experience for anyone who would like to learn how to use an Arduino and learn the basics behind MIT app inventor. The project also allows the creator to control the car's movements on their phone. I hope you enjoy this project.
Schematic
Attaching the jumper cables:
Connect 5v on the arduino to the breadboard
Connect GND on the arduino to the breadboard
Connect enable1,2 to digital pin 11
Connect input 1 to digital pin 8
Connect output 1 to the negative of the hobby gearmotor
Connect GND(4) to ground on the breadboard
Connect output 2 to positive of the hobby gearmotor
Connect input 2 to digital pin 7
Connect Vcc 2 to 9v battery
Connect enable 3,4 to digital pin 3
Connect input 3 to digital pin 4
Connect output 3 to the positive of the second hobby gearmotor
Connect GND(13) to ground on the breadboard
Connect output 4 to the negative of the second hobby gearmotor
Connect Vcc 1 to 5v on the breadboard
Connect input 4 to digital pin 5
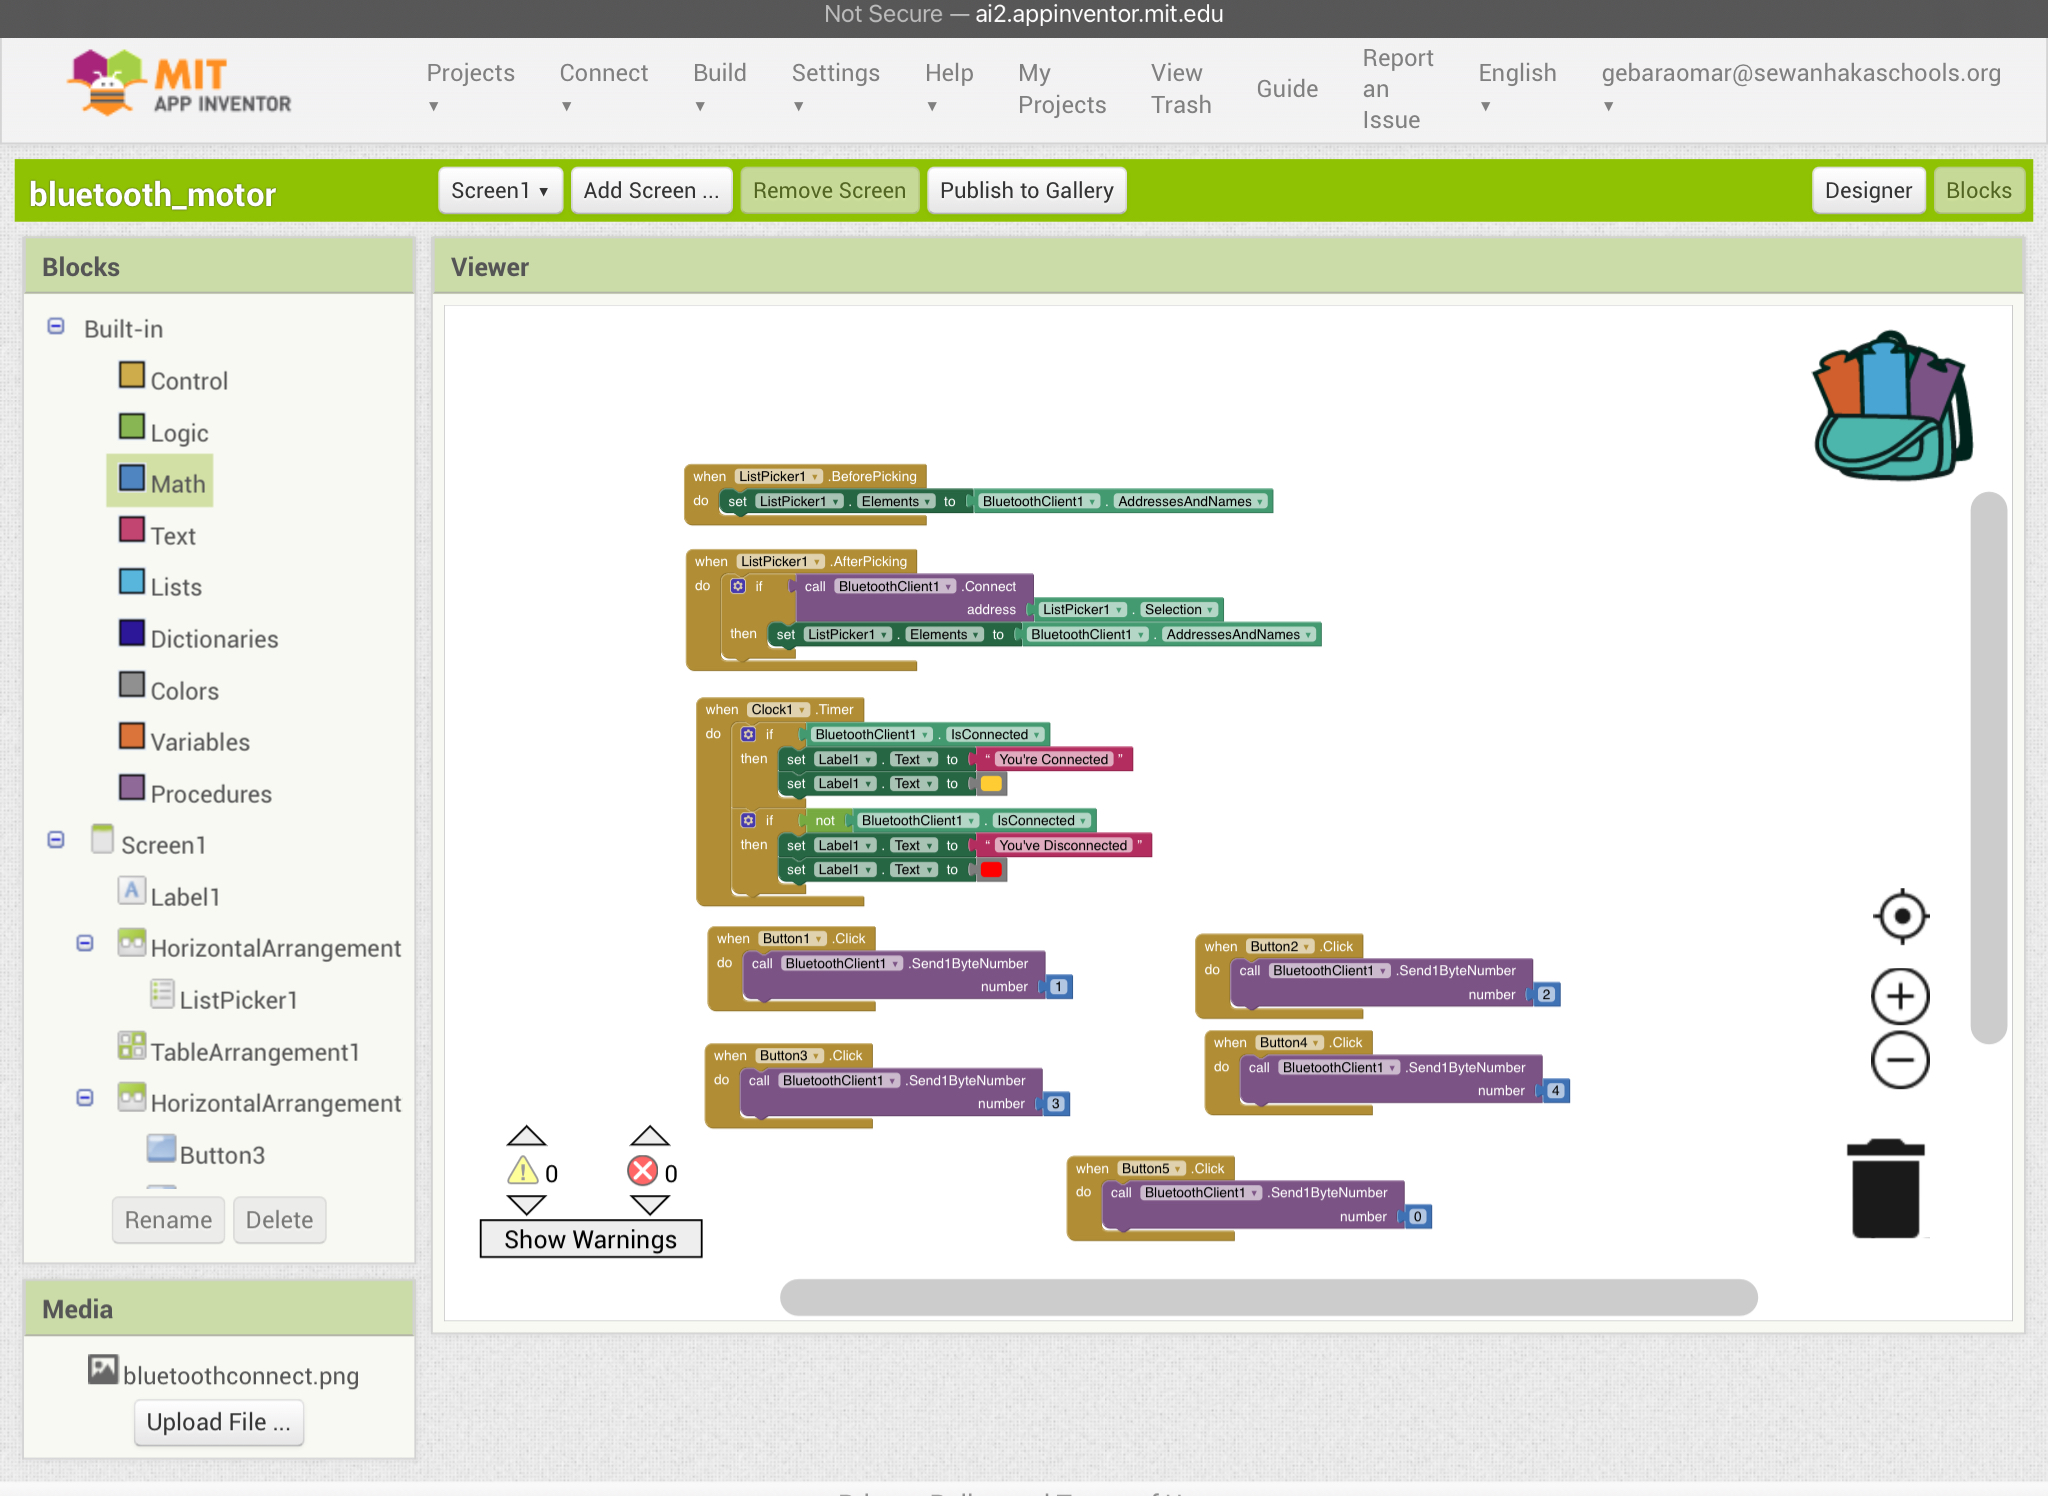
Connecting the Bluetooth module:
Connect Vcc to the power on the breadboard
Connect GND to the ground on the breadboard
Connect RXD to digital pin 1
Connect TXD to digital pin 0
Connecting the Ultrasonic Range Finder:
Connect GND to ground on the breadboard
Connect 5v to power on the breadboard
Connect echo to digital pin 10
Connect trig to digital pin 9
Connect 5v on the arduino to the breadboard
Connect GND on the arduino to the breadboard
Connect enable1,2 to digital pin 11
Connect input 1 to digital pin 8
Connect output 1 to the negative of the hobby gearmotor
Connect GND(4) to ground on the breadboard
Connect output 2 to positive of the hobby gearmotor
Connect input 2 to digital pin 7
Connect Vcc 2 to 9v battery
Connect enable 3,4 to digital pin 3
Connect input 3 to digital pin 4
Connect output 3 to the positive of the second hobby gearmotor
Connect GND(13) to ground on the breadboard
Connect output 4 to the negative of the second hobby gearmotor
Connect Vcc 1 to 5v on the breadboard
Connect input 4 to digital pin 5
Connecting the Bluetooth module:
Connect Vcc to the power on the breadboard
Connect GND to the ground on the breadboard
Connect RXD to digital pin 1
Connect TXD to digital pin 0
Connecting the Ultrasonic Range Finder:
Connect GND to ground on the breadboard
Connect 5v to power on the breadboard
Connect echo to digital pin 10
Connect trig to digital pin 9
_IGZlBcDLje.png)
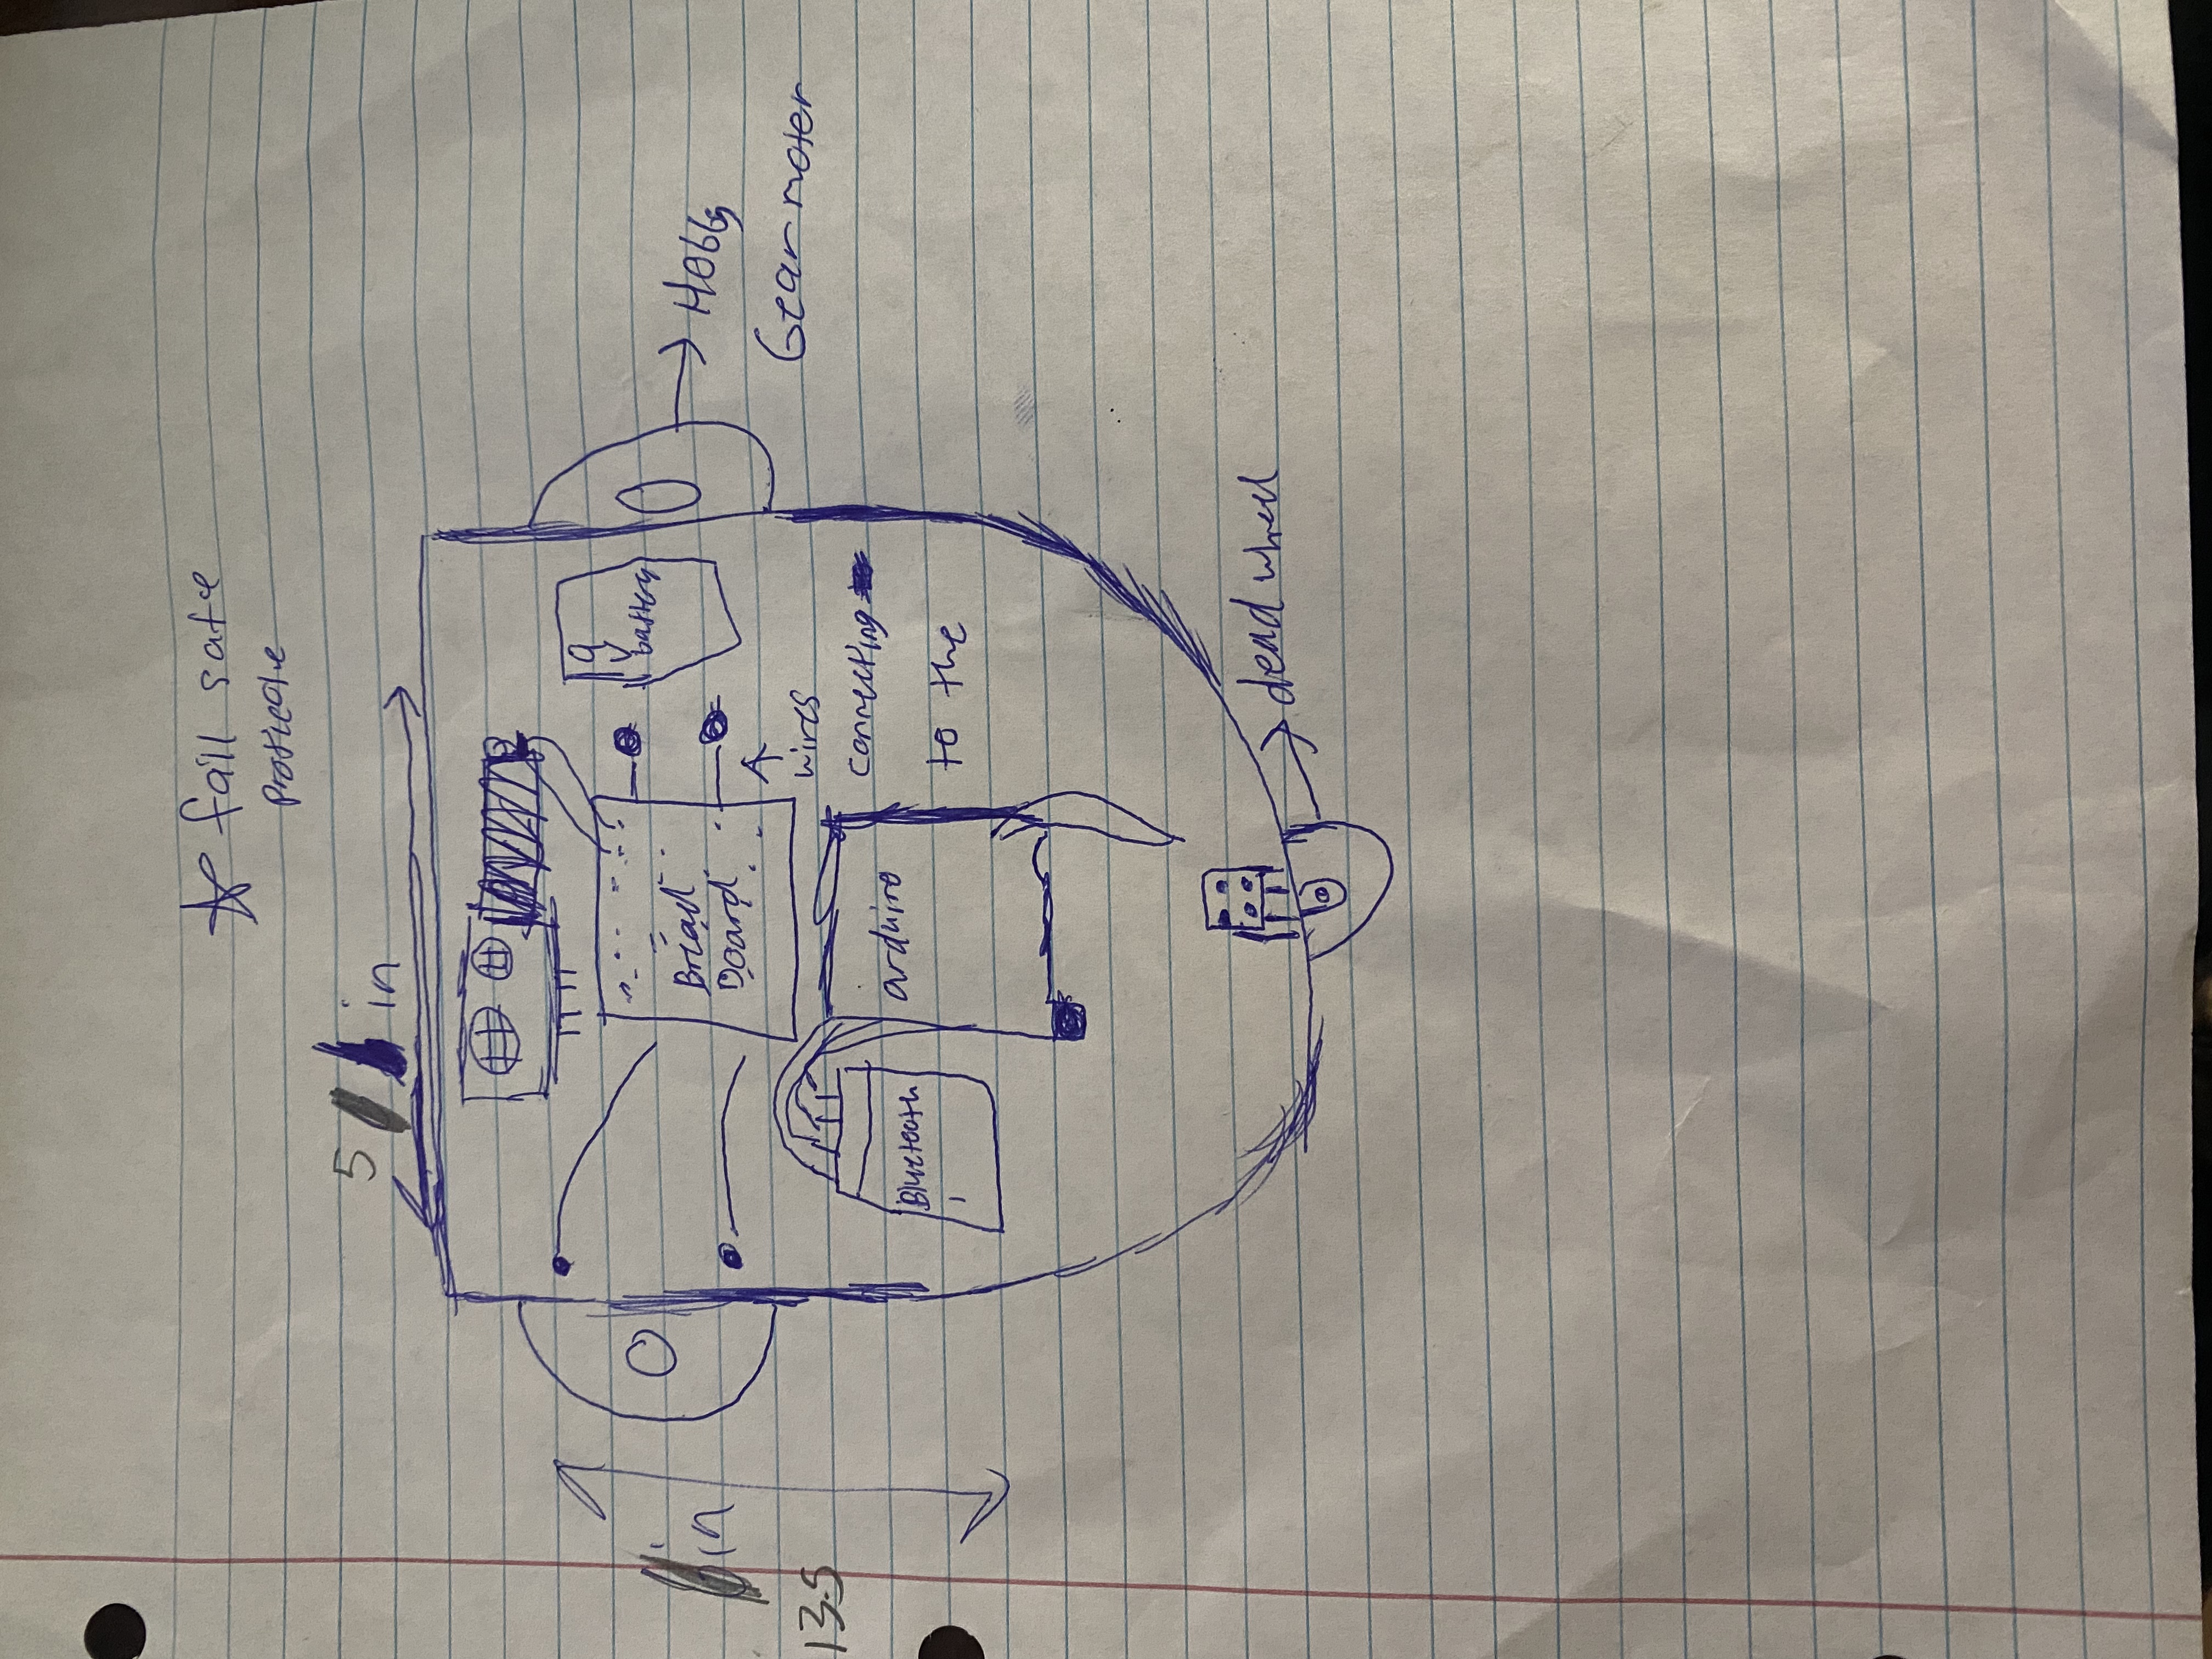
Sketch
It is good draw a project for a physical visualization and to label each component for clarity.
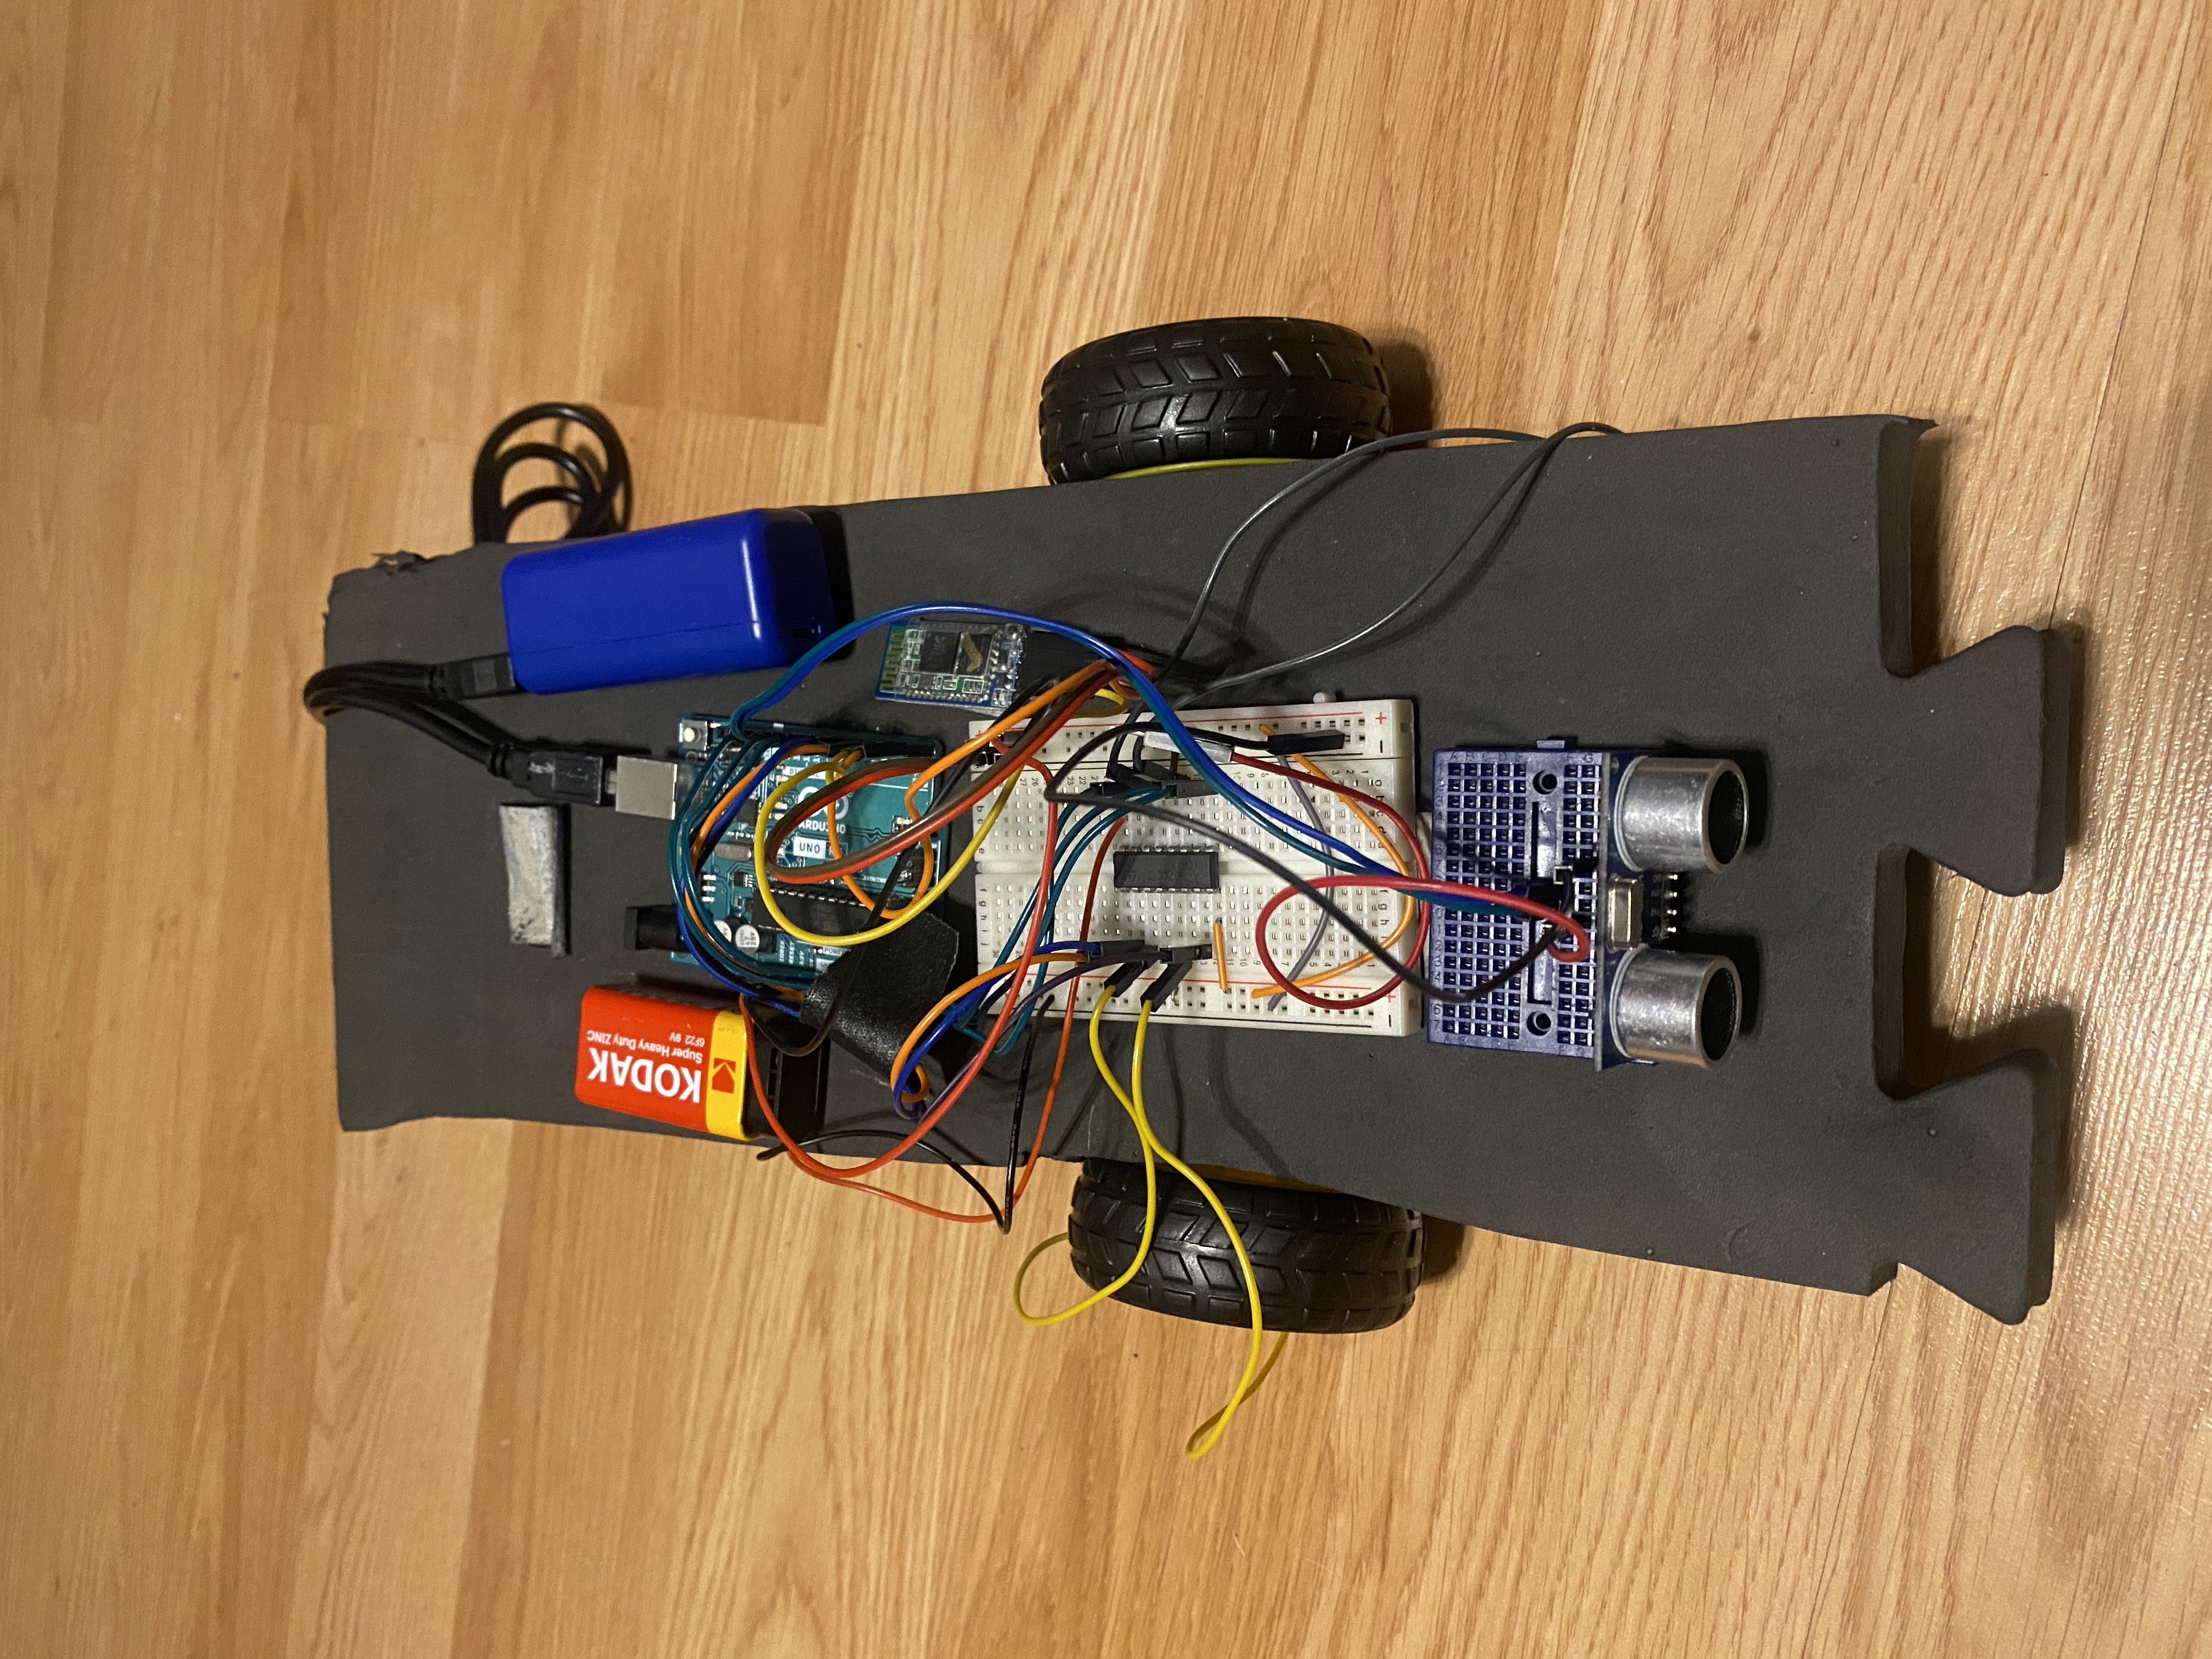
Prototype
Before building the final product of your project it is important to prototype the project. Through building this project on a smaller scale or a cheaper material you can adequately size and organize each part of the project.
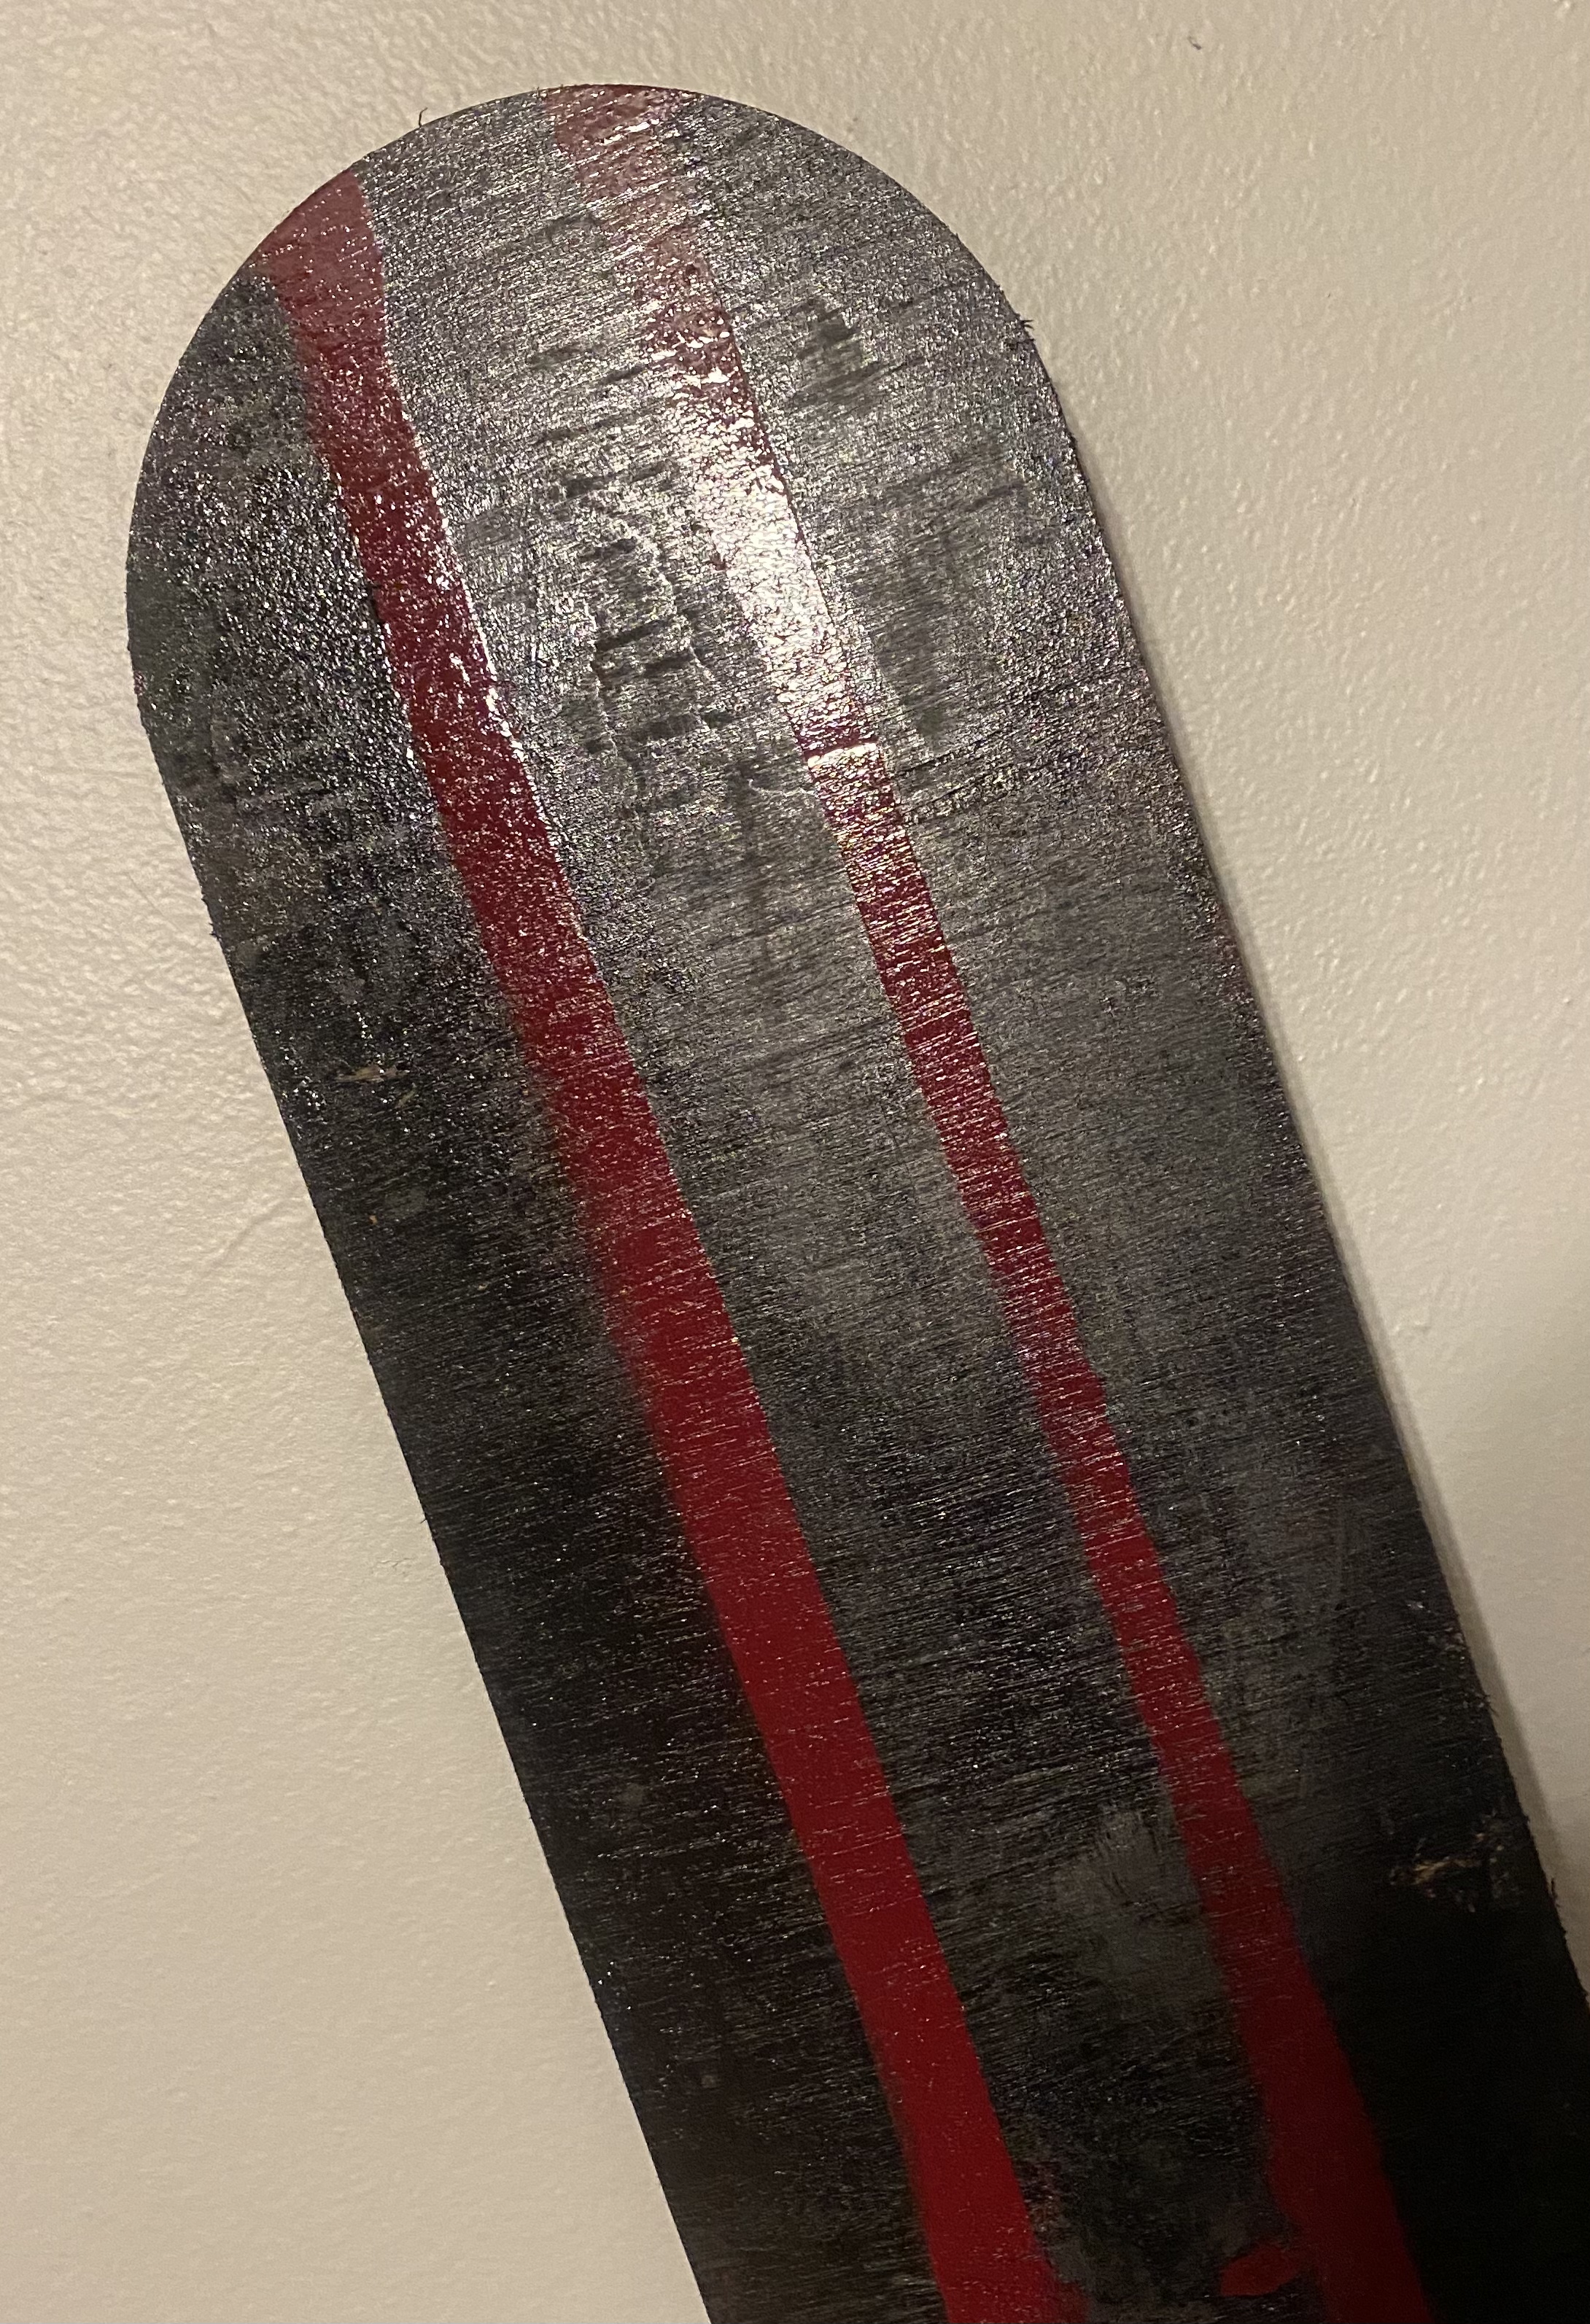
Style
Even though this is not an essential component of this project I chose to paint the wooden base that I decided to use. I did this to add my aspect to this project.


_IGZlBcDLje.png)
Comments
Please log in or sign up to comment.