MicroChip is the owner of Atmel, maker of the Atmega328p chip used in the Arduino Uno. They have two Interactive Design Environment programs that both work with the Uno, MicroChip Studio IDE and MPLabX. Archive versions of Atmel Studio IDE are still available.
In this project we install MicroChip Studio IDE from the website. We will not need to add any of the C/C++ compilers and just use the avrasm2 assembler installed by default. This keeps our installation under a GigaByte of space on the computer.
Open the IDE program. Create a new project through the menu File->New->Project or the keyboard Shift-Ctrl-N. Select Assembler and name the project Uno.
To run C or C++ programs you need to add suitable GCC compilers. The program scans the computer for compiler toolchains that it can use to generate programs for you.
Select Device Atmega328p
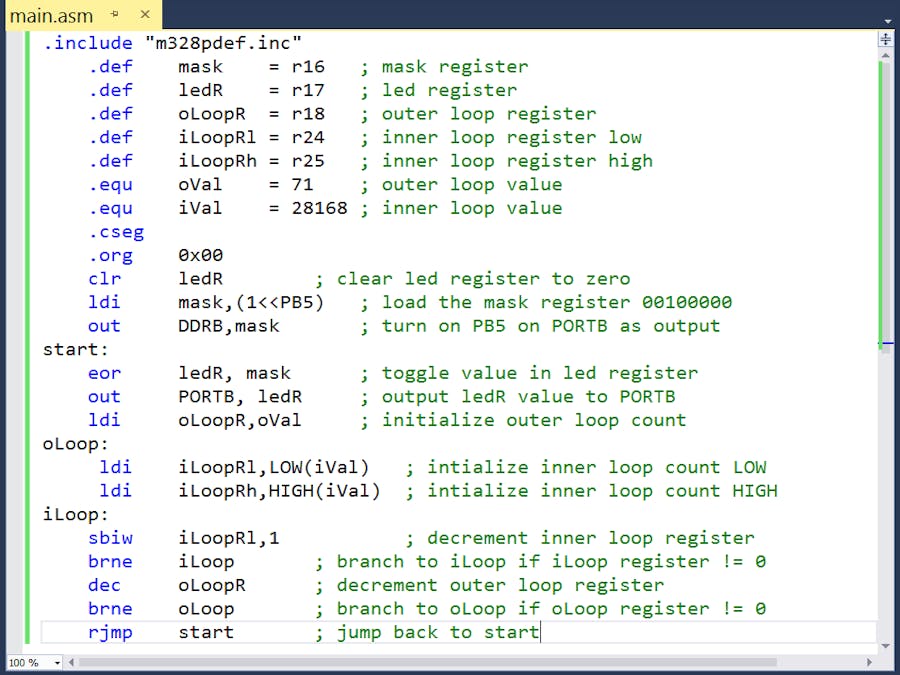
We will use this assembly code for our project. It makes the LED built into the Arduino Uno board blink about once per second. My other projects go into the details of the program so we will minimize discussion. The code is an attachment to this project, you may need to change the file name.
.include "m328pdef.inc"
    .def	mask 	= r16	; mask register
    .def	ledR 	= r17	; led register
    .def	oLoopR 	= r18	; outer loop register
    .def	iLoopRl = r24	; inner loop register low
    .def	iLoopRh = r25	; inner loop register high
    .equ	oVal 	= 71	; outer loop value
    .equ	iVal 	= 28168	; inner loop value
    .cseg
    .org	0x00
    clr	    ledR		; clear led register to zero
    ldi	    mask,(1<<PB5)	; load the mask register 00100000
    out	    DDRB,mask		; turn on PB5 on PORTB as output
start:
    eor	    ledR, mask		; toggle value in led register
    out     PORTB, ledR		; output ledR value to PORTB
    ldi     oLoopR,oVal		; initialize outer loop count
oLoop:
     ldi    iLoopRl,LOW(iVal)	; intialize inner loop count LOW
     ldi    iLoopRh,HIGH(iVal)	; intialize inner loop count HIGH
iLoop:
    sbiw    iLoopRl,1	        ; decrement inner loop register
    brne    iLoop		; branch to iLoop if iLoop register != 0
    dec	    oLoopR		; decrement outer loop register
    brne    oLoop		; branch to oLoop if oLoop register != 0
    rjmp    start		; jump back to start
PB5 is pin 13 on the Uno board and it is connected to a built-in LED. This program toggles a bit in the variable mask turning the LED on and off about once a second.
Generate HexClick on the menu Build->Build Solution or use the keyboard F7. Watch the activity in the output window for the words Build Succeeded.
Inside the folder with our project we will find another folder with the project name, inside that we find Debug. This is the folder that contains the intel hex file that will be uploaded to the flash on the Uno board.
Check the Device Manager to see which com port has the Uno board. On this computer it is com port 9.
Click on Tools->External Tools.. and Add a new tool named Uno.
Command: avrdude.exe Same program used by Arduino IDE and there can be more than one on a computer.
-p atmega328p -c arduino -P com9 -U flash:w:$(BinDir)\$(TargetName).hex:iArguments: text added to the avrdude command when the Uno tool is run saying an ATmega328p part is connected with an arduino programming circuit. The board connects to the Windows computer on port com9.
The hex file to upload to the device flash memory is in a debug folder named Uno inside of a project folder named Uno. To find the file this scripted text is added -U flash:w:$(BinDir)\$(TargetName).hex:i.
Upload the compiled hex file to a Uno BoardWhen a build has been successful click on menu Tools->Uno. A black screen should flash on your display and LEDs on the Arduino board should flash showing the upload and the built in LED doing blinky.
Error messages may not be clear and you should check the values used for com port and file location. Many universities and technical colleges use the MicroChip Studio IDE in their courses and you will find on-line advice on how to configure the program to work with the Arduino Uno board.


_ztBMuBhMHo.jpg?auto=compress%2Cformat&w=48&h=48&fit=fill&bg=ffffff)


Comments
Please log in or sign up to comment.