1st I got my hands on a second hand, but working, Hoverboard...
Since these things have been quite a trend a while back many are standing unused in a corner of a shed somewhere, they are pretty easy to come by on 2nd hand marketplaces online.
I got mine by simply placing a short message with a picture of a example Hoverboard of the kind I was looking for in a local 'Stuff wanted' Facebook group saying something in the line of:
"Hey there !
Do you have a unused Hoverboard standing somewhere in a corner and do you want to make some quick cash?
I am interested in buying your board! Reply below or send me a PM :)
Sincerely,
Peter Lunk"
Within a few days I had 3 replies, bought 1 functional board and 2 boards with malfunctions (but working motors)... They all cost me between 20 and 30 Euro a piece. I had to order a 42V 2A Hoverboard charger for 15 Euro's since all came without.
In this project:
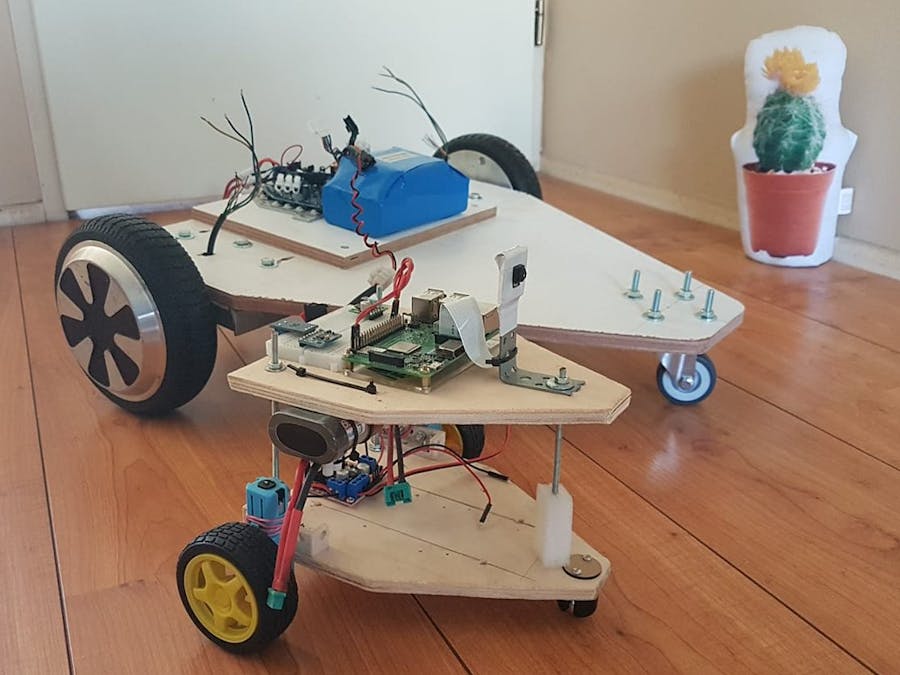
We'll start by learning about the board and it's hardware and build a 1st 3-wheel test robot-platform. Later I will add 2 more Hoverboard-wheels to make it a more stable 4WD platform... (stay tuned hit follow !)
Goal:
Make use of the hoverboard hardware to create a robotics-platform that can be controlled either from RC-Transmitter or over rx-tx serial from Arduino or Raspberry pi.
Taking a 1st look at the innards of this Hoverboard...
On this side we discover the 10S 36V 4Ah 5C Lipo battery-pack, and one of the two side-sensor-boards.
1st thing to do is to unplug this main powersource to prevent any mishaps...
Be carefull what you touch! the capacitors of the main controller board may still hold charge !!
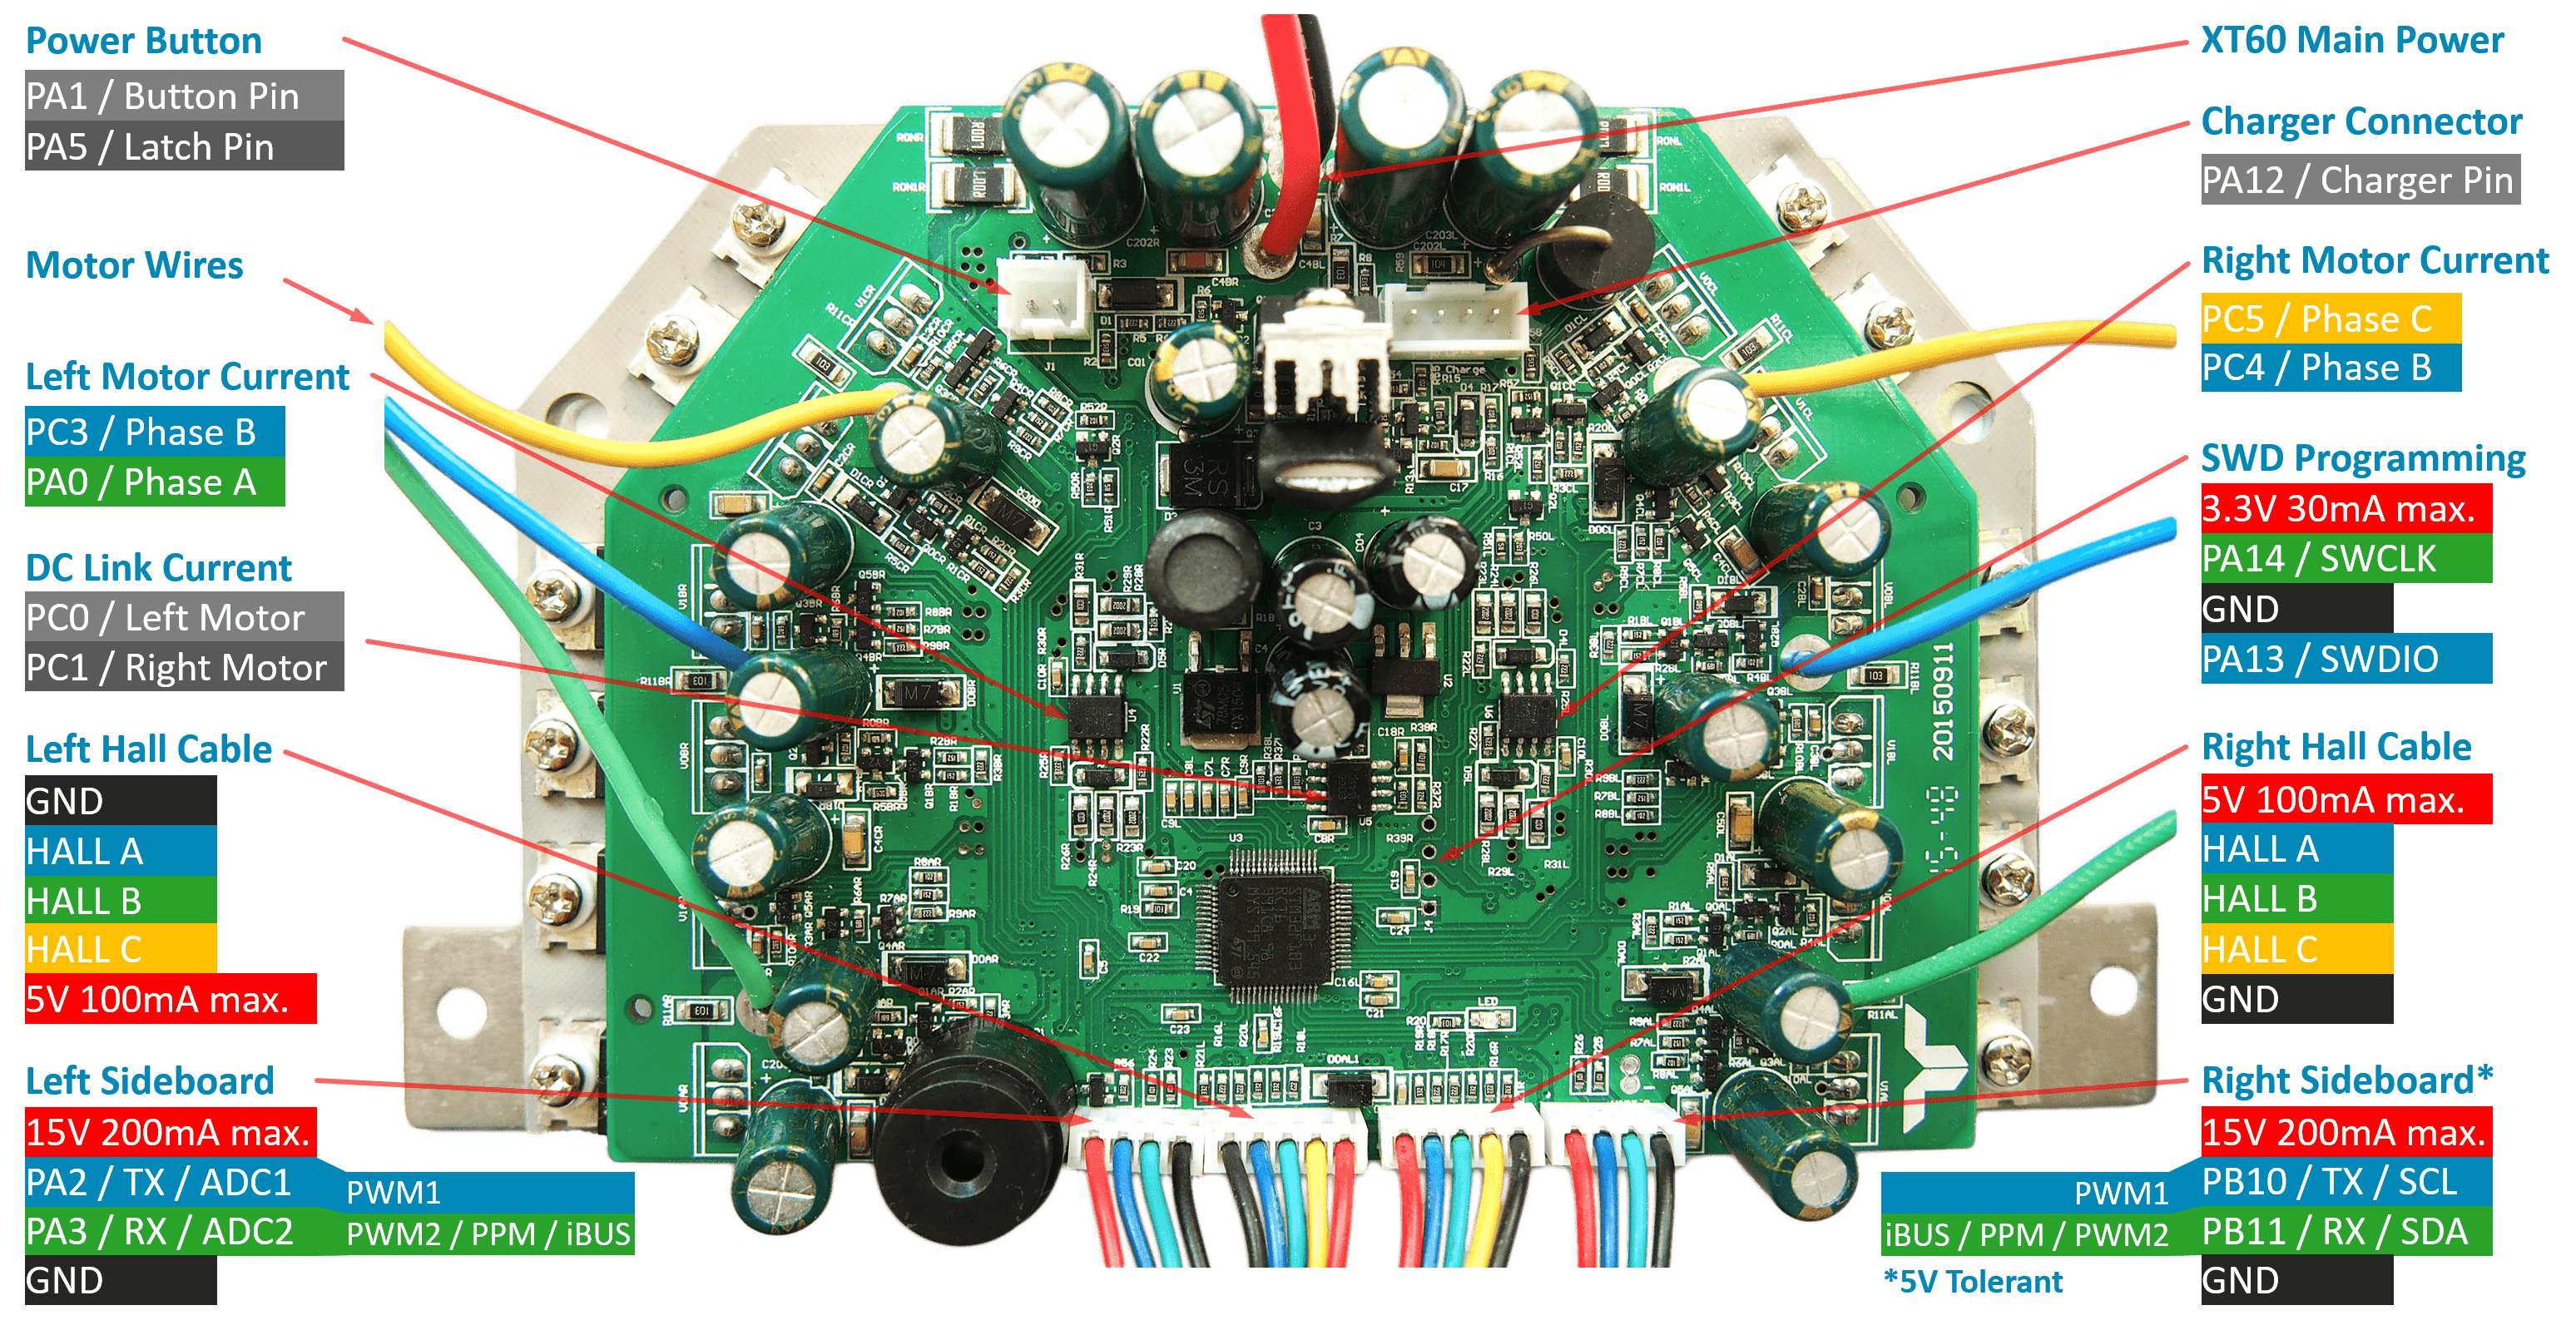
On this side we find the Mian-Controller board, and the otherone of the two side-sensor-boards.
Removing the Battery-Pack:
Carefully unscrew the screws that hold down the battery caging and remove the battery.
!!! -> Since we don't know the state of this battery treat it with care and put it in a safe place untill we test it later on....
Extracting the Two side Sensorboards:
Next we can carefully unplug the cables leading to the two sensorboards located on either side of the Hoverboard. On some hoverboards these cableplugs have been glue-gunned in place to prevent them from coming loose when the board bumps and crashes into things while being used.
If the Glue-Gun-glue is too hard to get it off easily you can warm it up with a hairdryer and then carefully pry it loose with some small pliers or tweezers.
Now we can remove the screws that hold the sensorboards in place and you should be able to lift them out easily once that's done.
BELOW THIS POIT I NEED TO ADD MORE TEXT....
Stay tuned hit Follow at the bottom of this article ... for Updates !
More images and tear down instructions will follow....
-----------------------------------------------------------------------------------------------------------------
A video from later on in the project:
Hit Follow to stay tuned for updates !
What Do I want to make with this platform ?
Not sure yet but making a Dalek seems tempting ;)
"The Daleks (/ˈdɑːlɪks/ (About this soundlisten) DAH-leks) are a fictional extraterrestrial race of mutants principally portrayed in the British science fiction television programme Doctor Who. The Daleks were conceived by science-fiction writer Terry Nation and first appeared in the 1963 Doctor Who serial The Daleks, in shells designed by Raymond Cusick."
Source: https://en.wikipedia.org/wiki/Dalek
Updating allmost daily from now on so stay tuned hit Follow !
Greetings,
Peter Lunk
Credits to authors of drawings, schematics, software, online tools and firmware versions mentioned in this article will follow soon....


Comments
Please log in or sign up to comment.