


Hardware components | ||||||
 |
| × | 2 | |||
| × | 16 | ||||
 |
| × | 1 | |||
| × | 1 | ||||
 |
| × | 1 | |||
 |
| × | 1 | |||
 |
| × | 1 | |||
 |
| × | 3 | |||
| × | 1 | ||||
Software apps and online services | ||||||
 |
| |||||
 |
| |||||
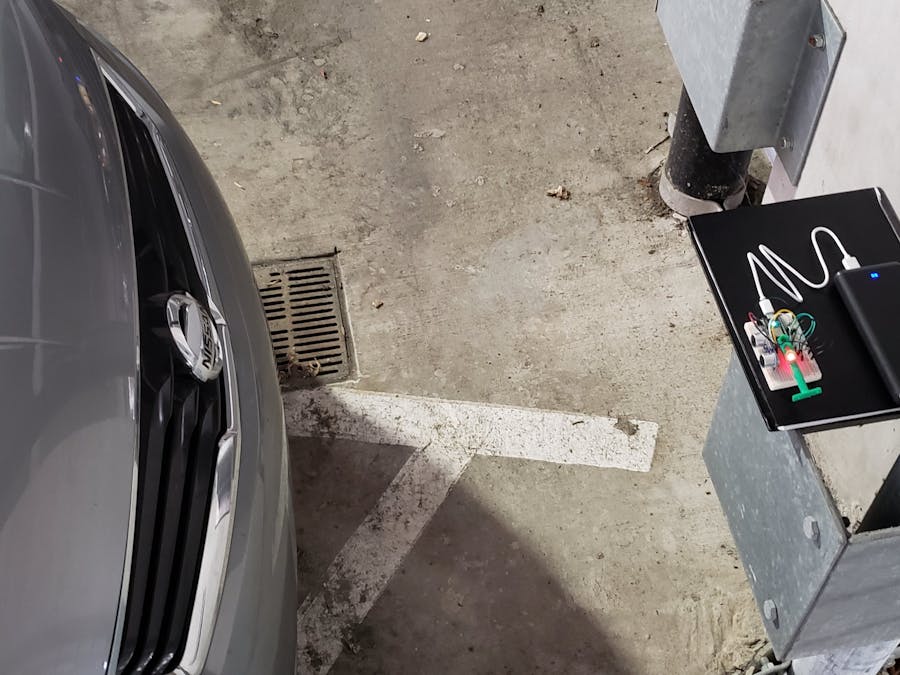
This project is a parking spot sensor that alerts you when you are completely in the spot. It will also turn on a light that will allow you to see outside the car at night. Our set up uses two photons that send data back and forth in order to accomplish their tasks.
Photon one will first detect a distance using a HC-SR04 ultrasonic distance sensor. In the software, it will convert this distance that is originally in time of flight to inches. It will then check this distance variable against three sets of distance ranges. Based on the range it is in, it will turn on the appropriate LED - red, yellow, or green.
Once the distance is inside the red range it will publish an event to the particle cloud. Based on this event, Photon two will run its specified actions described below. Photon one also subscribes to an event published by Photon two. On the receipt of this event, it will turn all on all three LEDs for 5 seconds.
This lets the user know who is parking that the LED porch light has been activated and the Photons are both successfully publishing and subscribing to each other - two way communication. Lastly, code has been added that will check for a distance change so Photon one does not continue to illuminate the red LED when parked and continue to send events to the particle cloud. This is implemented as a power-saving initiative due to using an external battery pack.
Photon two turns on the LED light and sends a notification for the graphing aspect. This notification also allows Photon 1 to know when to flash the light tree and then turn off. In the circuit diagram below the 3 LEDs represent the homemade LED array. A lamp or overhead light could used instead of the led array. This new light and its power source would have to be wired into the relay. This project utilizes the 3 AAA batteries that were included with the LED flashlights found at Walmart. These 3 LED boards harvested from the flashlights have built in resistors so no additional circuity is required..
After removing the LED boards and the battery packs, we 3D printed a mount and installed the boards. The boards were then wired together in parallel. This array was then connected into the relay. The relay was included into the circuit to allow for use with separate photon light power sources. This also allows for easy conversion to lamps with 120V AC sources. The photon will, when told to, turn on pin D7 which will then activate the relay and turn on the light array. Refer to the Photon 2 code for its explanations in the comments.
When the a publish from Photon two appears in the cloud, IFTTT pulls the data and graphs it into a google sheet. We used the data of "1" and the date to graph. The "1" is repeated as a counter for the sheet. The graph shown below is some of the test data that we collected. It added up the number of times a vehicle parked in the spot for each day.
Link to our live Google Sheet:
https://docs.google.com/spreadsheets/d/1n__sn8Me-0os2vfDoO6Zf4uHfEwxwfhlKH7dlLiBlpw/edit?usp=sharing
IFTTT:
Below are the steps for the IFTTT set up.
1) Make an account at https://ifttt.com/discover
2) Navigate to my applets, new applet, build on the platform
3) Fill in the relevant personal information and then click applets, new applet.
4) Fill in the information in the below photos
The Event Values where "ingredients" are added add the date and time to the live updating Google Spreadsheet. The code allows the inputting of the date and time in separate columns, rather into a single column. This allows more fine tuning if more data is wanted to be graphed. It also inputs the event contents data.
Log into and give permissions as required for the particle photon


Comments
Please log in or sign up to comment.