Network hacking and attack happens every seconds in the world and the loss and impact can be very large, but not everyone has good knowledge, time and expensive equipment to keep tracking their network health.
We care and applied IoT technology for home security, health and even to improve crop growth, why not we apply the same technology to monitor our home or office network to make it simple and hopefully prevent loss from network hacking and attack?
OverviewThe goal of this project is to build a simple device which can help us monitor our network 7x24, we can talk to it (thanks to AWS IoT) anytime and anywhere, it should also trigger alarm to warn us for suspicious event using AWS SNS.
Another nice feature is to help us power up/down the workstation/server, in case we need to access the files/resource remotely or if we forget to power down our PC.
There are many approaches to build such device but I think AWS IoT is very good solution so we don't have to care about network restriction, i.e. firewall, NAT etc.
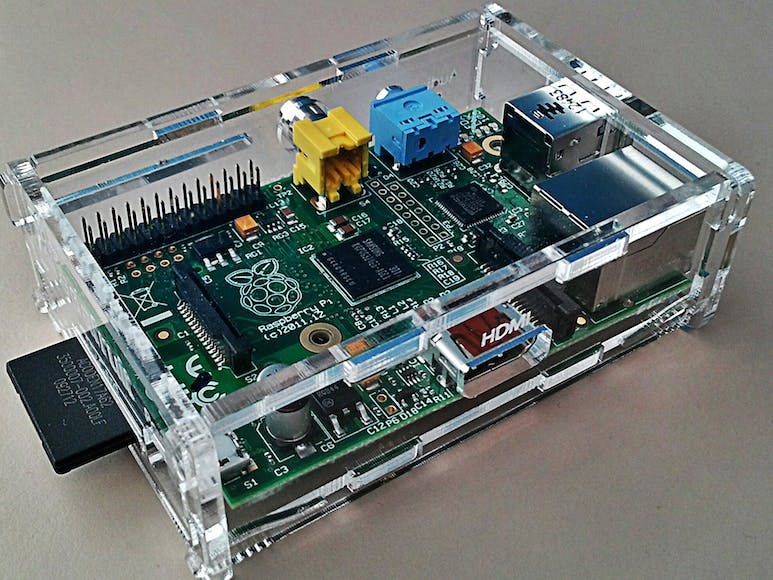
Raspberry Pi also a good fit because it is tiny with low power consumption, it also supports LAN out-of-the-box and possibility WiFi thru USB (maybe sniffing for future improvement). We can also power it over USB (or portable charger) so you can imagine how simple to setup and we can hide it somewhere easily.
In additional, using open source MQTT library Paho in this project show how easy to adopt/integrate with AWS IoT service even Raspberry Pi is not an official AWS IoT Starter Kit.
Features
Functions were implemented in the code:
Monitor network speed (getting from router using SNMP), publish if certain threshold reached.
Subscribe and perform below:
"powerup"/"powerdown" specific PC
"status" to report the status and uptime
"scan" to scan and report the number of active PC
"speed" to report the network speed
Procedure:
A for AWS IoT:
(I am new to AWS, I like the wizard for AWS IoT button for simple setup, https://console.aws.amazon.com/iot/home?region=us-east-1#/button but I don’t have it. The steps below maybe not the best but it is what I did, if you are expert of AWS you can simply skip it, but I hope it help for new comer)
1) Create an AWS account and login (https://aws.amazon.com/console/)
2) Navigate to AWS IoT and press “Get Started” for first time.
3) In “Create a thing” tab, give a name to it then click “Create”, e.g. netmon1
4) The thing is created and click on it, detail menu displayed, click on “Connect a device”
5) Select NodeJS and click “Generate certificate and policy” (although I am using Python Paho library, it works)
6) Key and cert is generated, remember to download and store them securely before you close this page, then click confirm and connect.
7) Connection detail displayed, copy it before you continue.
B for raspBerry pi
1) Setup and install Raspberry Pi image on your SD card
(You can use any distro, I used Minibian as it is minimal and simple, refer to the setup page for instruction loading on SD card: https://minibianpi.wordpress.com/)
2) Power up RaspberryPi and connect to your network, access it thru SSH
3) Install required package:
apt-get update
apt-get install snmp wakeonlan fping samba-common
4) install CA
mkdir /root/key
wget -O /root/key/root-CA.crt “https://www.symantec.com/content/en/us/enterprise/verisign/roots/VeriSign-Class 3-Public-Primary-Certification-Authority-G5.pem”
5) Install the cert files from AWS to same /root/key folder
6) Install Python Paho
git clone git://git.eclipse.org/gitroot/paho/org.eclipse.paho.mqtt.python.git
cd org.eclipse.paho.mqtt.python
python setup.py install
7) modify and install the code (to customize server path, thing name, etc)
8) Run the code, it should register and publish it's first message (you can make it run on boot too)
cd <path of netmon.py>
python3 ./netmon.py
Now, back to AWS IoT and now we can find the “powerup” publish at the thing’s detail to verify.
Optional:
AWS SNS
Reminded: only us-east-1 server support SMS, so if you want SMS to be generated, please switch to us-east server.
1) Navigate to SNS, then click “Create Topic”
2) Type the name for Topic (also input display name when using SMS)
3) Click Create Subscription
4) Select the notification type and address. (SMS was used in my case but other type is just similar)
5) We need to confirm the number, so do check the inbox of mail/sms you selected and you need to send reply “YES xxxxx”. (If you use Email, similar confirmation email will be received and we also need to acknowledge it before it is done)
6) Press the refresh button and it is now confirmed.
7) Press “Publish to topic” and define the message content then “Publish message”
8) AWS SNS is ready to send us notification, now back to AWS IoT to set the criteria to trigger it
9) Go to AWS IoT, click “Create a resource” and “Create a rule”
10) Fill in the form for required condition and add associated Action(s) (multiple Actions can be added so for example we can store in DB and SNS at same time, awesome!).
11) re-run the code and it should generate the speed warning SMS/mail notification.
Instead of waiting, we can also generate request/publish (powerup/powerdown/scan/status/speed) to AWS IoT and in my case I can get respond from Raspberry PI within 1 sec, which is very good.
I hope you like this project and feel free to ask any questions or comments. If you have Raspberry PI sitting around and if you like the idea, why not start building your own version, have fun!


Comments
Please log in or sign up to comment.