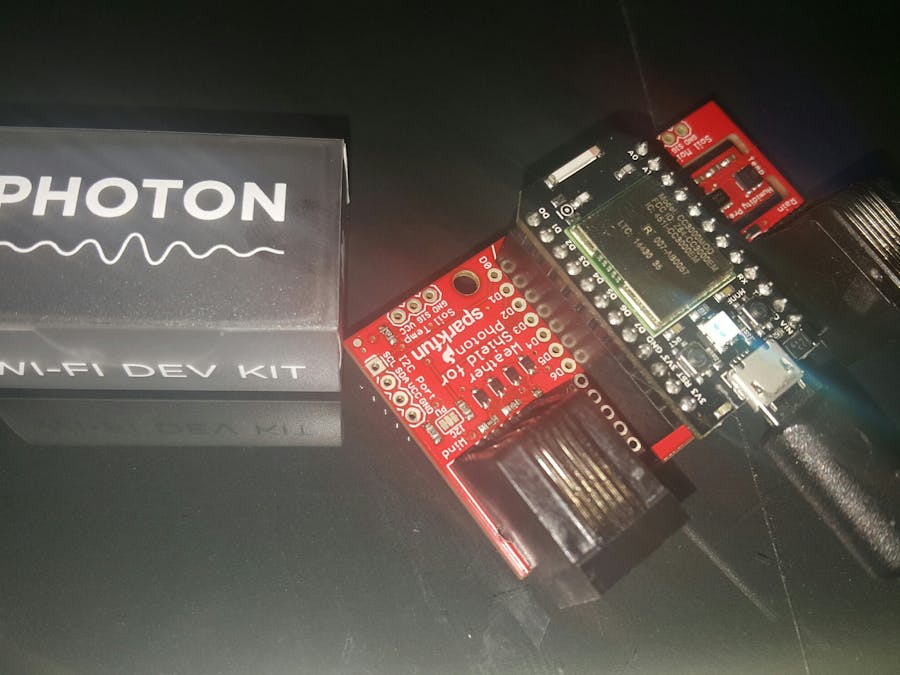
Particle, creators of the Photon Wi-Fi development kit, and Microsoft, creators of Azure, recently announced a collaboration that starts with a new way to use webhooks to get data from Particle’s cloud to Azure Event Hubs.
Event Hubs is a highly scalable publish-subscribe event ingestor that can intake millions of events per second so that you can process and analyze the massive amounts of data produced by your connected devices and applications. Once collected into Event Hubs you can transform and store data using any real-time analytics provider or with batching/storage adapters.
By combining the simplicity and robustness of Particle system with Azure Event Hubs, we can use webhooks to rapidly deploy scalable services in the Microsoft Azure Cloud capable of ingesting millions of events per second from remotely programmable Particle devices!
OverviewIn this project, we will specifically look at publishing data from a Photon + SparkFun Photon Weather Shield to an Azure Event Hub which will output to a Web front-end, allowing us to view incoming weather data in real-time!
Video WalkthroughGetting Started with Particle.ioBefore you can "claim" your Photon, you need an account with Particle.
- Open the Particle IDE in your browser. Enter your email address, and the password you want to use, then click the "SIGN UP" button
We will walk through installing the Particle CLI to a Windows based machine. For instruction on installing to other operating systems see the official documentation at Particle.
- Important: We must install a specific version of node.js (v0.12.4) <= please install from this location. Note: If you are using Windows, be sure to install the .msi. You may need to remove any previous installs of node.js. If you need to manage multiple versions of node.js see: NVM-Windows or NVM-Linux / Mac. To test if it is installed correctly see this link.
- Download and install the latest version of Python 2.x (that's the latest 2 version, ie, not 3+)
- Grab the 2013 Microsoft Build Tools from Microsoft's Download Center and install the 2013 Microsoft Build Tools
- To install the Particle CLI, launch a command prompt and type:
npm install -g particle-cli --msvs_version=2013
- After successful installation , at the command prompt type: particle login
- When prompted, login with your credentials from the previous step.
ConnectTheDots.io is an open source project created by Microsoft Open Technologies to help you get tiny devices connected to Microsoft Azure, and to implement great IoT solutions which take advantage of advanced analytic services such as Azure Stream Analytics and Azure Machine Learning.
Let's get started by publishing data from the Particle Photon to an existing ConnectTheDots portal.
Creating a Particle webhook for existing Event HubWebhooks are a simple and flexible way for your devices to make requests to almost anything on the Internet. Webhooks listen for events from your devices. When you send a matching event, the hook will send a request to your web application with all the details! We will create a webhook that is ready to listen for events coming from our Photon for forwarding to an existing Azure Event Hub.
1. Create a new file named "webhook.json" and paste in the following code:
{

"event": "ConnectTheDots",

"url": "https://connectthedotsex-ns.servicebus.windows.net/ehdevices/messages",

"requestType": "POST",

"json": {

"subject": "{{s}}",

"unitofmeasure": "{{u}}",

"measurename": "{{m}}",

"value": "{{v}}",

"organization": "{{o}}",

"displayname": "{{d}}",

"location": "{{l}}",

"timecreated": "{{SPARK_PUBLISHED_AT}}",

 "guid": "{{SPARK_CORE_ID}}"
},

"azure_sas_token": {

"key_name": "D1",

"key": "mBLQGWxSkRHg7f2eRCLonHUpNS+DY0iPHclxjf7Cmvk="

},

"mydevices": true

}
2. From the spark CLI, navigate to the directory of "webhook.json" and type:
particle webhook create webhook.json
3. Verify that your webhook was successfully created
At a later time, you may wish to remove a webhook.
From the particle CLI perform the following:
- particle webhook list
- particle webhook delete {Hook # of service you wish to remove}
Assembling the Photon + Weather Shield
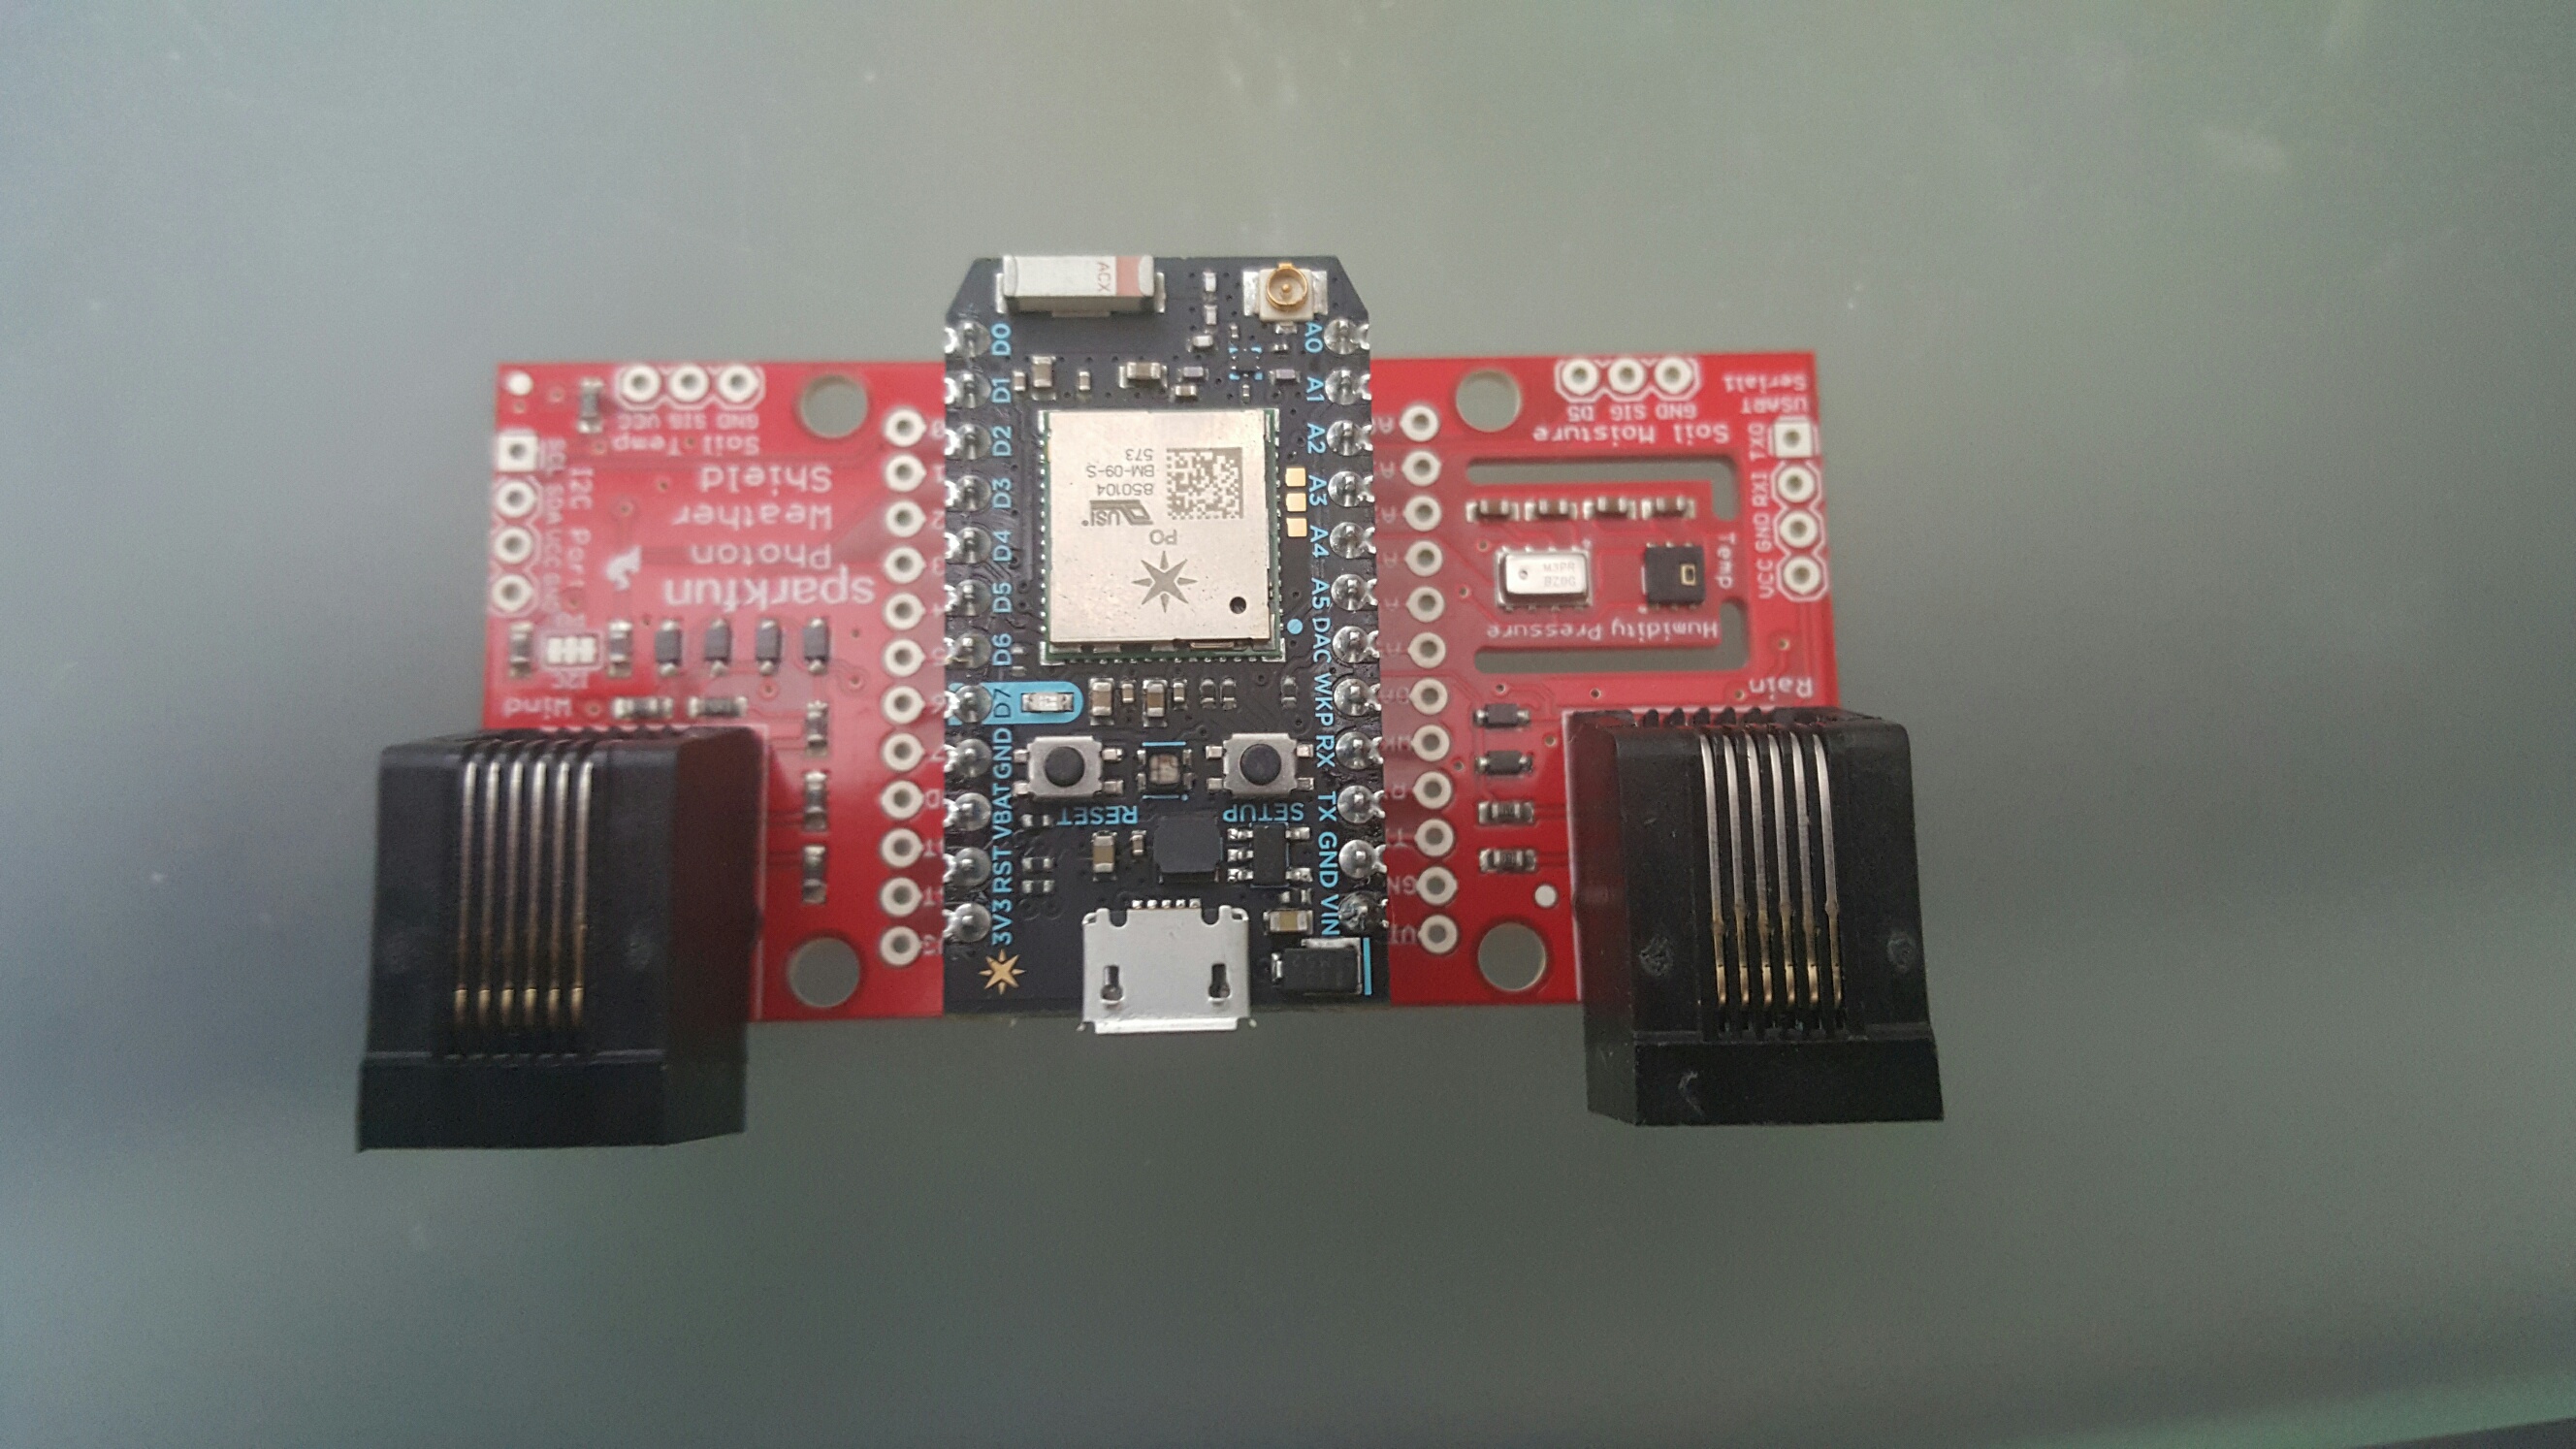
Assembly is straightforward, however, be sure to pay special attention to the orientation of the device when putting everything together!
- Connect your Photon to your PC using a Micro USB Cable
- If your device is not flashing dark blue, hold the "Setup" button on the Photon until it flashes dark blue
- In the Particle CLI type "particle setup" and follow the instructions
If step 3 does not finish successfully, you can manually configure using the steps below:
- Open Device Manager and note the "Ports (COM & LPT)" section for a new device
- Take note of the COM port for this device "COM4" in this example
- In the Particle CLI type "particle serial identify COM#" (where # is the COM port noted in the previous step) Keep track of this somewhere for the next section on "Claiming your Photon"
- In the Particle CLI type "particle serial wifi COM#" (where # is the COM port noted in the previous step) and follow the instructions to configure the Wi-Fi access credentials for the device
Particle help keep your devices secure by allowing only the device owner to program the device. Each device has a unique identity that allows it to be claimed by the owner. In order to program a Particle IDE, you must first claim the device by following these instructions:
- Ensure your device has been configured is plugged in and successfully connected online (the device should breathe a soft cyan blue)
- Head to https://build.particle.io/build and select "Devices" (look for the cross-hair in the bottom left)
- Select "Add New Device" and enter the identity received in step 5 of "Configuring the Photon"
- You can now name your device and it will be selected as the active device for flashing code
1. Head to https://build.particle.io/build/new and create a new App titled "ParticleWeatherShield"
2. Add the SPARKFUN_PHOTON_WEATHERSHIELD library by clicking the "Library" Icon in the lower left (looks like a ribbon), search for "Weather", Select the Library Result, Select "Include in App", Select "ParticleWeatherShield", then Select "Add to this App"
3. If done correctly, the last step should have added the following text to the top of your project code:
// This #include statement was automatically added by the Particle IDE.
#include "SparkFun_Photon_Weather_Shield_Library/SparkFun_Photon_Weather_Shield_Library.h"
4. Copy and paste the following code into your project, overwriting any existing code:
Note: The code begins with some variables for identifying the Particle device once connected to the event hub portal (Org, Disp, and Locn). We then setup the Weather sensor. Next, we enter the loop where we read the Temperature and Humidity, form a json payload, and send to the Webhook we created earlier.
5. Modify the following variables appropriately:
6. Select the "Check Mark" in the upper left to verify that your code compiles without error.
7. Once your code is verified, select the "Flash Icon" to flash the code to your device. You should receive a message indicating success if all went well!
It may be useful to monitor events coming into the Webhook Service. After programming the Particle Photon and running, events should begin arriving. These can be viewed in the Particle.io Dashboard or from the Particle CLI.
To view from the Particle.io Dashboard:
Open https://dashboard.particle.io/user/logs and login with your Particle.io account
To view these events in the particle CLI:
Events across ALL created webhooks
particle subscribe mine
Events coming from a specific webhook
particle subscribe {name of webhook event i.e. "ConnectTheDots")
Head over to the existing portal @ http://connectthedotsdx.azurewebsites.net
Verify that your device is live and displaying data to the portal.
Now that you have successfully published data to the existing ConnectTheDots portal, you can take it further by creating your own ConnectTheDots portal following the steps below.
- Complete the Azure Prep Hands-On Lab
- Complete the ConnectTheDots Sample Website Hands-On Lab
- Create a Particle Webhook Service using the following:
(Modify YOUR_EVENT_HUB_NAME, and key) to match the values from your Event Hub created in Step 1.)
{

 "event": "ConnectTheDots",

 "url": "https://YOUR_EVENT_HUB_NAME-ns.servicebus.windows.net/ehdevices/messages",

 "requestType": "POST",

 "json": {

 "subject": "{{s}}",

 "unitofmeasure": "{{u}}",

 "measurename": "{{m}}",

 "value": "{{v}}",

 "organization": "{{o}}",

 "displayname": "{{d}}",

 "location": "{{l}}",

 "timecreated": "{{SPARK_PUBLISHED_AT}}",

 "guid":  "{{SPARK_CORE_ID}}"

},

 "azure_sas_token": {

 "key_name": "D1",

 "key": "YOURKEYHERE"

 },

 "mydevices": true

}


Comments