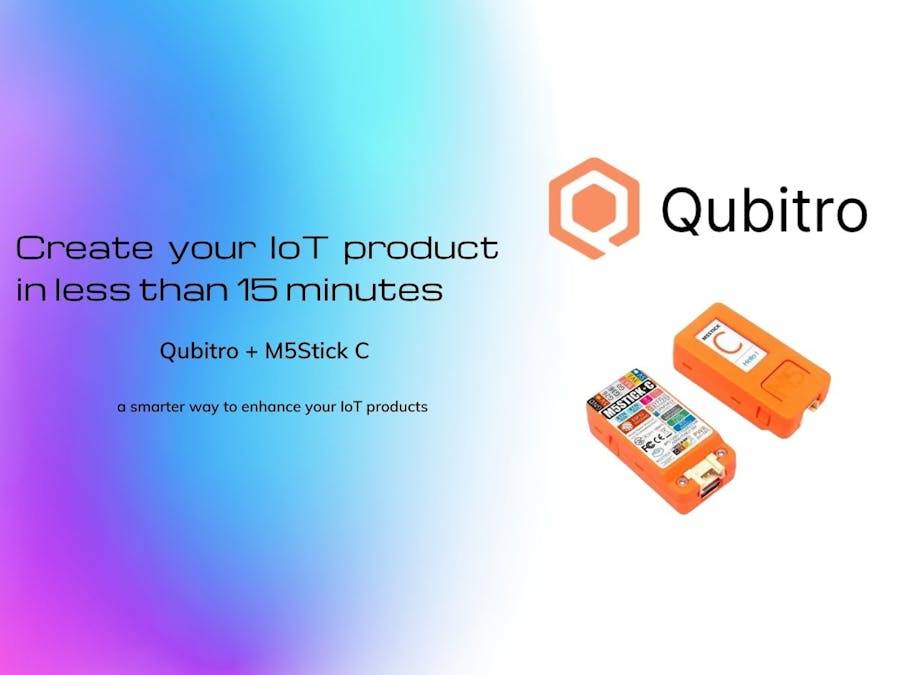
Well everyone wants their own IoT Product, but its not an easy thing to find a right cloud service provider and reliable of service. Qubitro is one of the best Cloud service provider for your IoT Product, In this post I will show you how to build an IoT product with the help of Qubitro and M5Stick C.
What is Qubitro ?Qubitro is the fastest way to work with the data generated by IoT devices. ( Source from https://www.qubitro.com/ . Its like an other cloud service providers Ex:Blynk, AWS.....
What is need ?an active account on Qubitro and ESP32 Board ( im using M5Stick C ) and Arduino IDE for programming.
Let's Startgo to https://www.qubitro.com/ and sign up with the portal. once your email id is verified you are good to go.
then create a new project with all details.
Choose your device and model then proceed with other details.
next click the device then go for the setting tab you can find the token and device id. We need this in our Arduino programming.
Move to Programmingopen up the Arduino Ide and add QubitroMQTT Lib to the arduino.
next copy and paste this script in IDE.
#include <QubitroMqttClient.h>
#include <WiFi.h>
#include <M5StickC.h>

// WiFi Client
WiFiClient wifiClient;

// Qubitro Client
QubitroMqttClient mqttClient(wifiClient);

// Device Parameters
char deviceID[] = "..........................";
char deviceToken[] = ".......................";

// WiFi Parameters
const char* ssid = ".........";
const char* password = "..........";

void setup() {
  // Initialize the serial port
  serial_init();

  // Initialize wireless connectivity
  wifi_init();

  M5.begin();
  M5.Lcd.setRotation(3);
  M5.Lcd.fillScreen(BLACK);
  M5.Lcd.setSwapBytes(true);
  M5.Lcd.setTextSize(1);
  M5.Lcd.setCursor(7, 20, 2);
  M5.Lcd.setTextColor(TFT_GREEN, TFT_BLACK);
  // Initialize Qubitro
  qubitro_init();
}

void loop() {

  // Generate random values
  int sensor_value_1 = random(0, 100);
  int sensor_value_2 = random(0, 100);

  // Print the random values
  Serial.print("Sensor value 1: ");
  Serial.println(sensor_value_1);
  Serial.print("Sensor value 2: ");
  Serial.println(sensor_value_2);

  // Send telemetry
  String payload = "{\"Sensor 1\":" + String(sensor_value_1)
                   + ",\"Sensor 2\":" + String(sensor_value_2) + "}";
  mqttClient.poll();
  mqttClient.beginMessage(deviceID);
  mqttClient.print(payload);

  M5.Lcd.print("I'm Groot ");
  M5.Lcd.fillScreen(BLACK);
  M5.Lcd.setCursor(3, 2);
  M5.Lcd.print(payload);
  mqttClient.endMessage();

  // Delay
  delay(5000);
  M5.Lcd.fillScreen(BLACK);
  M5.Lcd.setCursor(1, 3);
  M5.Lcd.print("I'm Groot ");
  delay(2000);
  M5.Lcd.fillScreen(BLACK);
}

// Initialization code

void serial_init() {
  // Initiate serial port connection
  Serial.begin(115200);

  // Delay for stabilization
  delay(200);
}

void wifi_init() {
  // Set WiFi mode
  WiFi.mode(WIFI_STA);

  // Disconnect WiFi
  WiFi.disconnect();
  delay(100);

  // Initiate WiFi connection
  WiFi.begin(ssid, password);

  // Print connectivity status to the terminal
  Serial.print("Connecting to WiFi...");
  while (true)
  {
    delay(1000);
    Serial.print(".");
    if (WiFi.status() == WL_CONNECTED)
    {
      Serial.println("");
      Serial.println("WiFi Connected.");

      Serial.print("Local IP: ");
      Serial.println(WiFi.localIP());
      Serial.print("RSSI: ");
      Serial.println(WiFi.RSSI());
      break;
    }
  }
}

void qubitro_init() {
  char host[] = "broker.qubitro.com";
  int port = 1883;
  mqttClient.setId(deviceID);
  mqttClient.setDeviceIdToken(deviceID, deviceToken);
  Serial.println("Connecting to Qubitro...");
  //  M5.Lcd.print("Connecting to Qubitro.");
  //  M5.Lcd.fillScreen(BLACK);
  if (!mqttClient.connect(host, port))
  {
    Serial.print("Connection failed. Error code: ");
    Serial.println(mqttClient.connectError());
    Serial.println("Visit docs.qubitro.com or create a new issue on github.com/qubitro");
  }
  Serial.println("Connected to Qubitro.");

  mqttClient.subscribe(deviceID);
  //  M5.Lcd.fillScreen(BLACK);
}
then change the code with your SSID, Password, Device ID nad Token which is in your device portal...thats all you are ready to sent your data to the Qubitro server.
Connect your board to the arduino Ide and upload the script...
Open your serial monitor in arduino and see the results.
in your Qubitro device portal you can see the sensor readings (dummy) which is sent by your device.
Create a chart for your sensor readings.
Lets view the detailed chart.
I hope you enjoy working on this project. For more fascinating projects and blogs, please visit Qubitro Blog.


Comments
Please log in or sign up to comment.