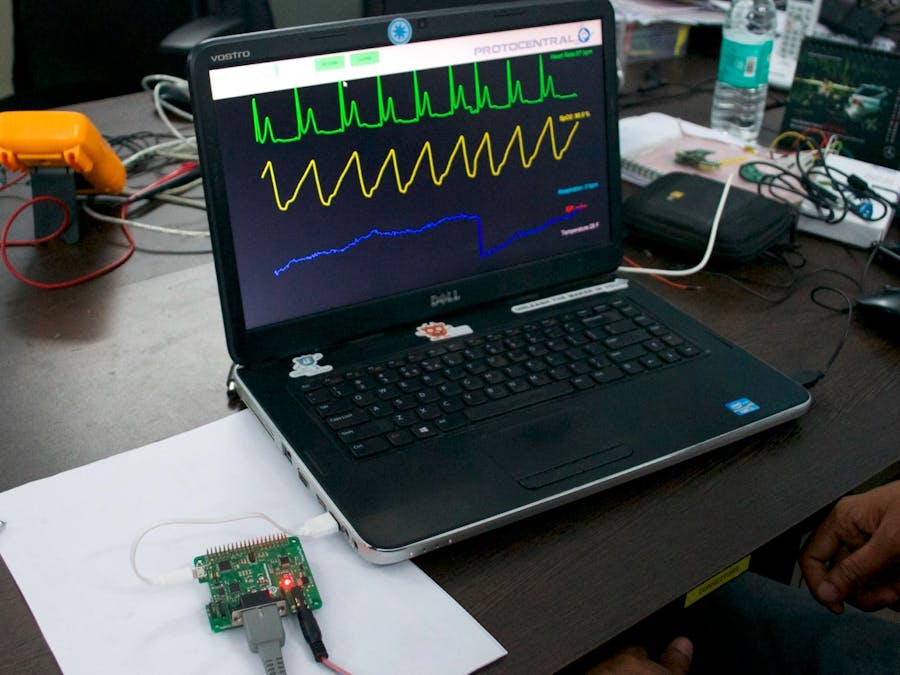
We introduced the HealthyPi as a HAT add-on for the Raspberry Pi, turning it into a full-featured, medical-grade open patient monitor. However, we realized later that people also wanted to use the board standalone with a Windows/Linux/Mac PC. We already had an on-board USB port from the SAMD21 on the board.
If you do not already have a HealthyPi board, you can buy one here. The latest version is now available for shipping.
What is HealthyPi now?HealthyPi is now a standalone ECG, respiration and pulse oximetry/SpO2 monitor with a USB-CDC interface. HealthyPi has its own GUI written using processing with Java, and natively compiles across the Windows, Linux and MacOS platform.
HealthyPi is NOT a certified medical device and is not intended for diagnostic medical applications.
The HealthyPi firmware now runs on Arduino. The Arduino Zero bootloader is pre-loaded on all HealthyPi boards shipping after February 20, 2017. This means that you don't need a JTAG debugger or Atmel Studio if you would like to tweak the code running on the SAMD21 microcontroller.
Setting up HealthyPi for use with a PC- Make sure you have the latest version of Java installed for your platform. If in doubt, go to https://java.com/en/download/ to download and install Java.
- Install the latest version of Arduino from the Arduino website. This is required for the Arduino Zero USB driver as well as reprogramming the HealthyPi if you wish to do so later.
- Plug in the HealthyPi PCB to your computer through the on-board micro-USB port and a micro-USB cable.
- On Linux and MacOS, the drivers should automatically be installed and it shows up as a serial port. On Windows, upon plugging-in the cable, the device should get recognized and drivers will be installed. You can go to the Windows Device Manager and look under Ports (COM & LPT) to find out the COM port number for the installed device.
- Head on to our GitHub releases page to download the latest release of HealthyPi GUI for your platform. Both 32-bit and 64-bit versions are available for Windows and Linux. If in doubt, please select the 32-bit version.
- Unzip the zip archive on your Windows/Linux/MacOS box and run the "HealthyPi-desktop" executable to start the application.
- In the port selection dropdown box, select the COM port assigned to your HealthyPi.
- Data from the HealthyPi should now start streaming onto the application.
If you wish to hack and re-program the code on the on-board SAMD21 microcontroller, you can clone our Git repository, given in the links below and hack away with Arduino! Just upload your code through the board using Arduino (again, it should show up as "Arduino/Genuino Zero (Native USB Port).
If you wish to contribute to the firmware or GUI of the HealthyPi with more cool features such as digital filters, better R-R detection or SpO2 computation (we need a lot more work especially on SpO2 computation), please send us a pull request.


Comments
Please log in or sign up to comment.