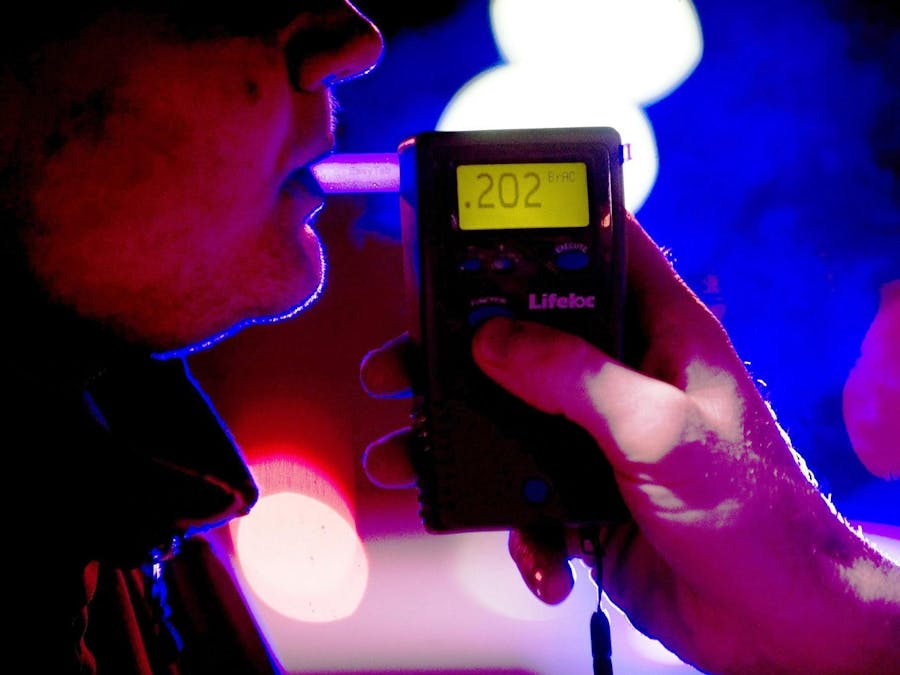
Recently, in India a women kidnapped by a drunk driver of a very popular cab service company. I was shocked by hearing this news, I thought why is this popular cab company not implementing some system where they can detect the drunk driver and take the appropriate action.
Every day, almost 19 people in India died in the alcohol-impaired vehicle accident that is one person every 75 minutes in 2016.
It can be prevented using the help of the right technology and a strong law. I can not do anything about the law, but I can build some prototype to alert the cab company when any driver is found drunk while driving.
Ok, let get started with the steps for building this prototype.
Step 1: Setting Up the Bolt WiFi ModuleFirst, You have to setup the Bolt device. Refer this link for setting up your Bolt device https://docs.boltiot.com/docs/setting-up-the-bolt-wifi-module
Step 2: Circuit ConnectionGet all the required components and assemble your circuit. Take a look at the provided schematic as a guide to assembling the circuit.
- Connect the A0 of MQ3 to A0 of Bolt.
- Connect GND of MQ3 to DND of Bolt.
- Connect VCC of MQ3 to 5V of Bolt.
- Switch on the Bolt Device using USB cable.
Login to https://cloud.boltiot.com and note the ID of your Bolt WiFi Module.
Now click on the API Tab and under the section for Generate Key, click on Enable.
Next click on the copy button to copy your API key. Your API key will may look something like this: f1f918e9-d9c2-4e5b-aed0-b7cb743f74cf
Paste your device id and API key somewhere.
Note : Don't try this API key because by the time you read this I would have changed the API key in my Cloud account.
Step 4: Setting Up Virtual EnvironmentIn the above step, we are done with raw material, now lets cook something.
For this project, I am using Ubuntu 14.04 with python 2.7 but you can use other OS also, you just need to find out the alternatives for that or you can buy some online ubuntu server here www.digitalocean.com.
Login to your Ubuntu server and and type to below command. It will download the package lists from the repositories and "updates" them to get information on the newest versions of packages and their dependencies
sudo apt-get update
Now create a folder and you can give any name to the folder but I am an organised person so I will assign a meaningful name.
mkdir drunk_alert
After creating the folder we will go inside the folder by typing the below commands.
cd drunk_alert
now we shall install the pip package manager for Python-2.7. A pip command is a tool for installing and managing Python packages, such as those found in the Python Package Index, For example, boltiot, Twilio etc.
sudo apt-get -y install python-pip
and then we will install the python virtualenv and virtualenvwrapper.
virtualenv will help us to create isolated Python environments. Type the below command to install virtualenv and virtualenvwrapper.
sudo apt-get install python-virtualenv
sudo pip install virtualenvwrapper
After installing the virtualenv and virtualenvwrapper, we will add it in bashrc file.
Type the below command.
sudo echo "export WORKON_HOME=$HOME/.virtualenvs" >> ~/.bashrc
sudo echo "source /usr/local/bin/virtualenvwrapper.sh" >> ~/.bashrc
source ~/.bashrc
.
Now installation is done and we will create a virtual environment.
mkvirtualenv drunk_alert
The above command will create virtual environment with name drunk_alert
and we will activate the drunk_alert virtual environment by typing the below command.
workon drunk_alert
and then we shall install the boltiot packages and after installing the boltiot packages.
pip install boltiot
pip install --upgrade pip
and we will install some security packages because we will be using some external API.
pip install pyOpenSSL ndg-httpsclient pyasn1
pip install 'requests[security]'
Mainly we will be using Bolt Cloud API and Mailgun API for fetching the data and sending the email respectively. Check this video link for setting up your Mailgun account https://www.youtube.com/watch?v=QN1pOm5V_uQ
Create the conf.py file that will contain all the all the authentication key.
touch conf.py
and add all the below details in the conf.py file.
MAILGUN_API_KEY = "Private API key which you can find Mailgun Dashboard"
SANDBOX_URL= "You can find this on your Mailgun Dashboard"
SENDER_EMAIL = "From email address"
RECIPIENT_EMAIL = "To whom you are sending the email"
API_KEY = "Bolt Cloud account API key"
DEVICE_ID = "ID of your Bolt device"
Now create one more file named drunk_detector.py. To do so you have to type
nano drunk_detector.py in the terminal. Now we will write main code to collect the data from the Bolt and send Email if with the status of the person.
import json, time
from boltiot import Email, Bolt
import conf
def init_drunk_detection():
   """Initiate the detection process"""
   status, value = read_sensor_value()
   if status:
       is_drunk, message = analyzer(value)
       if is_drunk:
           send_email(value, message)
def send_email(sensor_value, message):
   """Send the email to concerned party"""
   mailer = Email(conf.MAILGUN_API_KEY, conf.SANDBOX_URL, conf.SENDER_EMAIL, conf.RECIPIENT_EMAIL)
   response = mailer.send_email("Drunk Alert " + (sensor_value), "OMG! Angry driver is " + str(message))
   print "Mailgun response is", response.text
def analyzer(value):
   """Analyzer the sensor value"""
   if value<800:
       status, message = False, "sober.";
   if value>=800:
       print "Alcohol detected."
       status, message = True, "drunk.";
   return status, message
def read_sensor_value():
   """Read the MQ3 value"""
   bolt = Bolt(conf.API_KEY, conf.DEVICE_ID)
   response = bolt.analogRead('A0')
   print response
   data = json.loads(response)
   if "value" in data:
       return True, data['value']
   else:
       return False, "Not able to fetch the data."
"""Run infinite while loop"""
while True:
   try:
       init_drunk_detection()
   except Exception as e:
       print "Error",e
   time.sleep(10)
In the above code init_drunk_detection function, first read the sensor data on pin A0 and it will pass this value to analyzer function to check if the person falls in the drinking criteria and it the person is drunk, then it well send the email to concerned person.


Comments
Please log in or sign up to comment.