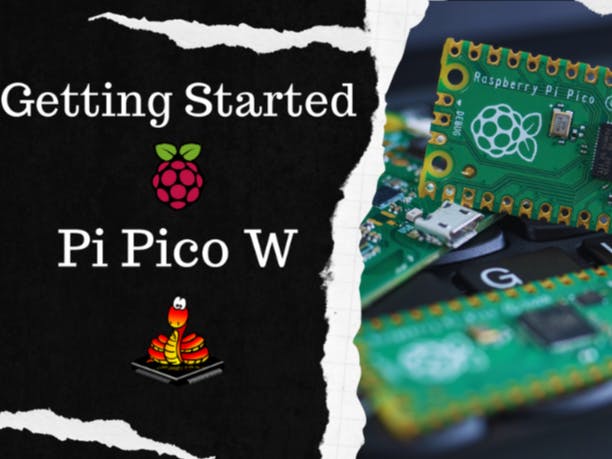
If you’re new to the world of microcontrollers or looking to dive into the latest advancements, this step-by-step guide will help you get started with Raspberry Pi Pico and embark on your coding journey.
From setting up your development environment to diving into hands-on projects, this guide will equip you with the knowledge and skills to unlock the full potential of Raspberry Pi Pico.
checkout detailed: https://rajivcodelab.com/how-to-get-started-with-raspberry-pi-pico-in-2024/
Step 1: Connecting the Raspberry Pi Pico- Connect the Raspberry Pi Pico to your computer using the Micro-USB cable by pressing the Boot shell button.
- Your computer should recognize the Pico as an external device.
- You need to go to download the latest firmware https://micropython.org/download/
- Look for Pico Raspberry Pi and click to find the latest available firmware
- Download the latest xxx.uf2 firmware from the Releases
- To download the Thonny you need to go to it’s official website https://thonny.org/
- Click on download as per your operation system
- Install the Thonny IDE from your downloaded folder
- Open the Thonny and click on Run -> Configure Interpreter
import machine
import time

led =  machine.Pin('LED', machine.Pin.OUT)

while True:
    led.on()
    time.sleep(0.5)
    led.off()
time.sleep(0.5)- Click on Save button form Menu bar
- Popup will come up and will ask where you want to save the code
- Save your MicroPython script on the Pico by giving name as “blink.py“.
- Run the script and observe the onboard LED blink, it should started blinking in every half second.
If I have provided a real value for you, consider buying me a coffee☕
Congratulations! You’ve now completed How to get started with Raspberry Pi Pico programming in 2024. Armed with this knowledge, you’re ready to embark on your own DIY electronics adventures, whether it’s building robots, creating IoT devices, or prototyping new inventions.


Comments
Please log in or sign up to comment.