Introduction
Welcome everyone to this Arduino tutorial. If you are super tired of logging in to your computer. You make mistakes and have to re-enter your password many times and even sometimes you block your account. I got exactly what you are looking for.
Now, let me make this clear, it could be a laptop from your work or a personal one. And of course, you are in a situation where you are forced to have a password as it happens in your work laptop for example. And you don't have any modern tools like fingerprint or face scanners at your disposal.
For this simple project, You will only need this Arduino Leonardo micro module, a USB cable for connecting it to your computer, and a button. That will be the minimum requirement for testing the project. Of course, if your intention is to give a result with more finesse. A hot glue gun and a soldering kit will be required to attach the button to the board and make it stable.
STEP 1: Solder The Button
The pin button will be attached at pin 3. This is to take advantage of the position of the pin and the ground pin and solder the button in this precise spot. You can remove or bend the extra button legs in order to place the button in a stable fashion. I removed the legs and put some melted silicon so it could stay firm. Remember this will be pressed many times and if it is not firm the soldering will be suffering.
STEP 2: Download And Import The Library
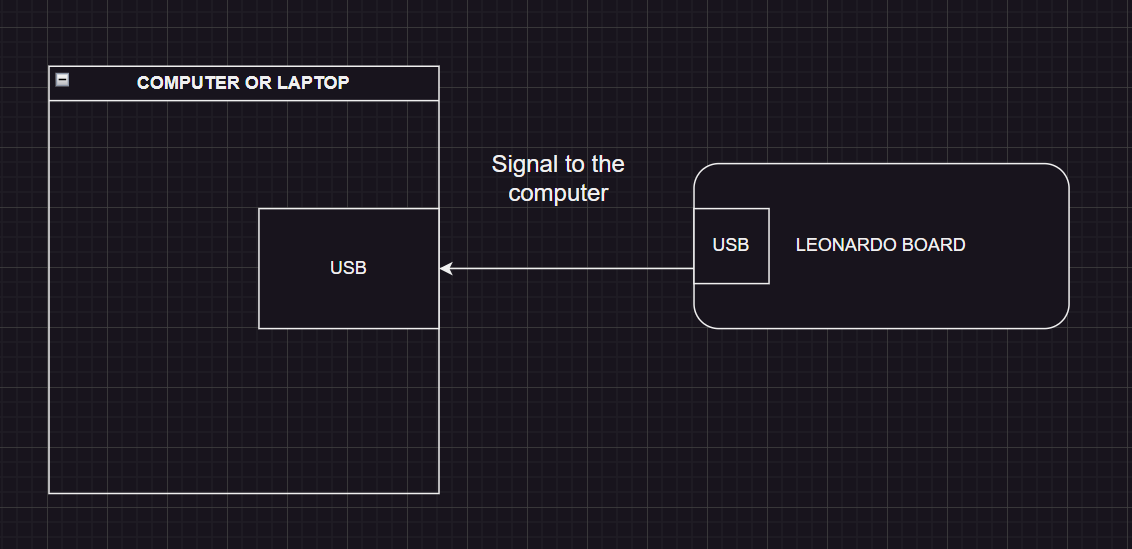
So basically the idea is to send with this microprocessor all the characters (numbers, letters, s, or special chars) from your password to the computer as if the device were another keyboard. And we are going to do that with this interesting library: hid-project
To cut things short this library emulates the key press of a keyboard sending the signal of each key through the USB, as the keyboard does. This library has many interesting features that you may want to explore you will find the link down below in the description of the video.
STEP 3: The Code
You can find the code on GitHub
So what we are going to do, is code the necessary lines to, first
- Make sure that the cap lock is disabled in order to ensure that the character will be in lowercase.
- Send arrow up click event with a delay to trigger the transition to the screen with the password field.
- Apply a certain delay to wait for the transition to be complete (this time may vary on your laptop, you will have to find the right combination of keys and delays. For me, this combination works as a charm).
- Next line we send the password as simple as this
- Another delay and then we send the return key press and release in order to activate de login.
All this action will be wrapped by a well-known Arduino loop (6), that will be looping until a button press is detected. The pin button will be attached at pin 3 (7). This is for taking advantage of the position of the pin and the ground pin and soldering the button in this precise spot.
Very important!! note that the button has no resistor attached, this can be achieved by this configuration.
pinMode(button, INPUT_PULLUP);
And we are ready!


Comments
Please log in or sign up to comment.