Hackster is hosting Hackster Holidays, Ep. 7: Livestream & Giveaway Drawing. Watch previous episodes or stream live on Friday!Stream Hackster Holidays, Ep. 7 on Friday!
vishal soni
Published © Apache-2.0

KR 260 camera Environment setup

Tired of worrying about campus safety or missing classes? We've got you covered! Our smart camera system is like having a superhero watch

BeginnerFull instructions provided-1080 minutes130
KR 260 camera Environment setup

Things used in this project

Hardware components

AMD kr 260 robotics kit
×1
Fish-eye Camera Module (OV2640)
M5Stack Fish-eye Camera Module (OV2640)
×1
LED (generic)
LED (generic)
×1
IR Range Sensor
Digilent IR Range Sensor
×1

Software apps and online services

Microsoft putty
balena ethcher
real vnc player

Story

Read more

Schematics

establishing internet via ethernet

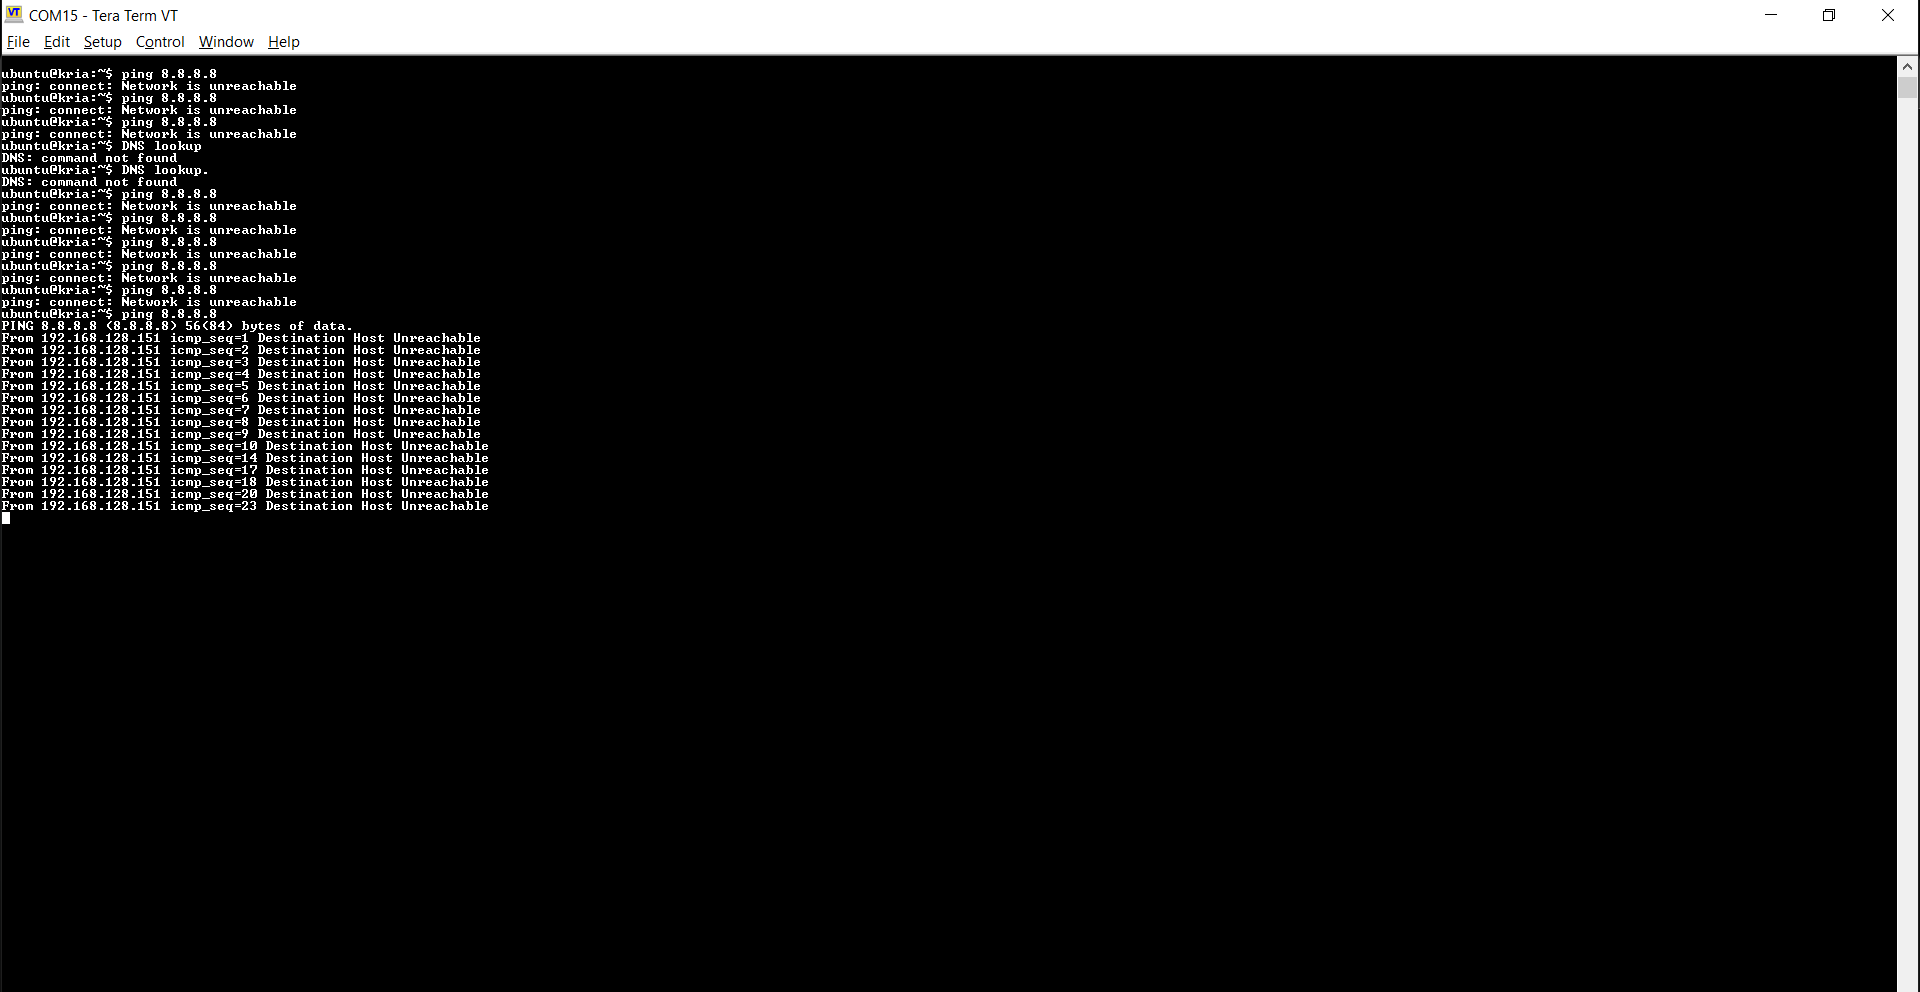
checking internet by ping command

kr260 blinking feedback

Code

code for camera setup in kr 260

Python
Hardware Setup
Before diving into the code, ensure you have the following hardware:

Raspberry Pi (any model)
OV2640 camera module
Micro SD card
Power supply
Ethernet cable or Wi-Fi adapter
Connect the camera module to the Raspberry Pi's CSI port. Ensure the power supply is connected correctly.

Software Setup and Terminal Commands
Operating System and Updates
Insert SD card: Insert a formatted SD card with a Raspberry Pi OS image into the Raspberry Pi.
Boot: Power on the Raspberry Pi.
Update and upgrade: Open a terminal window and run the following commands to update the system:
Bash
sudo apt update
sudo apt upgrade
Use code with caution.

Python and Essential Libraries
Install Python and pip:
Bash
sudo apt install python3 python3-pip
Use code with caution.

Install required libraries:
Bash
pip3 install numpy opencv-python picamera pymongo
Use code with caution.

numpy: For numerical operations.
opencv-python: For image processing.
picamera: For camera control.
pymongo: For MongoDB interaction.
MongoDB Installation
Install MongoDB:
Bash
sudo apt install mongodb
Use code with caution.

Start MongoDB:
Bash
sudo systemctl start mongodb
Use code with caution.

Camera Configuration
Enable camera:
Bash
sudo raspi-config
Use code with caution.

Navigate to "Interface Options" -> "Camera" and enable it.
Check camera:
Bash
raspistill -o image.jpg
Use code with caution.

This will capture an image and save it as "image.jpg".
Python Script for Camera Capture and Data Storage
Python
import time
import cv2
import numpy as np
import pymongo
from picamera import PiCamera

# Replace with your MongoDB connection string
client = pymongo.MongoClient("mongodb://localhost:27017/")
db = client["your_database_name"]
collection = db["camera_data"]

camera = PiCamera()

def capture_and_save():
with camera.capture_continuous('image{counter}.jpg', format='jpeg') as stream:
for frame in stream:
# Read image using OpenCV
img = cv2.imread('image{counter}.jpg')

# Preprocess image (e.g., resize, convert to grayscale)
gray = cv2.cvtColor(img, cv2.COLOR_BGR2GRAY)

# Extract features (e.g., using OpenCV's feature detectors)
# ...

# Create data to store
data = {
"timestamp": time.time(),
"image_data": np.array(gray).tolist(), # Convert image to list for storage
# Add other data as needed
}

# Insert data into MongoDB
collection.insert_one(data)

# Increment counter
counter += 1

if __name__ == "__main__":
capture_and_save()
Use code with caution.

Explanation
The script imports necessary libraries.
Connects to a MongoDB database.
Initializes a PiCamera object.
Defines a capture_and_save function to capture images, preprocess them, extract features, and store data in MongoDB.
The main block calls the capture_and_save function.
Additional Considerations
Error handling: Implement error handling for camera, file operations, and database interactions.
Image processing: Enhance image processing techniques based on specific requirements (e.g., object detection, face recognition).
Data optimization: Optimize data storage in MongoDB for performance.
Real-time processing: Explore techniques for real-time processing and analysis.
Security: Implement security measures to protect the system and data.
Remember to replace placeholders like "your_database_name" with actual values. Adjust the code according to your specific needs and hardware configuration.

Would you like to delve deeper into a specific aspect of this setup, such as image processing, data analysis, or system optimization?
Hardware Setup
Connect the camera module to the Raspberry Pi's CSI port.
Ensure the power supply is connected correctly.
Software Setup and Terminal Commands
Operating System and Updates:
Insert a formatted SD card with a Raspberry Pi OS image into the Raspberry Pi.
Boot the Raspberry Pi.
Update and upgrade the system using sudo apt update and sudo apt upgrade.
Python and Essential Libraries:
Install Python and pip using sudo apt install python3 python3-pip.
Install required libraries: numpy, opencv-python, picamera, and pymongo using pip3 install numpy opencv-python picamera pymongo.
MongoDB Installation:
Install MongoDB using sudo apt install mongodb.
Start MongoDB using sudo systemctl start mongodb.
Camera Configuration:
Enable camera using sudo raspi-config.
Check camera using raspistill -o image.jpg.
Python Script Explanation
Imports necessary libraries.
Connects to a MongoDB database.
Initializes a PiCamera object.
Defines a capture_and_save function to:
Capture images using PiCamera.
Read images using OpenCV.
Preprocess images (e.g., resize, convert to grayscale).
Extract features (to be implemented).
Create data to store in MongoDB.
Insert data into MongoDB.
The main block calls the capture_and_save function.
Additional Considerations
Implement error handling, image processing techniques, data optimization, real-time processing, and security measures as needed.
Replace placeholders with actual values.
Adjust the code according to specific requirements and hardware configuration.
import time
import cv2
import numpy as np
import pymongo
from picamera import PiCamera

# Replace with your MongoDB connection string
client = pymongo.MongoClient("mongodb://localhost:27017/")
db = client["your_database_name"]
collection = db["camera_data"]

camera = PiCamera()

def capture_and_save():
    with camera.capture_continuous('image{counter}.jpg', format='jpeg') as stream:
        for frame in stream:
            # Read image using OpenCV
            img = cv2.imread('image{counter}.jpg')

            # Preprocess image (e.g., resize, convert to grayscale)
            gray = cv2.cvtColor(img, cv2.COLOR_BGR2GRAY)

            # Extract features (e.g., using OpenCV's feature detectors)
            # ...

            # Create data to store
            data = {
                "timestamp": time.time(),
                "image_data": np.array(gray).tolist(),  # Convert image to list for storage
                # Add other data as needed
            }

            # Insert data into MongoDB
            collection.insert_one(data)

            # Increment counter
            counter += 1

if __name__ == "__main__":
    capture_and_save()

camera setup

Credits

vishal soni
5 projects • 4 followers
Circuit design, LTspice, Embedded systems, firmware Design
Thanks to whitney knitter .

Comments