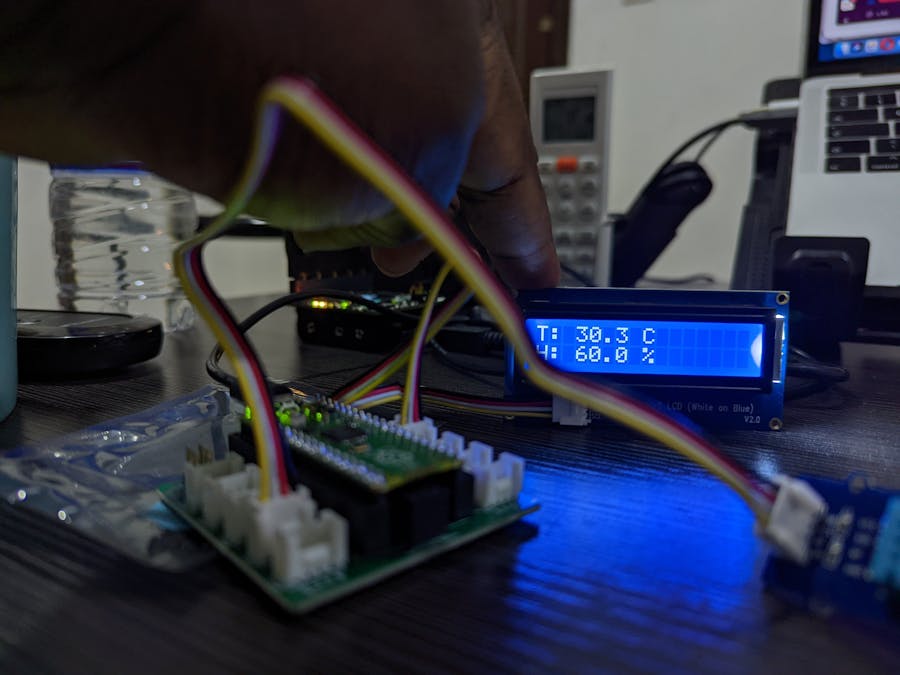
Is the room uncomfortable because of the temperature or the humidity?
IntroductionThis project will show you how to program a microcontroller to get temperature and humidity readings and display those on an LCD.
You will utilize the Raspberry Pi Pico for this. It's a relatively new microcontroller development board that supports programming in Arduino as well as using C/C++. It also had support for MicroPython, which is good for those coming from a software development background.
The ComponentsYou will need the Grove Shield as well as the temperature and humidity sensor, and the LCD from the Grove Starter Kit. You will also need two Grove connectors. Finally, you will need your Pico board and a USB cable.
Follow the steps below to assemble your components.
- Insert the Raspberry Pico Pico into the Grove Shield, paying attention so that the USB port aligns with the USB print on the Grove Shield.
- Connect a Grove cable into port D18 on the shield, then connect the other end to the temperature and humidity sensor.
- Connect another Grove cable to port I2C1 on the Grove shield, and then connect the other end to the LCD.
Follow the steps below.
- Insert one end of the USB cable into your computer.
- Hold the Bootsel button on the Pico down with one hand.
- With the other hand, insert the other end of the USB cable into the Pico.
- Release the Bootsel button.
- Go to your computer. A drive will appear there. Open the drive.
- Double-click the HTML file in the drive to open it.
- Scroll down the page to the Microcontrollers section.
- Click on the MicroPython name.
- Scroll down the page to the section titled Drag-and-Drop MicroPython.
- Click on the highlighted section to download the UF2 file.
- Wait for the download to complete.
- Drag this file back to the root of the Pico.
- The Pico will disconnect from your computer and reboot.
You will need the Thonny IDE, which you can download from here. Install the software and start it up, then follow the steps below:
- Go to the bottom of the Thonny IDE and change the Python interpreter to MicroPython.
- Save the code, which is also available here, into the code editor.
- Save the code as main.py on the Pico.
- Download a zip containing the required libraries from Seeed Studios here.
- Unzip the archive.
- From Thonny, go to the File menu and choose Open.
- Choose This Computer.
- Browse to the unzipped archive and choose the file lcd1602.py
- Go to the File menu and choose Save As.
- Save it as lcd1602.py on the Pico.
- Close the file.
- From Thonny, go to the File menu and choose Open.
- Choose This Computer.
- Browse to the unzipped archive and choose the file dht11.py
- Go to the File menu and choose Save As.
- Save it as dht11.py on the Pico.
- Close the file.
- You should now be back on the file named main.py.
- From the Thonny toolbar, click on Run.
The script will now run. You should see the output at the bottom of the editor, as well as on the LCD Screen.
A video step-by-step is available on YouTube.


Comments
Please log in or sign up to comment.