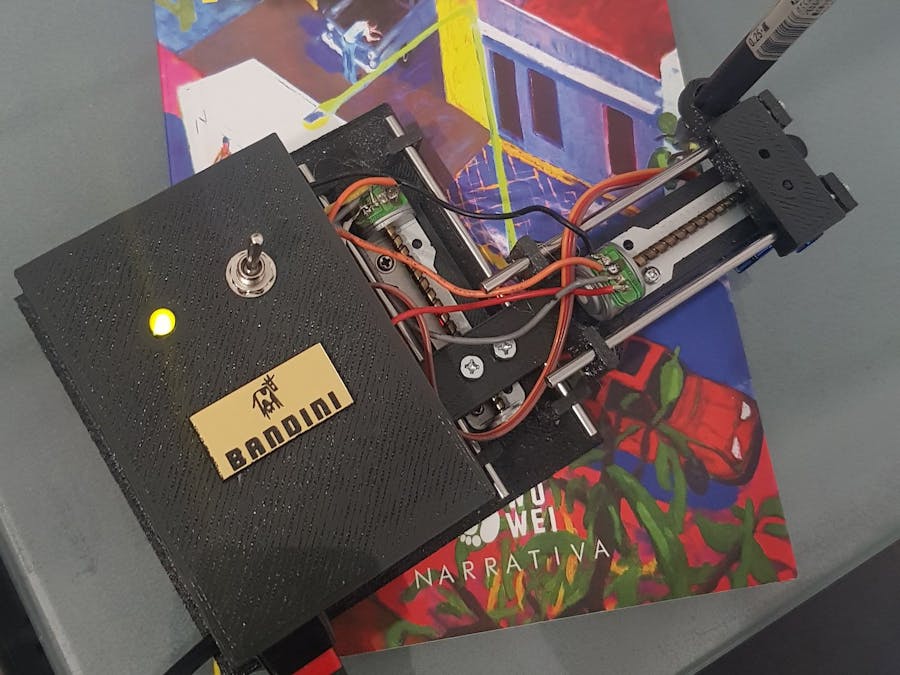
As a fiction writer you have already spent too much time with your novel to think now lots of personal dedications for the book signing event.
Just relax, Book Signer will do the heavy part for you.
HardwareTo move X and Y axis DVD Rom step motors are used. You can find lots of online tutorials about how to extract step by step motors from old DVD and CD roms.
In this case all other parts are 3d printed for optimization. You can download 3d printed parts here.
For Pen Holder with up/down movement (to avoid strokes during movements) almost all designs I've found were complicated and heavy, so I’ve decided to place a small servo to lift the entire arm from the sheet (instead of using the servo with more 3d printed parts, screws and springs)
CircuitsCircuits are easy: motor shield on top of Arduino Uno. Then servo motor to one of the 2 servo connectors (pins 9 and 10 for Arduino code) and 4 cables for each step motor to M1/M2 and M3/M4 (middle screw without cable) Then you have to solder small pins to use D2 and Ground from the motor shield since Arduino pins are on bottom.
SoftwareMaybe the only complicated part in this project is in the software side since several applications are required.
First of all you have to upload Arduino IDE code (you can find code in attachments section) which is just a gCode interpreter. You may have to make some minor adjustments there like servo up/down degrees and mm by step.
Then you need Inkscape to convert images to gCode. I couldn’t use newer Inkscape versions to export gCode so I had to install an old 0.48 version with Inkscape Unicorn plugin http://github.com/martymcguire/inkscape-unicorn](http://github.com/martymcguire/inkscape-unicorn)
Inside Inkscape you have to setup a new document with plotter printing area 40x40mm, then:
- 1. If you are going to use an image as the dedication, import the image horizontally switched, resize to fit 40x40, Go to Path Trace bitmap, Go to Object to path. Then move your image and delete the image below (the original) Finally Save as gCode.
- 2. If you are going to use a font, consider that almost all fonts are not "single line", that means that the Book Signer will print the contour. To avoid this issue you can purchase a single line font - I wasn’t able to find free ones – or use a free online tool like https://www.templatemaker.nl/singlelinetext/ Export the SVG, import into Inkscape, then invert horizontally, make Object to path – no trace bitmap required – and Save as gCode.
Once you have the gCode ready, you have to send file contents to the Arduino. That is done with Processing Software, open GTCRL file, press P to select the USB port, press G to open the gCode and send it.
Book Signer has also a push button connected to a secondary Arduino Pro Micro, which sends macro key combinations to the computer, so you can operate the Book Signer without touching the computer.
3d printed parts
Link to get Book Signer plotter 3d printed parts
Electronic ArtsOther projects related to Literature and Electronic Arts below
Contact
For Arduino, Raspberry Pi and Machine Learning prototypes you are welcome to contact me at


_ztBMuBhMHo.jpg?auto=compress%2Cformat&w=48&h=48&fit=fill&bg=ffffff)


_t9PF3orMPd.png?auto=compress%2Cformat&w=40&h=40&fit=fillmax&bg=fff&dpr=2)
Comments
Please log in or sign up to comment.