#define BLYNK_PRINT Serial


#include <SPI.h>
#include <ESP8266WiFi.h>
#include <BlynkSimpleEsp8266.h>
#include <MFRC522.h>

// You should get Auth Token in the Blynk App.
// Go to the Project Settings (nut icon).
char auth[] = "your auth code";

// Your WiFi credentials.
// Set password to "" for open networks.
char ssid[] = your ssid";
char pass[] = your password";

#define SS_PIN D4
#define RST_PIN D3

const int helmet = D2;     // the number of the pushbutton pin
const int relay = D1;

int buttonState = 0;
int virtual_State = 0;

MFRC522 mfrc522(SS_PIN, RST_PIN); // Create MFRC522 instance.

WidgetLCD lcd(V1);

void setup()
{
  // put your setup code here, to run once:
pinMode(helmet, INPUT);
pinMode(relay, OUTPUT);

// Debug console
  Serial.begin(115200);
  SPI.begin();      // Initiate  SPI bus
  Blynk.begin(auth, ssid, pass);
  // You can also specify server:
  //Blynk.begin(auth, ssid, pass, "blynk-cloud.com", 80);
  //Blynk.begin(auth, ssid, pass, IPAddress(192,168,1,100), 8080);
  mfrc522.PCD_Init(); // Init MFRC522 card
    Serial.println("Approximate your card to the reader...");
  Serial.println();

}

BLYNK_READ(V3)
{
  // This command writes Arduino's uptime in seconds to Virtual Pin (5)
  Blynk.virtualWrite(V3, buttonState);
}


void loop()       // put your main code here, to run repeatedly:
{
  Blynk.run();
  // You can inject your own code or combine it with other sketches.
  // Check other examples on how to communicate with Blynk. Remember
  // to avoid delay() function!

buttonState = digitalRead(helmet);

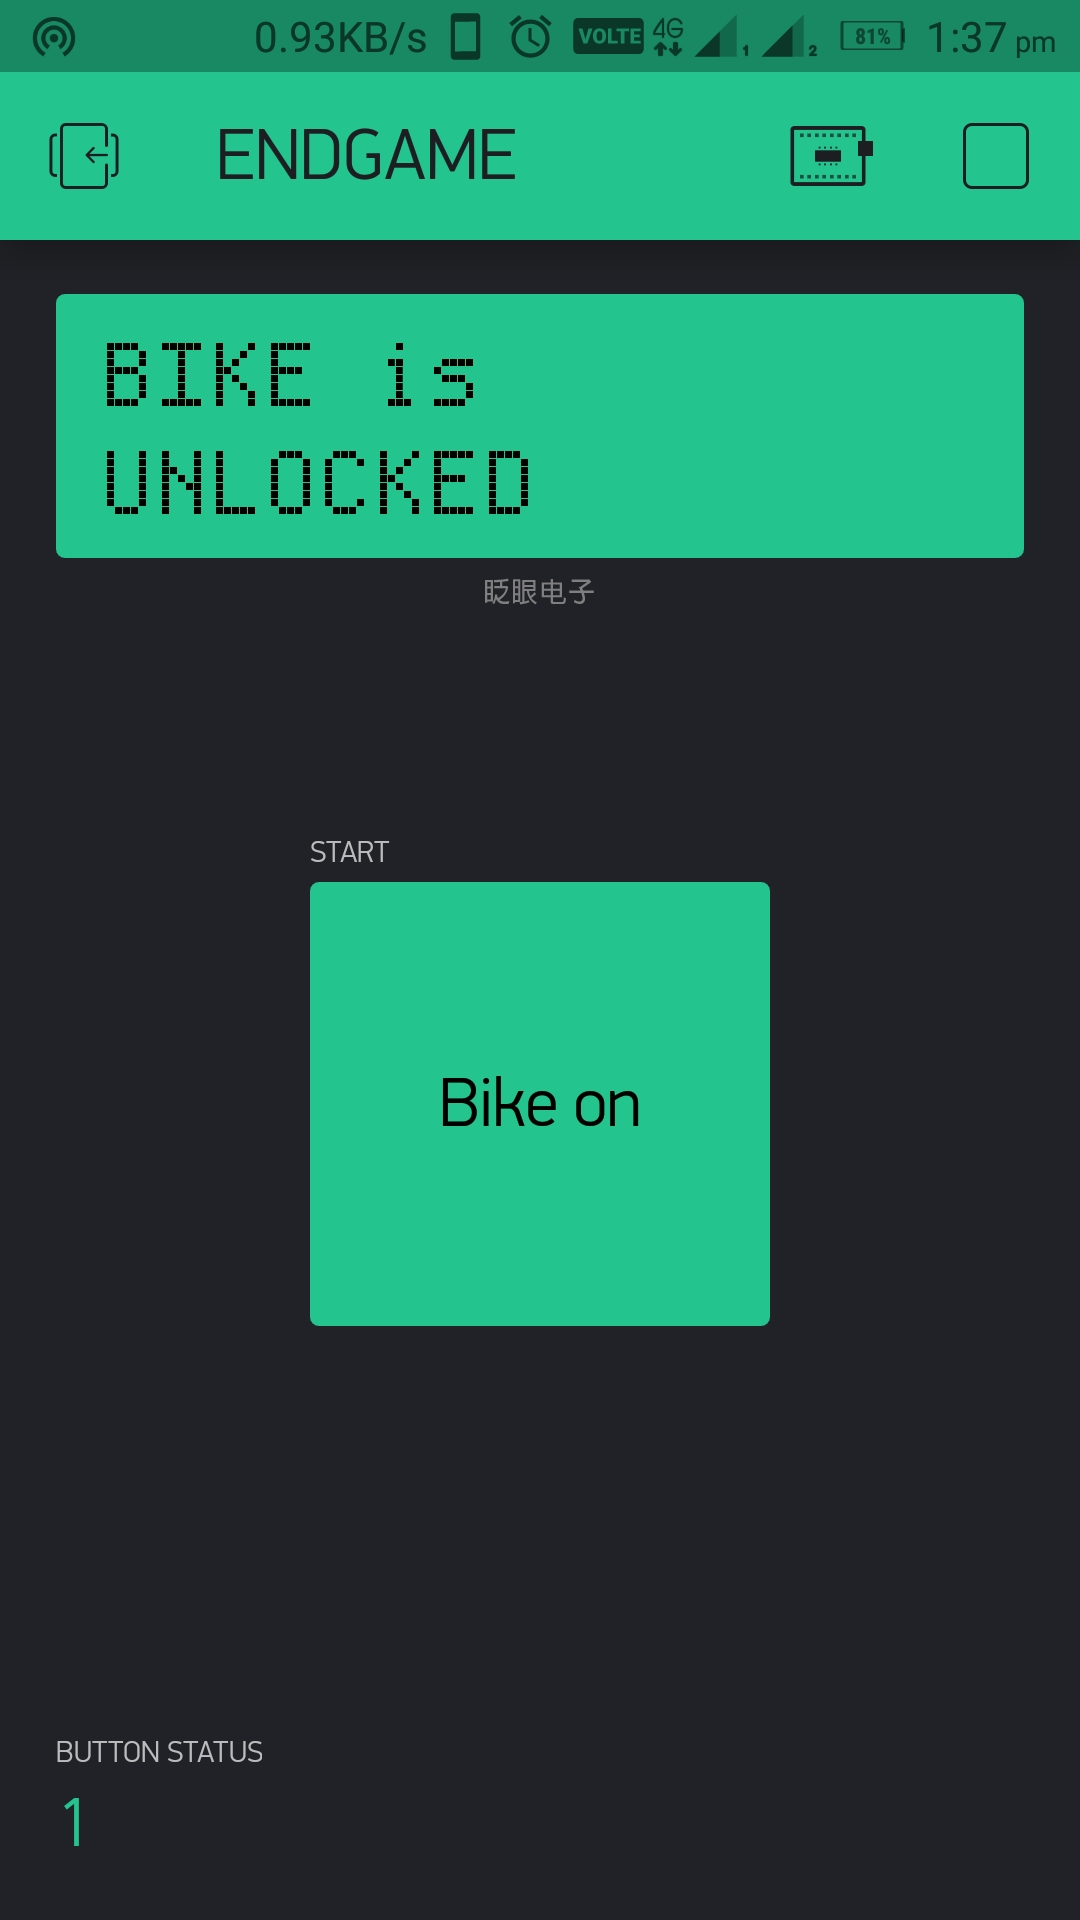
if((virtual_State == HIGH) && (buttonState == HIGH))
  {
     digitalWrite(relay, HIGH);
  lcd.clear();
  lcd.print(0, 0, "BIKE is");                                              // Print if helmet is weared
  lcd.print(0, 1, "UNLOCKED");
  delay(1000);
  }
 if((virtual_State == HIGH) && (buttonState == LOW))
  {
     digitalWrite(relay, LOW);
  delay(3000);
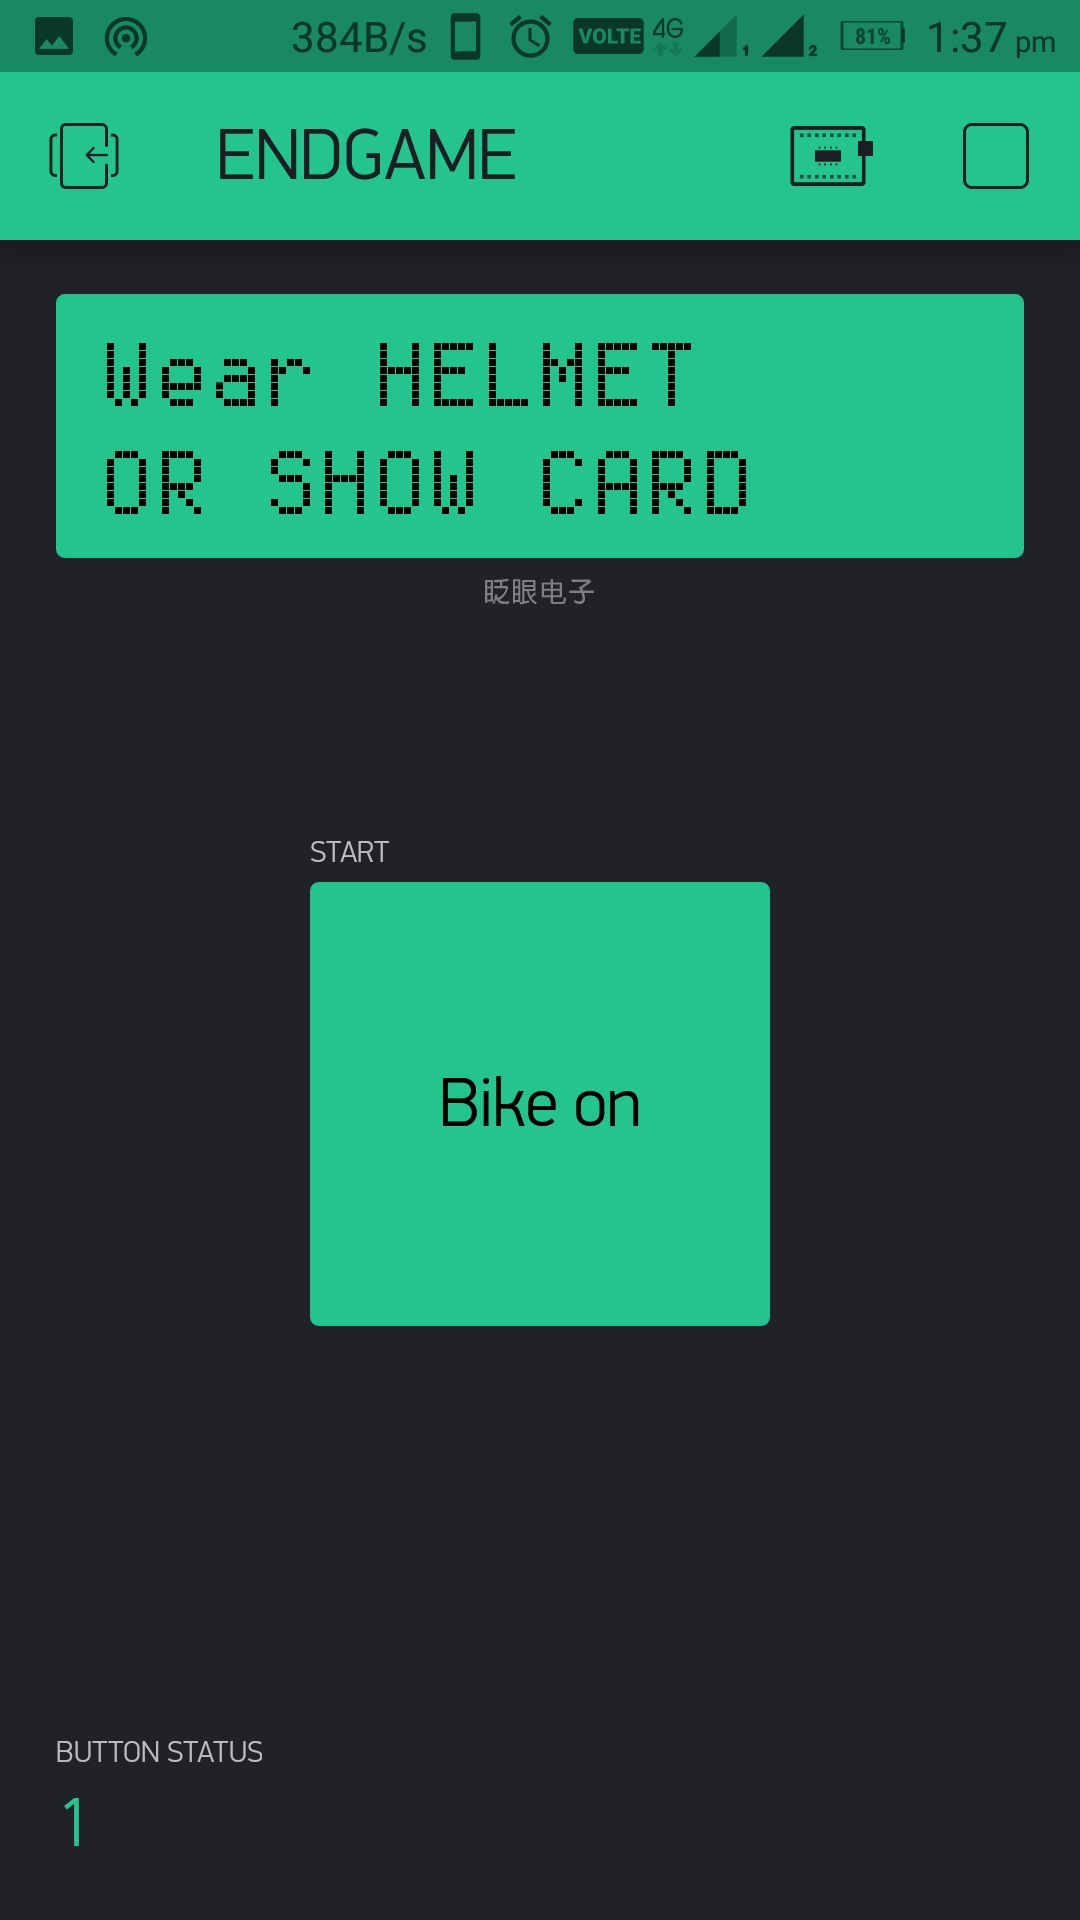
  lcd.clear();
  lcd.print(0, 0, "Wear HELMET");                                // Print to show RFID card or wear helmet
  lcd.print(0, 1, "OR SHOW CARD");
  delay(1000);
  }

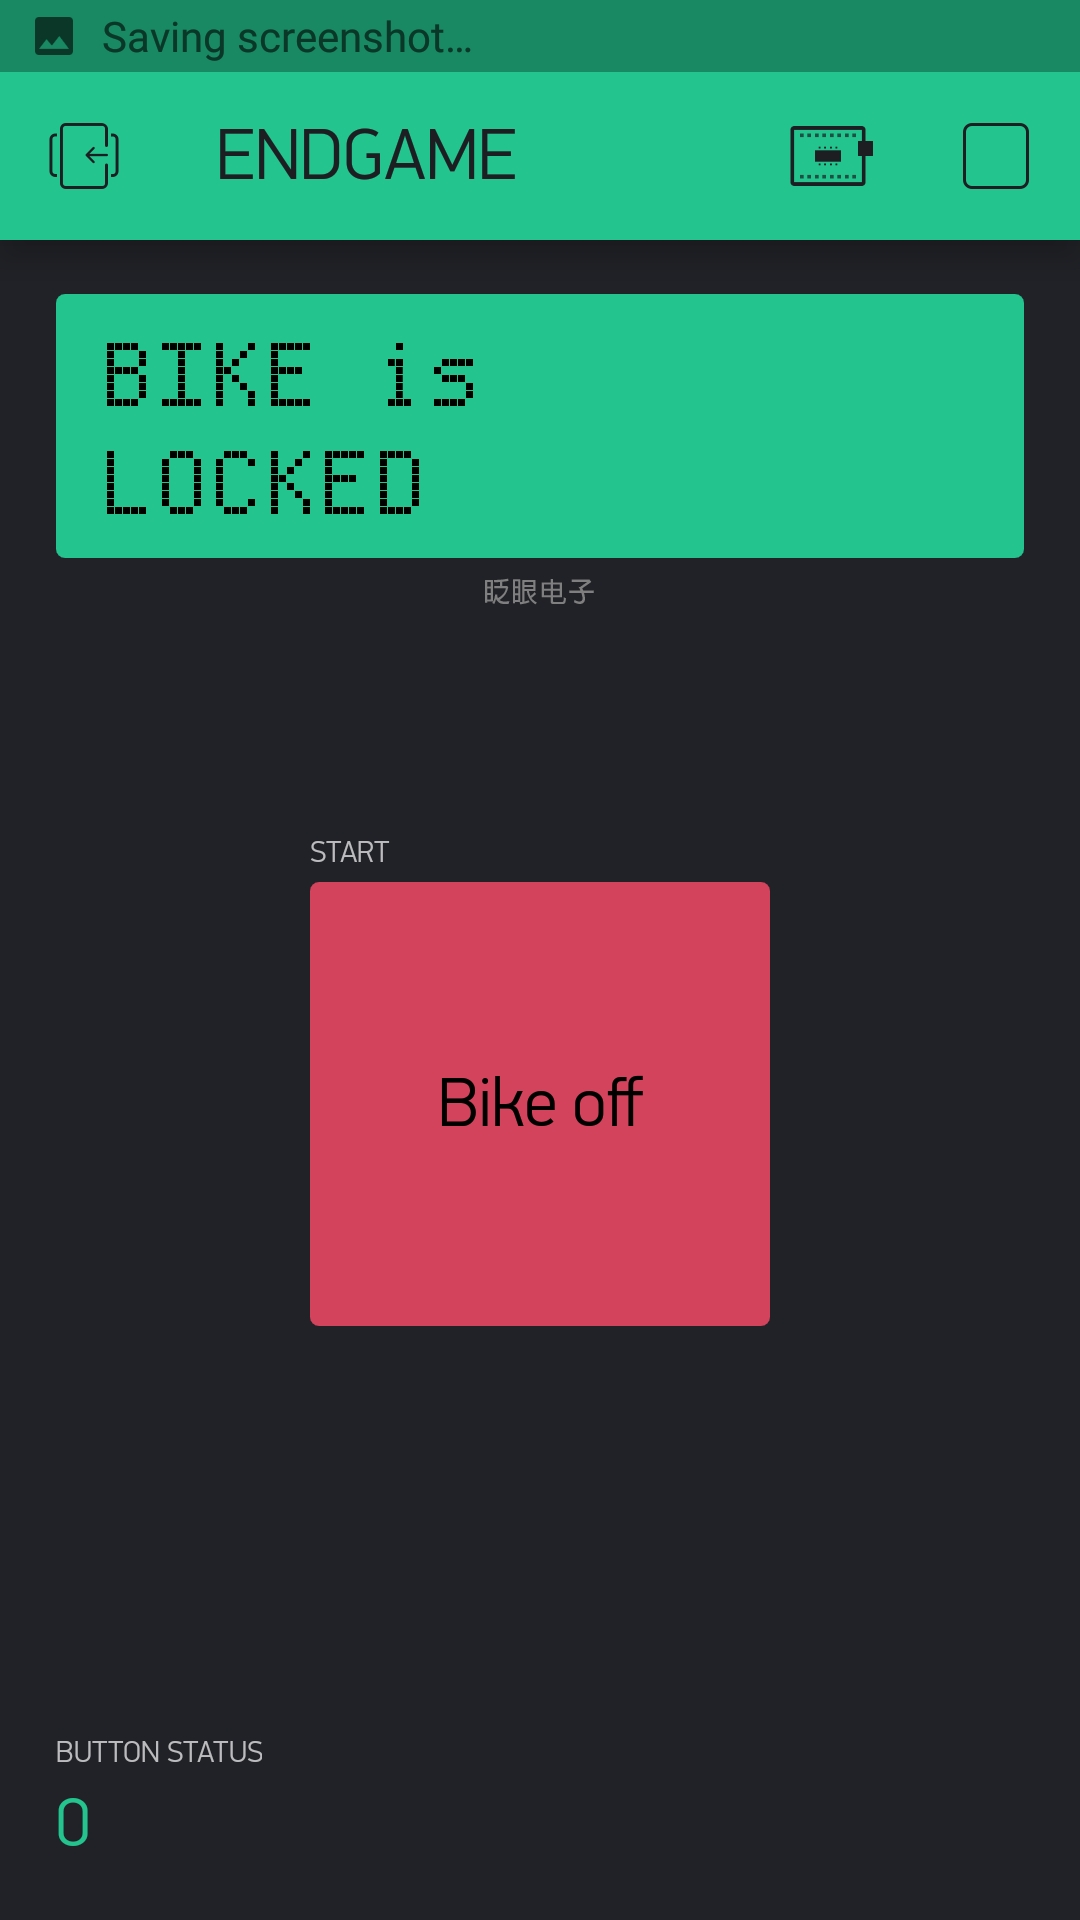
if(virtual_State == LOW)
{
  digitalWrite(relay, LOW);
  lcd.clear();
  lcd.print(0, 0, "BIKE is");                                              // Print when switch is off
  lcd.print(0, 1, "LOCKED");
  delay(1000);
}


     // Look for new cards

  if ( ! mfrc522.PICC_IsNewCardPresent())
  {
    return;
  }
  // Select one of the cards
  if ( ! mfrc522.PICC_ReadCardSerial())
  {
    return;
  }
  //Show UID on serial monitor
  Serial.print("UID tag :");
  String content= "";
  byte letter;
  for (byte i = 0; i < mfrc522.uid.size; i++)
  {
     Serial.print(mfrc522.uid.uidByte[i] < 0x10 ? " 0" : " ");
     Serial.print(mfrc522.uid.uidByte[i], HEX);
     content.concat(String(mfrc522.uid.uidByte[i] < 0x10 ? " 0" : " "));
     content.concat(String(mfrc522.uid.uidByte[i], HEX));
  }
  Serial.println();
  Serial.print("Message : ");
  content.toUpperCase();

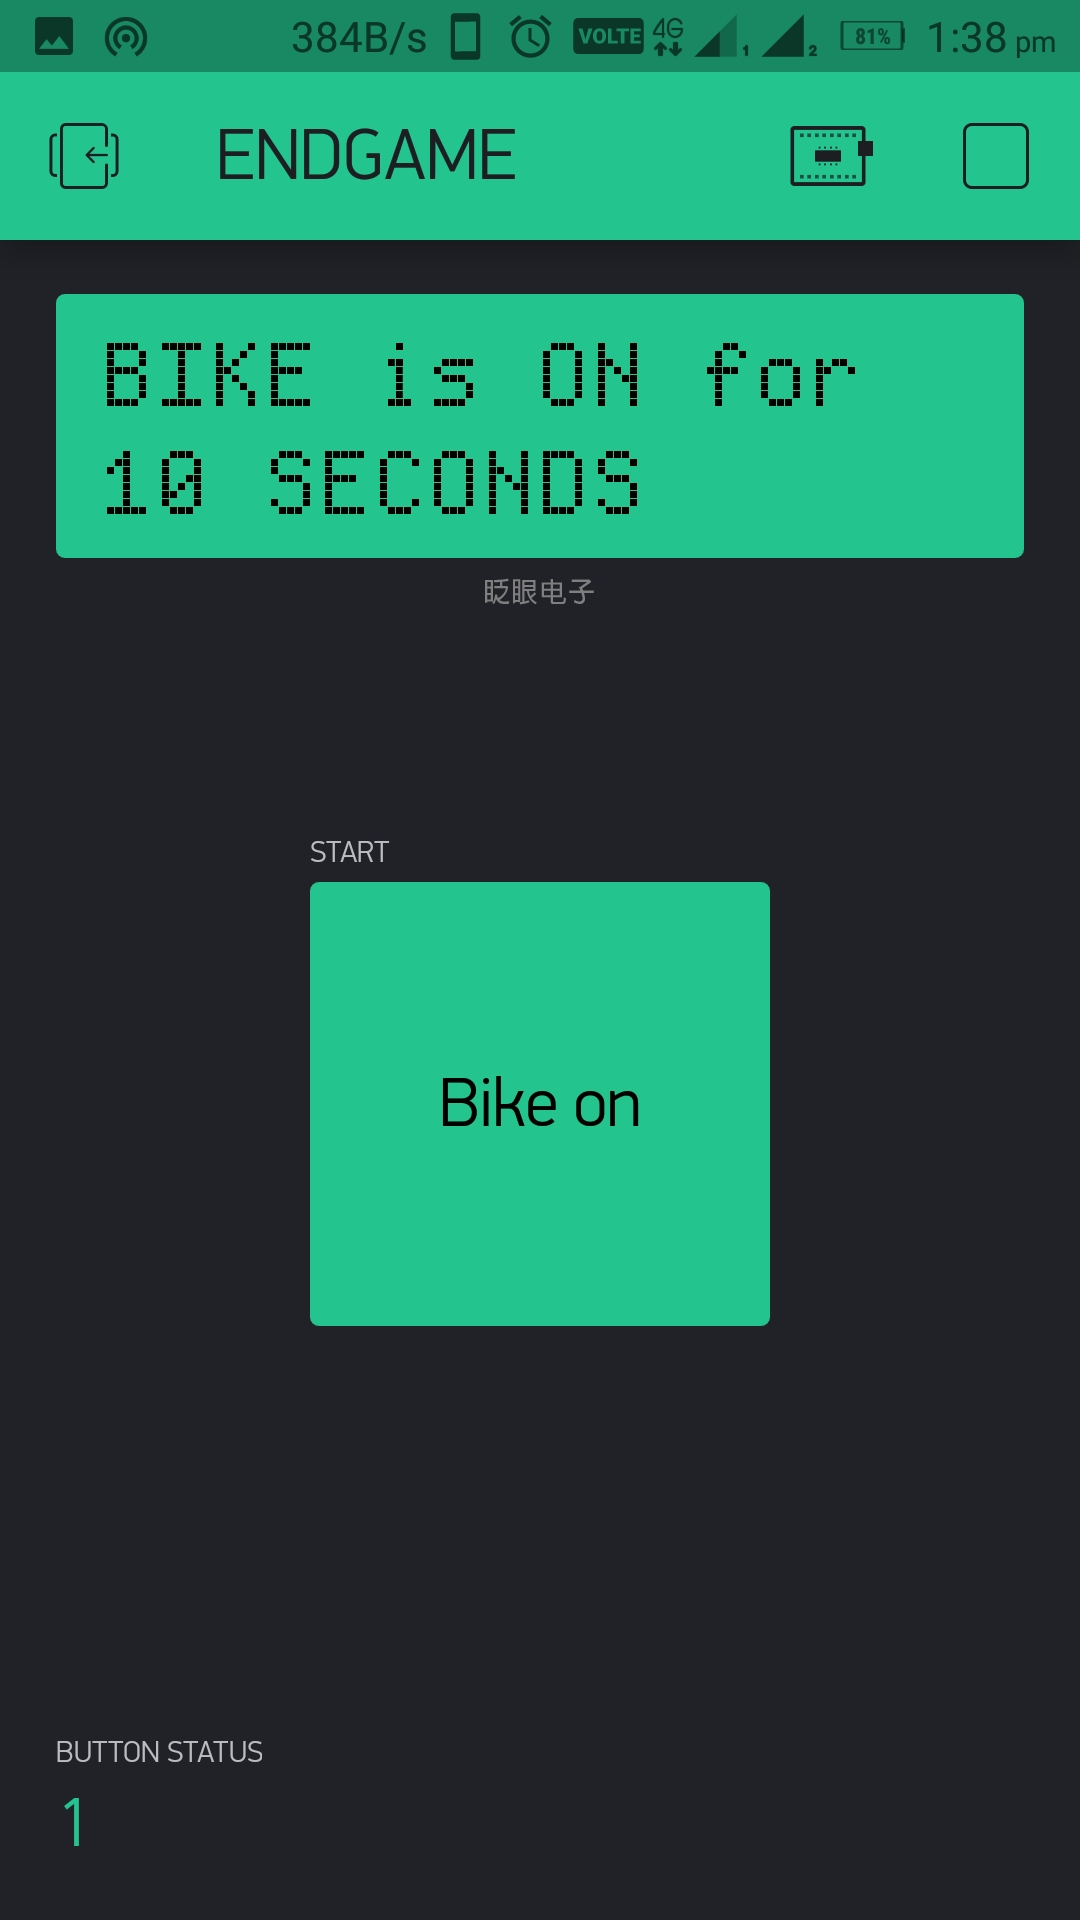
  if(content.substring(1) == "BA BA 4B D3")
          {
            digitalWrite(relay, HIGH);
            lcd.clear();
            lcd.print(0, 0, "BIKE is ON for");                                              // Print if card is TRUE
            lcd.print(0, 1, "10 SECONDS");
            delay(10000);
            digitalWrite(relay, LOW);
            lcd.clear();
            lcd.print(0, 0, "BIKE is");                                              // Print after time delay
            lcd.print(0, 1, "LOCKED");
          }

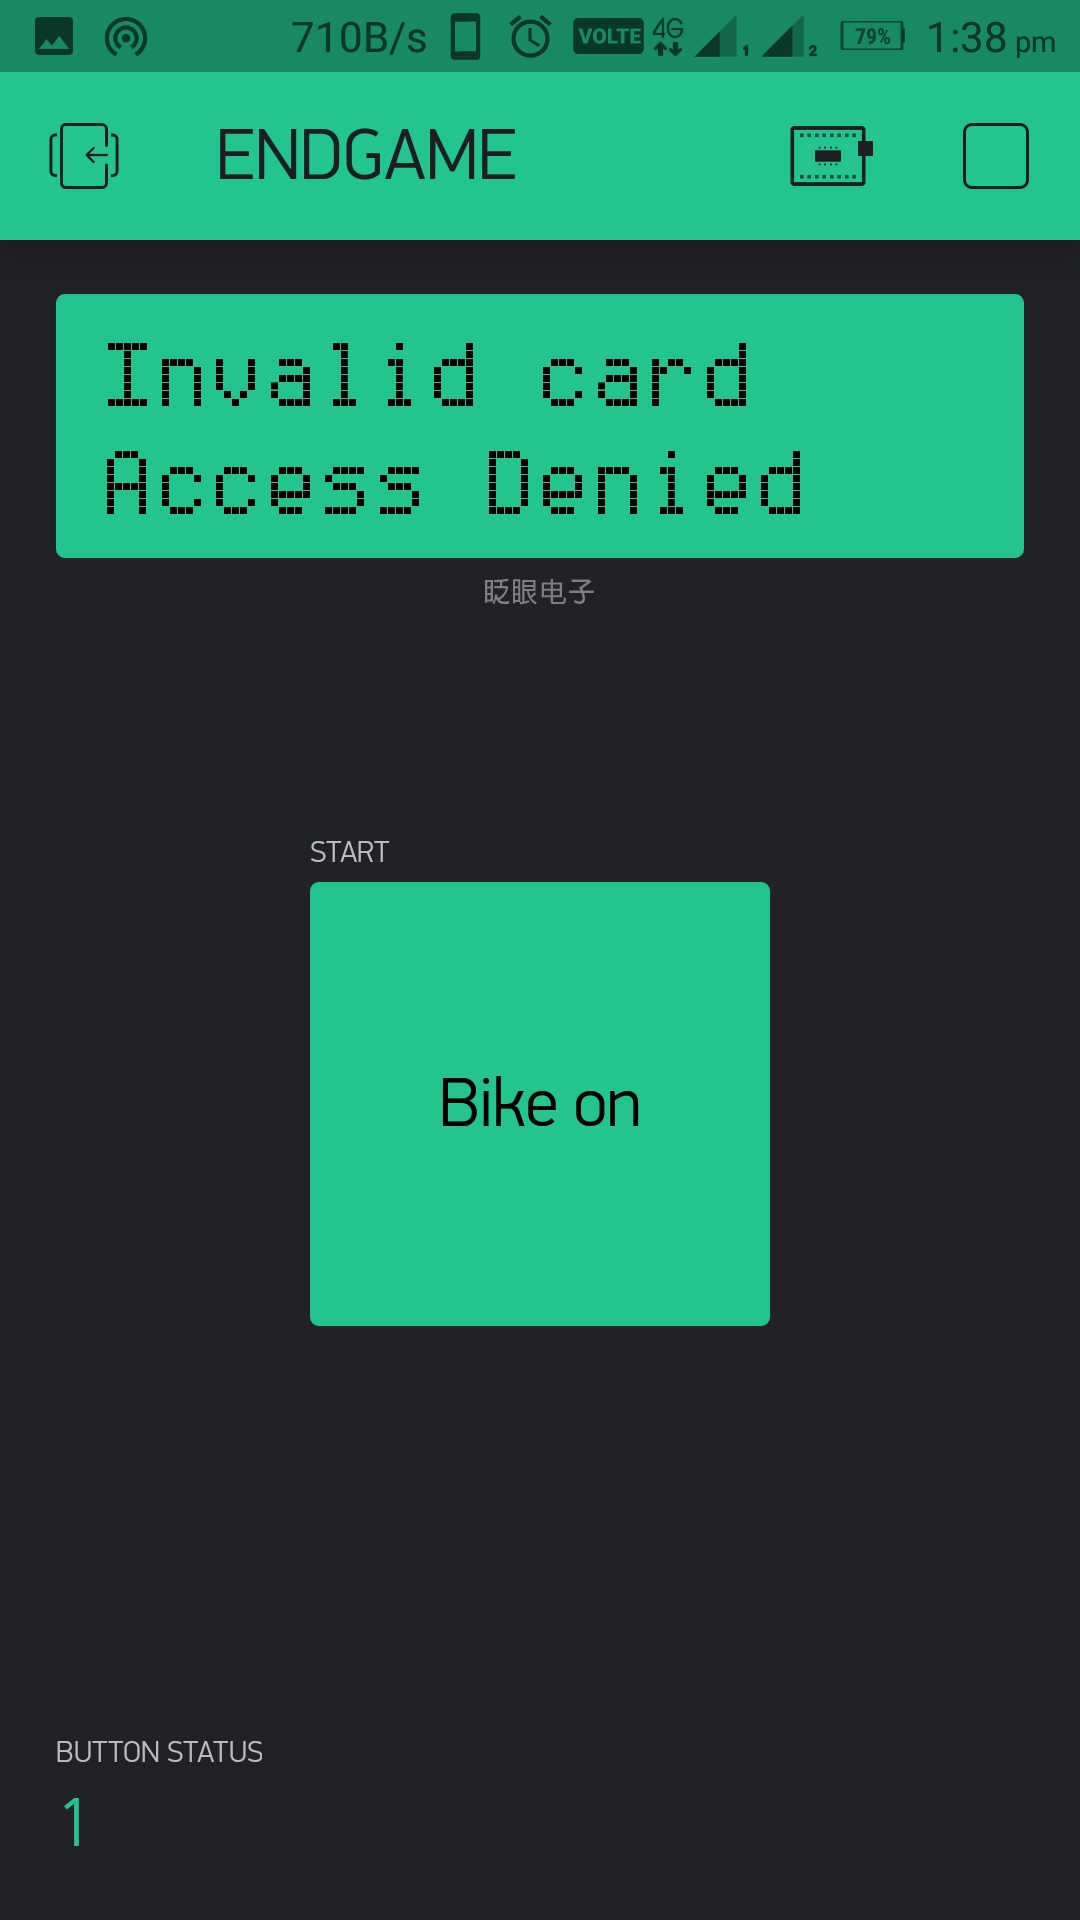
          else
          {
            lcd.clear();
            lcd.print(0, 0, "Invalid card");                                   // Print if card is FALSE
            lcd.print(0, 1, "Access Denied");
          }

}
BLYNK_WRITE(V2)
{
  virtual_State = param.asInt();
}




Comments
Please log in or sign up to comment.