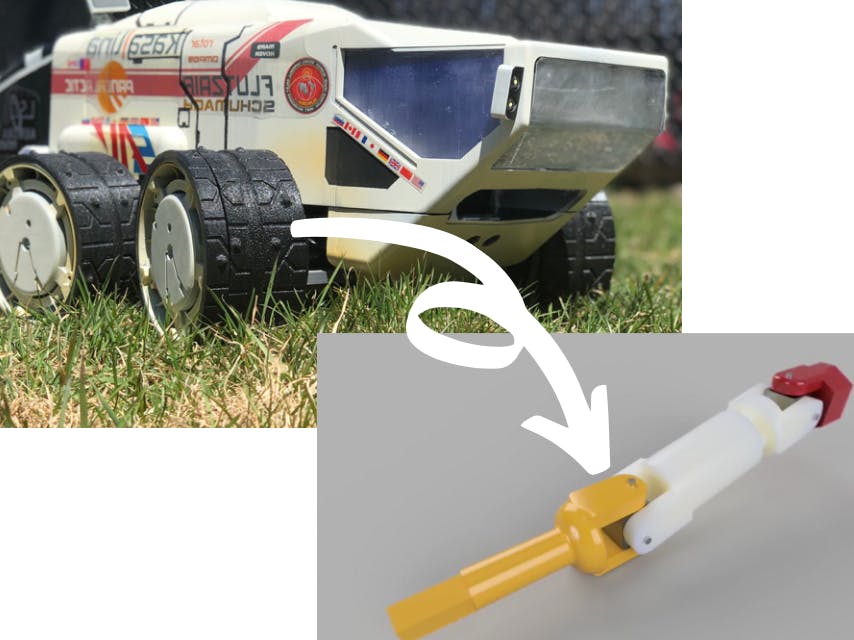
As described in the previous story, this is the second part of the video series on the build of this Mars rover.
If you want to see the video with the explanation of the work I did with the driveshaft, please visit this video.
VideoThe Drive shaft: complexityThe drive shaft is very important but, in the case of this vehicle, not that critical because there are 6 of them so the weight of the vehicle is evenly distributed between the 6 wheels.
Using fusion 360, I designed and tested the behaviour of the mecanical components that compose the drive shaft. Once the tests were successful, I printed all the parts so I can test the mechanical movements with my bare hands along with the strength of the plastic that are used for this mechanical component.
I decided that ABS should best suited for all the mechanical parts but, it is not an easy plastic to print. Nevertheless, I managed to print all the parts with a very good success: 90% of all the parts were printed with no issue and the parts are really sturdy.
In the following image, I can see the structure of one wheel along with the suspension, one motor, the servo motor and the rod used for the direction.
Another important design parameter was the angle of the shocks as you can see in the next image. The shocks are quite horizontal and the reason for that is because in the movie, no shocks appears and I want to be able to hide it as much as possible in the body.
This the end of that post for now, please, check my channel because I will post the next video in about one week.
Note: the interface with a PWM RC Receiver through an Arduino MEGA will be explained at the end of this prooject


_wzec989qrF.jpg?auto=compress%2Cformat&w=48&h=48&fit=fill&bg=ffffff)


_t9PF3orMPd.png?auto=compress%2Cformat&w=40&h=40&fit=fillmax&bg=fff&dpr=2)
Comments
Please log in or sign up to comment.