


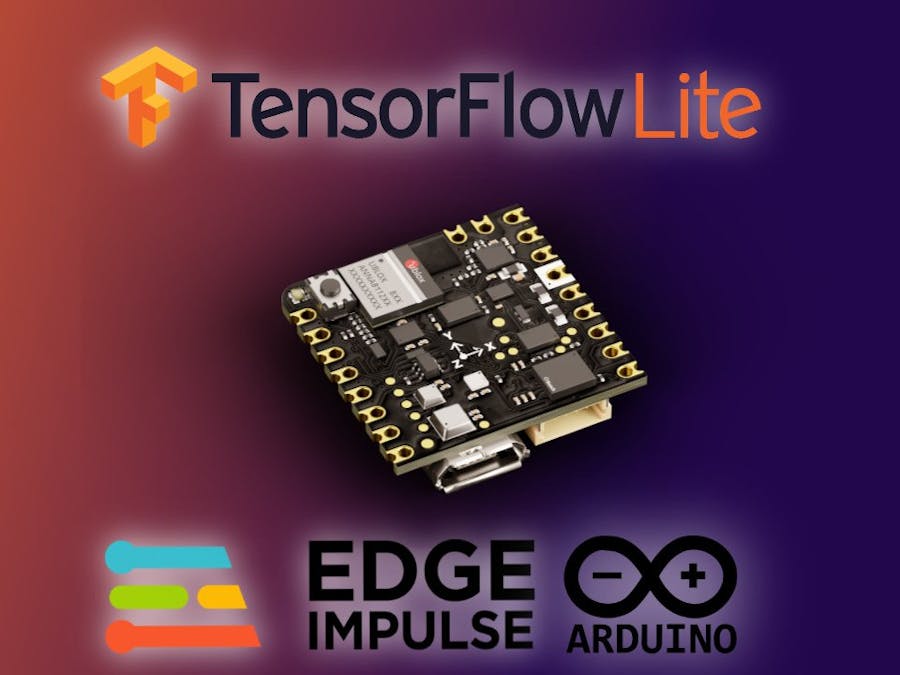
Hardware components | ||||||
 |
| × | 1 | |||
 |
| × | 1 | |||
Software apps and online services | ||||||
 |
| |||||
This tutorial illustrates the process of developing a basic Micro Speech Command Recognition model for identifying various words. The Speech Commands dataset will be utilized, which comprises brief audio clips of commands, such as "down", "go", "left", "no", "right", "stop", "up", and "yes" and etc.
Here, I propose two methods for training the models:
- Utilizing a SaaS-based solution like Edge Impulse
- Using Google Colab, which is based on the official TensorFlow training pipeline.
Both methods for training a Micro Speech Command Recognition model have their advantages and disadvantages. Edge Impulse is a SaaS-based solution that offers a user-friendly interface for building and deploying machine learning models. It requires minimal programming knowledge and can handle many of the technical aspects of building a model, such as data preprocessing and feature engineering. On the other hand, using Google Colab with the official TensorFlow training pipeline provides more flexibility and control over the model's architecture and training process.
Create and Train the Model in Edge ImpulseEdge Impulse is a web-based tool that helps us quickly and easily create AI models that can then be used in all kinds of projects. We can create Machine Learning models in a few simple steps and users can build custom image classifiers with nothing more than a web browser.
As with any deep learning task, the first most important task is to prepare the dataset. We will use the images from Google’s TensorFlow Datasets, publicly available online. The Speech Commands dataset that we are using for this tutorial is stored in wave files that are all one second or less.
The dataset can be downloaded as follows.
http://download.tensorflow.org/data/speech_commands_v0.02.tar.gzThe dataset has 65, 000 clips of one-second-long duration. Each clip contains one of the 30 different words spoken by thousands of different subjects.
Create a project named Micro Speech Command Recognition. Then, upload an audio wav files for each class.
In my case, I uploaded 300 audio samples for each class. We should collect enough samples for each of our classes. My dataset has 5 classes. There are: backward, forward, left, right and noise. Once you have set up all of your classes and are happy with your datasets, it is time to train the model. Navigate to Impulse Design on the left navigation menu.
Select Add a processing block and add Audio (MFCC). MFCC stands for Mel Frequency Cepstral Coefficients. So, it will try to convert audio into some kind of features based on time and frequency characteristics that will help us to do classification. Then select Add learning block and add Classification. Click Save Impulse
Then navigate to MFCC. Feature extraction is the process of discovering a value or a group of values that can be used to identify entities like objects, character, person, etc. MFCC is often used for speech recognition tasks.
Click Save parameters and finally press Generate Features.
Next, click on Classifier on the navigation menu. We will train a model for 100 epochs and learning rate as 0.005. Click the Start training button. Training the model can take a while. While training is in progress, you'll see a progress bar.
When the training process completes you should have a result like the picture shown below:
We get a validation accuracy of 91.4%. Increasing the number of training epochs can potentially increase this accuracy score. The final Quantized model file(int8) is around 6KB in size.
After the training is complete, you can test the model with live data.
Thenn, navigate to Deployment. Click your edge devices type. In my case it is Arduin Library. A zip file will be automatically downloaded to your computer. Unzip it and load library using Arduino IDE.
To begin, open the file named "nano_ble33_sense_microphone_continuous.ino". After that, flash it to Arduino Nano 33 BLE Sense board. Then, open the Arduino Serial Monitor and verify that the baud rate is set to 115200. If you have configured everything correctly, you should be able to observe the following.
Please say the keyword to initiate the recording process.
As you can see, our model has been trained in the cloud using the Edge Impulse platform using our training data. And we can now run this trained model on our Arduino Nano 33 BLE Sense board locally.
Create and Train the Model using Google ColabIn this section, you can learn how to train a Simple Audio Recognition model that can identify particular keywords in speech using only 20 kB of data using Google Colab notebook. Once you have trained your model, you can deploy it to the Arduino Nicla Vision using OpenMV IDE.
I've made corrections to the notebook to ensure that it works with TensorFlow version 2.x. Simply follow the instructions in the notebook and click the Run button for each step. It's important to wait for each step to finish before proceeding to the next one.
Once TensorFlow has finished compiling, the training process will take over 2 hours to complete. At the end of the training, you'll receive your final test accuracy and a float and quantized model files. Quantization is a technique that involves reducing the precision of the weights and activations in a neural network, which can help to reduce the computational complexity of the model and make it more efficient to run on mobile and embedded devices.
Float model is 68356 bytes
Quantized model is 18960 bytes
The float model has a size of 68356 bytes, which is relatively large. The quantized model has a size of 18960 bytes, which is significantly smaller than the size of the float model.
Testing the TensorFlow Lite model's accuracy:
Float model accuracy is 91.254125% (Number of test samples=1212)
Quantized model accuracy is 91.336634% (Number of test samples=1212)
The float model achieved an accuracy of 91.254125%, meaning that it correctly classified 91.254125% of the 1212 test samples. The quantized model achieved an accuracy of 91.336634%, which is slightly higher than the accuracy of the float model. This means that the quantized model was able to classify 91.336634% of the 1212 test samples correctly. This is a good indication that the quantization process did not significantly degrade the performance of the model and that it may be a good choice for deployment on mobile and embedded devices where computational resources may be limited.
You can use netron.app to visualize the model. Netron is a viewer for neural network, deep learning and machine learning models. By using netron.app, you can easily explore the architecture of your model, inspect the individual layers, and examine the weights and biases.
Reshape layer changes the shape of the input data to match the required input shape of the convolutional layer. Conv2D layer is responsible for extracting a different feature from the audio signal. FullyConnected is a dense layer that takes the output from the convolutional layers and feeds it into a set of neurons that are fully connected to the output layer. Softmax function is used to assign a probability to each keyword based on the input audio signal.
To deploy the quantized TensorFlow Lite model on an Arduino Nicla Vision board, download the quantized model as shown in the picture below.
Then, open theOpenMV download page in your browser, download the version that you need for your operating system and follow the instructions of the installer.
Copy and paste the code below into the OpenMV IDE.
import audio, time, tf, micro_speech, pyb
labels = ['Silence', 'Unknown', 'Right', 'Left']

model = tf.load('/model.tflite')
speech = micro_speech.MicroSpeech()
audio.init(channels=1, frequency=16000, gain=24, highpass=0.9883)

# Start audio streaming
audio.start_streaming(speech.audio_callback)

while (True):
# Run micro-speech without a timeout and filter detections by label index.
    idx = speech.listen(model, timeout=0, threshold = 0.78)
    print(labels[idx])
# Stop streaming
audio.stop_streaming()
Next, I need to transfer the downloaded model to the Arduino Nicla board, which will serve as the external file storage for the model as shown in the picture below.
Once this done, click the Play button in the bottom left corner. Then open serial monitor. Here is a demonstration video of what the final result looks like.
I provided a comprehensive guide for training a Simple Audio Recognition model using Google Colab notebook that can accurately identify specific keywords in speech with only 20 kB of data. This tutorial is a valuable resource for anyone interested in audio recognition and machine learning with Arduino boards.
Thank you for reading! If you're interested in learning more about machine learning in audio recognition, I highly recommend checking out the references mentioned in this post below.
References


Comments
Please log in or sign up to comment.