Hi everyone,
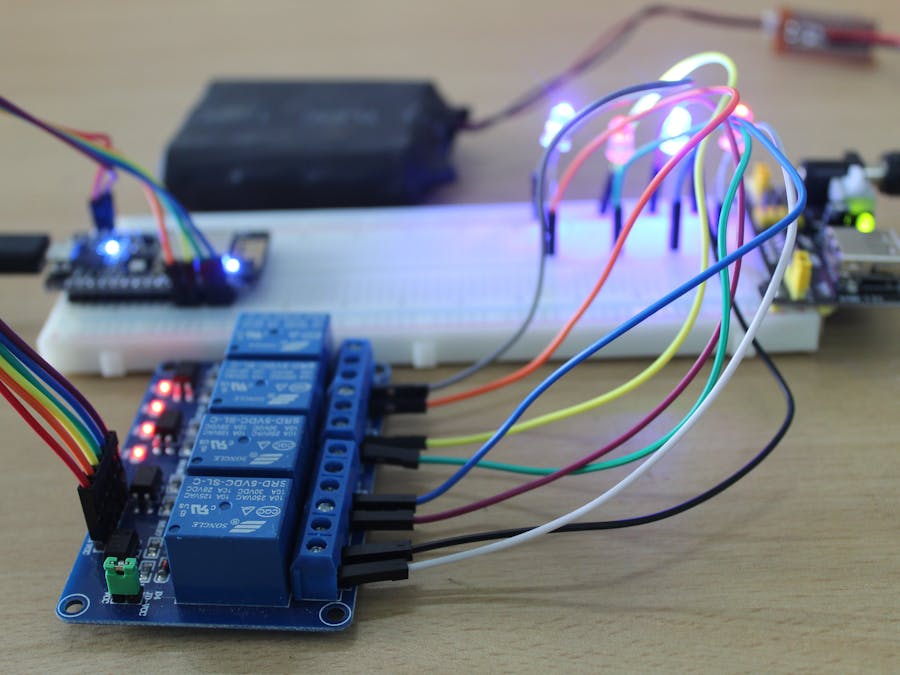
Today I am here with an IoT project, which can control four home appliances though Blynk app. This project is for beginners and also for experts.
When I am on the bed, I am always lazy to turn off lights and control fan speed. For this purpose, I even call mom to do it for me..... ha... ha...
So controlling my room's light and fan through an app will be helpful for me. So I decided to design one for me. For convenience, I am using LED as home appliances. Here is how I build one for my home and do watch the video.
STEP 1Design the circuit using circuito.io.
Collect the components.
Configure the Bynk app.
Download the Blynk app from playstore for Andriod devices.
Sign up with your email and password.
STEP 5Creat a new project. The steps are given below:
Add widgets to the app as required, in this project we are going to control four devices. So need 4 switches. Drag and drop them for your imagination.
Change the logic from 0-1 to 1-0 because the output of NodeMCU is active LOW. Select digital pins D0, D1, D2 and D3 as output pins. change mode to switch from push.
Select the device you are going to communicate, which is the NodeMCU.
Send the authentication code to your e-mail.
Copy the authentication code from mail.
Set up the circuit as per the schematics.
Open Arduino IDE.
Configure it for NodeMCU.
#define BLYNK_PRINT Serial
#include <ESP8266WiFi.h>
#include <BlynkSimpleEsp8266.h>
char auth[] = "authtocken"; // PASTE YOUR AUTHENTICATION CODE HERE
// Your WiFi credentials.
char ssid[] = "ssid"; //WIFI NAME
char pass[] = "password"; //PASSWORD
void setup()
{
 Serial.begin(9600);
 Blynk.begin(auth, ssid, pass);
}
void loop()
{
 Blynk.run();
}
Upload the code.
Open serial monitor to check whether NodeMCU is paired with your WiFi.
Run the Blynk app.
Tap the buttons to turn the LEDs on and off.
Thank you!


Comments
Please log in or sign up to comment.