


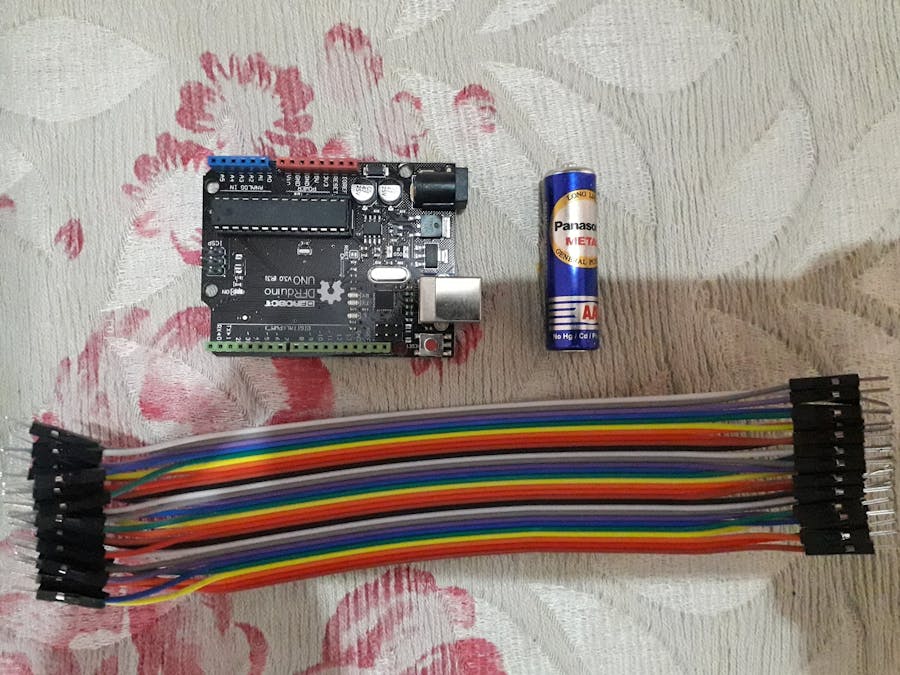
Hardware components | ||||||
| × | 1 | ||||
 |
| × | 1 | |||
 |
| × | 1 | |||
Software apps and online services | ||||||
 |
| |||||
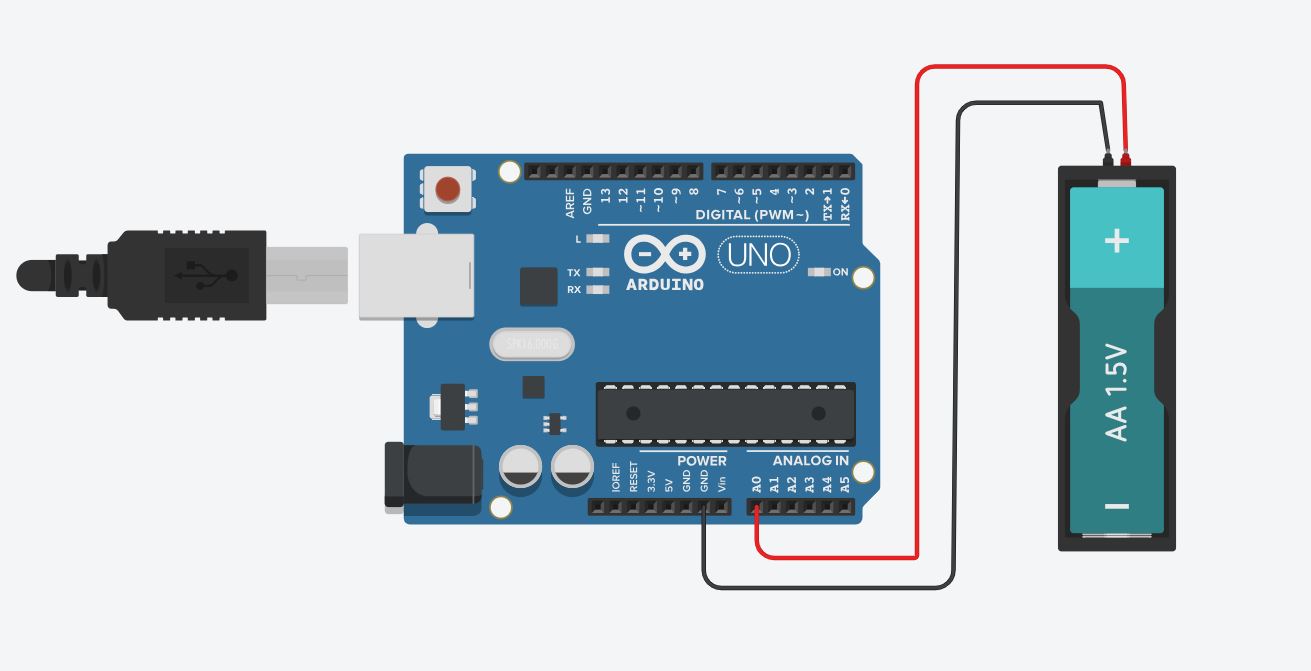
This is a very simple project through which you can use your Arduino Uno as a voltmeter for small voltage measurement. Follow the steps given below and connect as per the circuit diagram.
- On the left side of your Arduino Uno you can see 6 Analog-In pins(.A0, A1, A2, A3, A4, A5) An analog signal is one that can take on any number of values, unlike a digital signal which has only two values: HIGH and LOW. To measure the value of analog signals, the Arduino has a built-in analog-to-digital converter (ADC). The ADC turns the analog voltage into a digital value. The function that you use to obtain the value of an analog signal is analogRead(pin). This function converts the value of the voltage on an analog input pin and returns a digital value from 0 to 1023, relative to the reference value. The reference is 5V on most Arduinos, 7V on the Arduino Mini and Nano, and 15V on Arduino Mega. It has one parameter which is the pin number.
- Insert a jumper wire in the A0 pin of your Arduino
- Connect the other jumper wire to the ground.
- Connect the A0 jumper to the positive terminal of the battery you are measuring.
- Connect the other jumper to the negative terminal of the battery.
- Your circuit is ready! simple as that.!
After uploading the code open the serial monitor of your Arduino by pressing—-> ctrl + shift +M
PRECAUTION: DO NOT CONNECT MORE THAN 5V BATTERY TO YOUR ARDUINO. The analog pins and every input pin in the arduino has a threshold of maximum 5V. Any voltage above it will PERMANENTLY DAMAGE your Uno.

5 projects • 17 followers
Parsuing B.Tech from SRM Institute Of Science And Technology in Electrical And Electronics Engineering.


Comments
Please log in or sign up to comment.