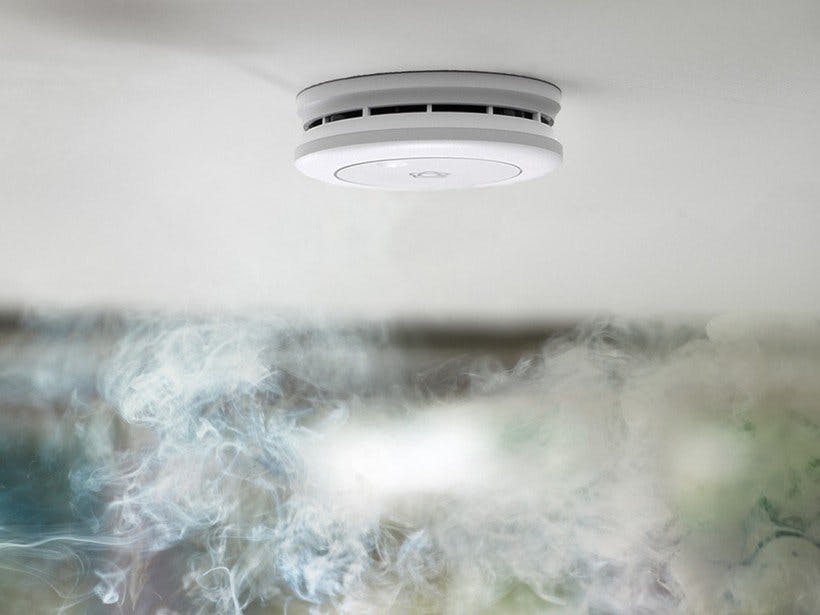
This project is about monitoring the presence of smoke using MQ-2 sensor connected to Bolt Wi-Fi module. And whenever the smoke is detected then alarm as well as warning LED turns ON and an alert message is sent through telegram.
What is an MQ-2 Smoke Sensor?MQ2 is one of the commonly used gas sensors in MQ sensor series. It is a Metal Oxide Semiconductor (MOS) type Gas Sensor also known as Chemiresistors as the detection is based upon change of resistance of the sensing material when the Gas comes in contact with the material. Using a simple voltage divider network, concentrations of gas can be detected.
MQ2 Gas sensor works on 5V DC and draws around 800mW. It can detect LPG, Smoke, Alcohol, Propane, Hydrogen, Methane and Carbon Monoxide concentrations anywhere from 200 to 10000ppm.
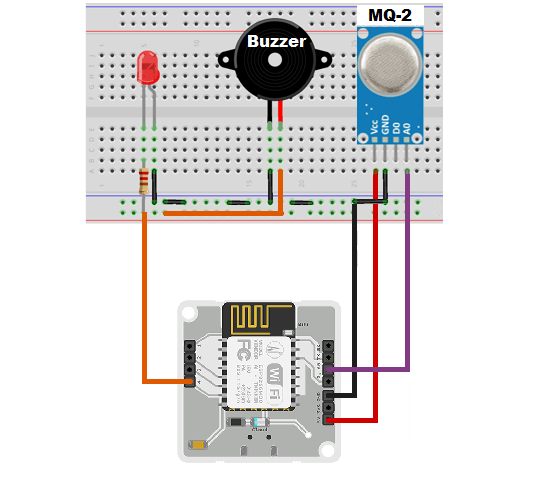
1. Circuit Connection
MQ-2 Sensor pins -------------Bolt WiFi Module pins
A0 ----------------A0
VCC ------------------ 5V
GND ------------------ GND
LED Pins ---------------- Bolt WiFi Module pins
Longer leg --------------- GPIO Pin 4 (through 330 ohm resistor)
Shorter leg --------------- GND
Buzzerpins --------------- Bolt WiFi Module pins
Longer leg --------------- GPIO Pin 4
Shorter leg --------------- GND
(See Circuit connection at last of page.)
.
2. Setting up Python to run the code
First download the python setup file from here. And install it.
After installation process is complete, press Win+r key and then type cmd then press enter. Command Prompt will open.
In Command Prompt type py -m pip install boltiot to install boltiot python library. Note if you installed older versions of python like version 2.X (e.g., Python 2.7) then replace py with python.
.
3. Writing Python Code
Write python code required and save it.
(See code at last of page.)
Remember to replace all the values in conf.py file with your credentials.
.
4. Setting up Telegram
Install Telegram app from Play Store or App Store on a Smartphone.
Signup for a new account or sign in to Telegram by providing your mobile number.
After successful login into your telegram account, on the home screen, swipe from the left side to reveal the menu then click on "New Channel" to create new channel. Give Name and Description to your channel, set the channel as Public and give permanent link to you channel. Then your channel will be created.
Go back to home screen, click on the search icon on the top right and type in botfather. Click on result (below)
Type in /newbot to create new bot. It will ask for details like Bot name and Bot username, type those details. After that you bot will be created and bot token ID will also be displayed.
From the app home screen, open the channel we have created earlier, then click on the channel name on the top to open the information for the channel. Click on the Administrators button, search for the bot that we have created using the bot's username. Once you have found the correct Bot click on it to add it to the channel. Turn on the "Post Messages" feature so that bot can send message.
.
Running the Program
Double click the "code.py" file to run it.


Comments
Please log in or sign up to comment.