penasco 10
Published © GPL3+

Drone with Arduíno

Drone built with Arduíno. Design was printed on a 3D printer and sketch on SolidWorks. It uses an MPU-6050 module to auto equilibrate.

AdvancedWork in progressOver 16 days1,086
Drone with Arduíno

Things used in this project

Hardware components

Inertial Measurement Unit (IMU) (6 deg of freedom)
×1
Arduino Nano R3
Arduino Nano R3
×1
nRF24 Module (Generic)
×1
lipo batery 14.8 V
×1
Joysticks
×1

Software apps and online services

Arduino IDE
Arduino IDE
Visual Studio 2017
Microsoft Visual Studio 2017

Hand tools and fabrication machines

3D Printer (generic)

Story

Read more

Custom parts and enclosures

Drone Base

Drone Top Base

Drone Arm

Propeller

Schematics

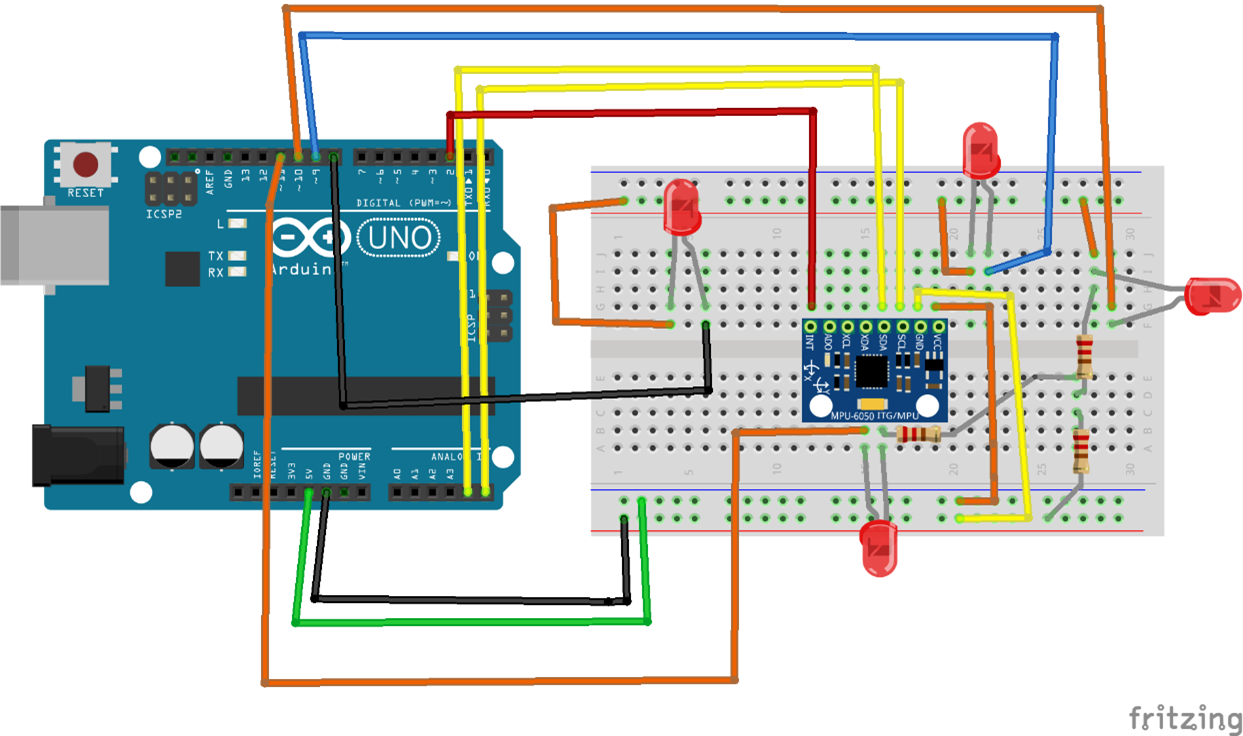
mpu_9H182QiHtN.png

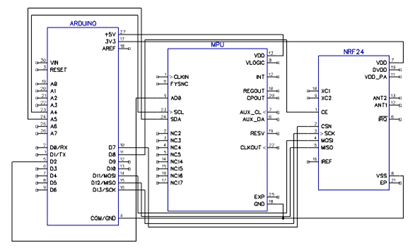
mpuwitharduinoandreceiver_rCQWAD7zvN.png

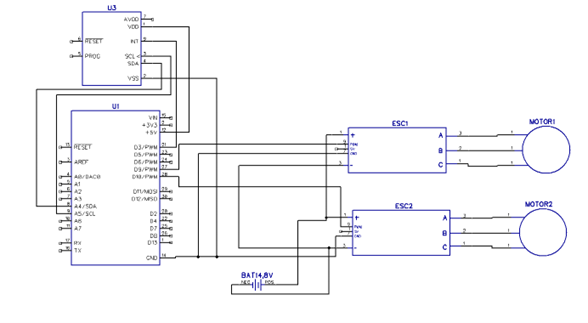
esc_7OAXPpMolr.png

power_lVTCjmRafV.png

Code

transmissor.ino

C/C++
#include <SPI.h>
#include <nRF24L01.h>
#include <RF24.h>


const uint64_t my_radio_pipe = 0xE8E8F0F0E1LL; //Remember that this code should be the same for the receiver

RF24 radio(8, 7);

// The sizeof this struct should not exceed 32 bytes
struct Data_to_be_sent {
  byte ch1; 
};

Data_to_be_sent sent_data;


void setup()
{
    
  radio.begin();
  radio.setAutoAck(false);
  radio.setDataRate(RF24_250KBPS);
  radio.openWritingPipe(my_radio_pipe);  
  sent_data.ch1 = 127;
  
}

/**************************************************/


void loop()
{
  
  sent_data.ch1 = map( analogRead(A0), 0, 1024, 0, 255);

  radio.write(&sent_data, sizeof(Data_to_be_sent));
}

Recetor.ino

C/C++
#include <SPI.h>
#include <nRF24L01.h>
#include <RF24.h>
#include <Servo.h>

const uint64_t pipeIn = 0xE8E8F0F0E1LL;     //Remember that this code is the same as in the transmitter
RF24 radio(8, 7);  //CSN and CE pins

// The sizeof this struct should not exceed 32 bytes
struct Received_data {
  byte ch1;
};

int motor1_value = 0;
Received_data received_data;

Servo motor1;

/**************************************************/

void setup()
{
  motor1.attach(10);
  Serial.begin(9600);
  //We reset the received values
  received_data.ch1 = 127;
 
  //Once again, begin and radio configuration
  radio.begin();
  radio.setAutoAck(false);
  radio.setDataRate(RF24_250KBPS);  
  radio.openReadingPipe(1,pipeIn);
  
  //We start the radio comunication
  radio.startListening();

}

/**************************************************/

unsigned long last_Time = 0;

//We create the function that will read the data each certain time
void receive_the_data()
{
  while ( radio.available() ) {
  radio.read(&received_data, sizeof(Received_data));
  last_Time = millis(); //Here we receive the data
}
}

/**************************************************/

void loop()
{
  //Receive the radio data
  receive_the_data();

  
  motor1_value = map(received_data.ch1,0,255,1000,2000);
  Serial.println(motor1_value);
  
  
}//Loop end

Credits

penasco 10

penasco 10

1 project • 1 follower

Comments