


Hi everyone,
I always wanted to have something that will make a noise or inform me when I need to water my flowers because, to be honest sometimes I forget to do so. So, this small and easy project helped me to achieve it, it uses a Grove - Moisture Soil Sensor that is put in the soil, so when the soil gets dry, the sad picture of a flower is displayed with a message showing that it asks for water, and the internal buzzer in the Wio Terminal is activated, I didn't need to use a separate display to show the pictures, because the Wio Terminal has a built-in display. And when the soil is wet enough, the happy picture is shown, and the buzzer stops beeping.
So now, I won't forget to water my flowers, funnily and interestingly, my flowers will ask for water.
I will share with you the steps that I took to create this easy project, so you can recreate it if you like.
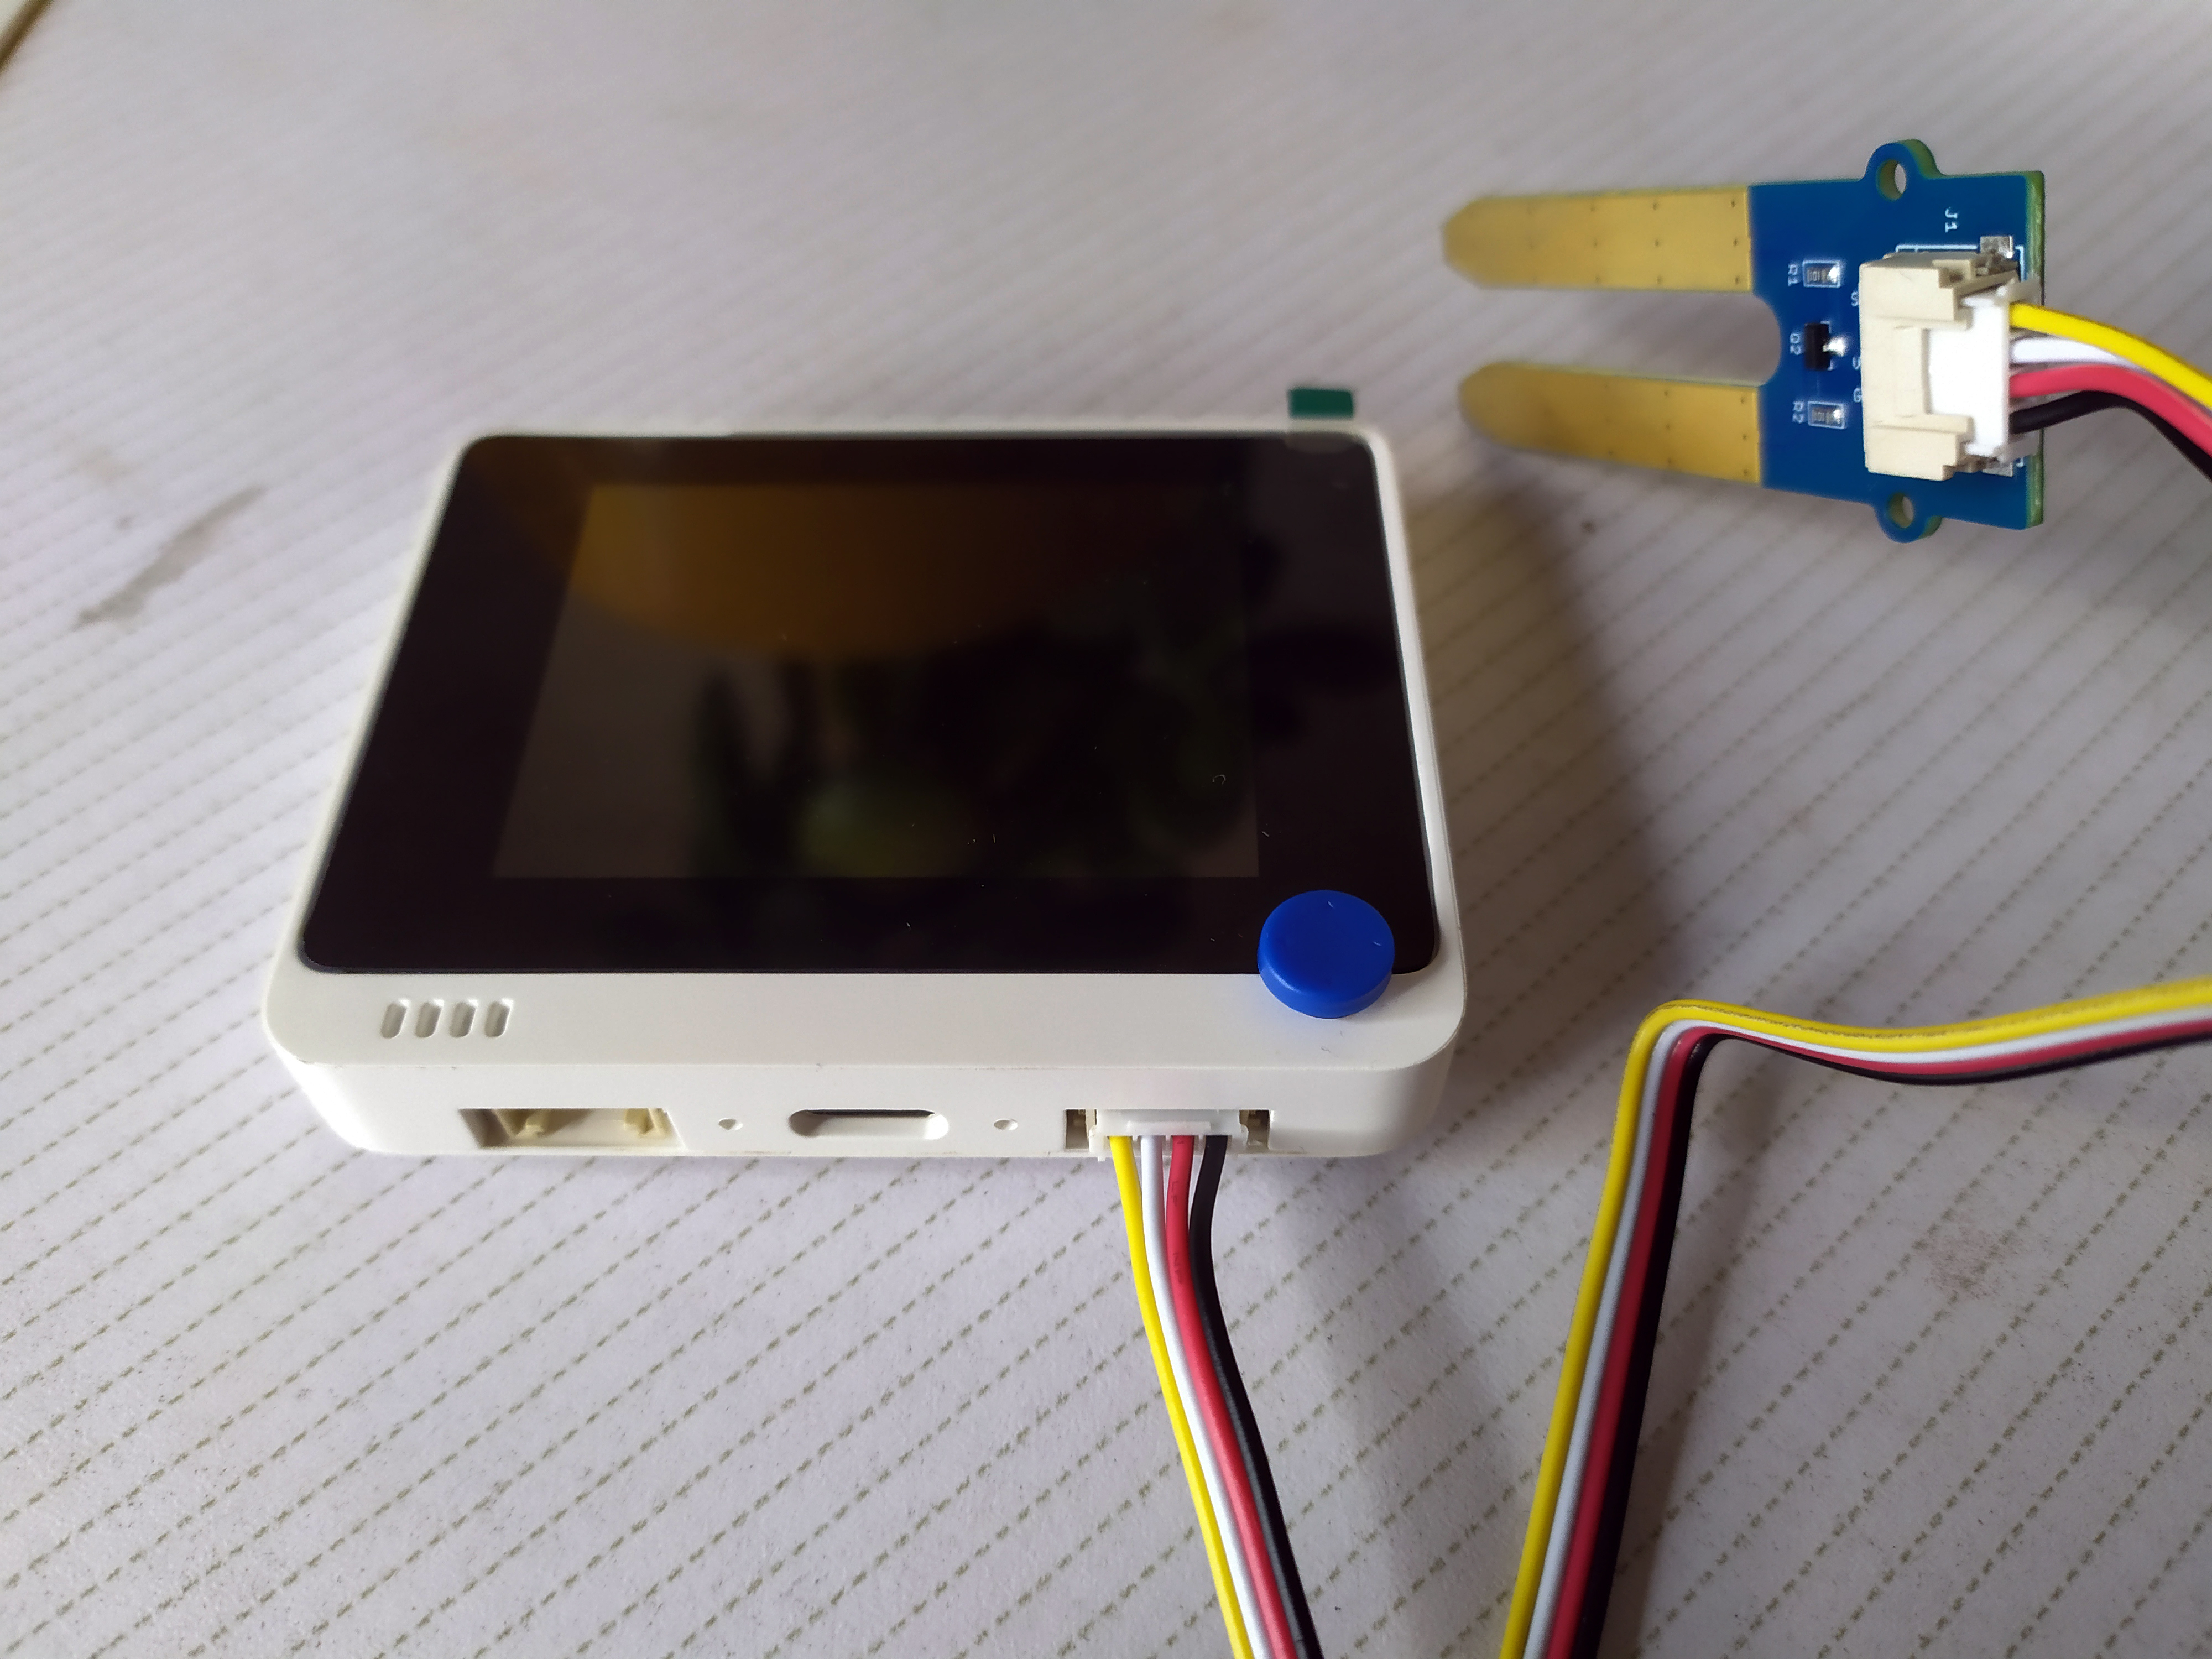
Step 1: We need to connect the Grove - Moisture Soil Sensor to the Wio Terminal, using their cables for easy connection and use of their sensors. We need an analog pin, to read the value coming from the sensor. The Wio Terminal has a 40 GPIO Pin Header, we can choose the analog pin from there, but in this project, I used just one sensor, and I didn't need to use the header, so I chose the right multi-function grove connector, in the connector, we have an analog input pin, so we just need to connect them in a way shown in the picture below.
Step 2: We need to convert the pictures that we want to be displayed when a certain condition is met, into a format readable to the microcontroller. The Seeed Studio has created a tool for us, that we can use to do so, visit this link, to see the steps. The instructions are well-written and it is easy to be followed.
Step 3: To import the pictures into the MicroSD Card, we will need to have a MicroSD Card Reader, and connect it to the computer, just copy the converted files that the software has prepared, into the card, and plug it into the Wio Terminal.
Step 4: Now we are ready to connect the Wio Terminal to our computer using a Type-C cable and upload the code I wrote.
To be able to program the Wio Terminal, we need to prepare the Arduino IDE to recognize the board, and also install some of their already created libraries, that will help us to use the display, visit this link, to follow the steps that we have to take, also there are some interesting things that you can learn if you want to use the board for your purposes.
And when everything is prepared, we can program the Wio Terminal to perform the task for us. Just select the board and the port like it is shown in the picture below, and upload the code to the board.
Now, we are ready to mount the board on the flowerpot and enjoy following our flower healthy rising with enough water in the soil.
if you liked the project consider subscribing to my youtube channel, I do videos related to electronics, programming, and tech in general, so you might find something of your interest, or maybe we can chat about some interesting ideas,
Happy experimenting!


Comments
Please log in or sign up to comment.