It was during summer 2020 after the first corona wave in Slovenia when we decided to participate in the NXP HoverGames challenge number 2.
Our project was designed in a way that we use the drone as a self-flying robot that will follow us where we go (master-slave functionality), when a situation comes that we want to control them, special hands mimic will switch from follow-me mode to the search mode. With this functionality (master-tool) drone will be our sixth sense of perception.
The goal of our project is to create a platform, which can be used for a variety of different use-cases:
- Pandemic (helps to locate big groups of people, the messenger of information)
- Natural disaster (identifying potentially dangerous POI)
- Search on difficult terrains (people, pets, objects)
- Hobbies (search for mushrooms, special vegetation, an overview of landscape)
- Fun (families/friends)
Summary (practical example): Drone follows us as we move. If we want to extend our vision (left/right 100 meters) we extend our hand in that direction, the drone will detect hands-mimic and initialize a pre-defined mission (object of interest) if that object is found it will notify the master-user and give him the possibility to observe it through FPV goggle, if not it will return to master and continue with follow-me mode.
Initial plan:To build a self-driving drone that will automatically detect a person and lock to it.
To develop one platform on a mobile device to enter parameters (object to the search, area, altitude)
Workflow:- detection of the master-user 🕵️♂️
- tracking a user in each direction (follow-me mode)
- if the master-user is lost, return to the detection
- extension of arm triggers a directional search of the area
- fly to search area (100-150m away from the master user)
- detection of the predefined custom object (pet, object, fire)
- if an object found notify the master-user with GPS coordinates of it
- if not return to master user and continue with follow-me mode
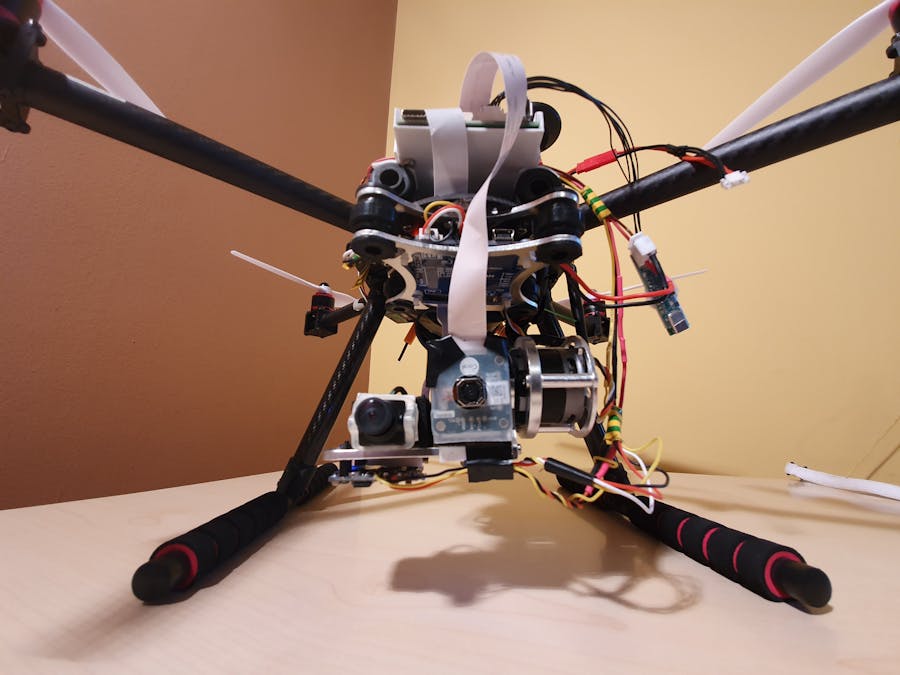
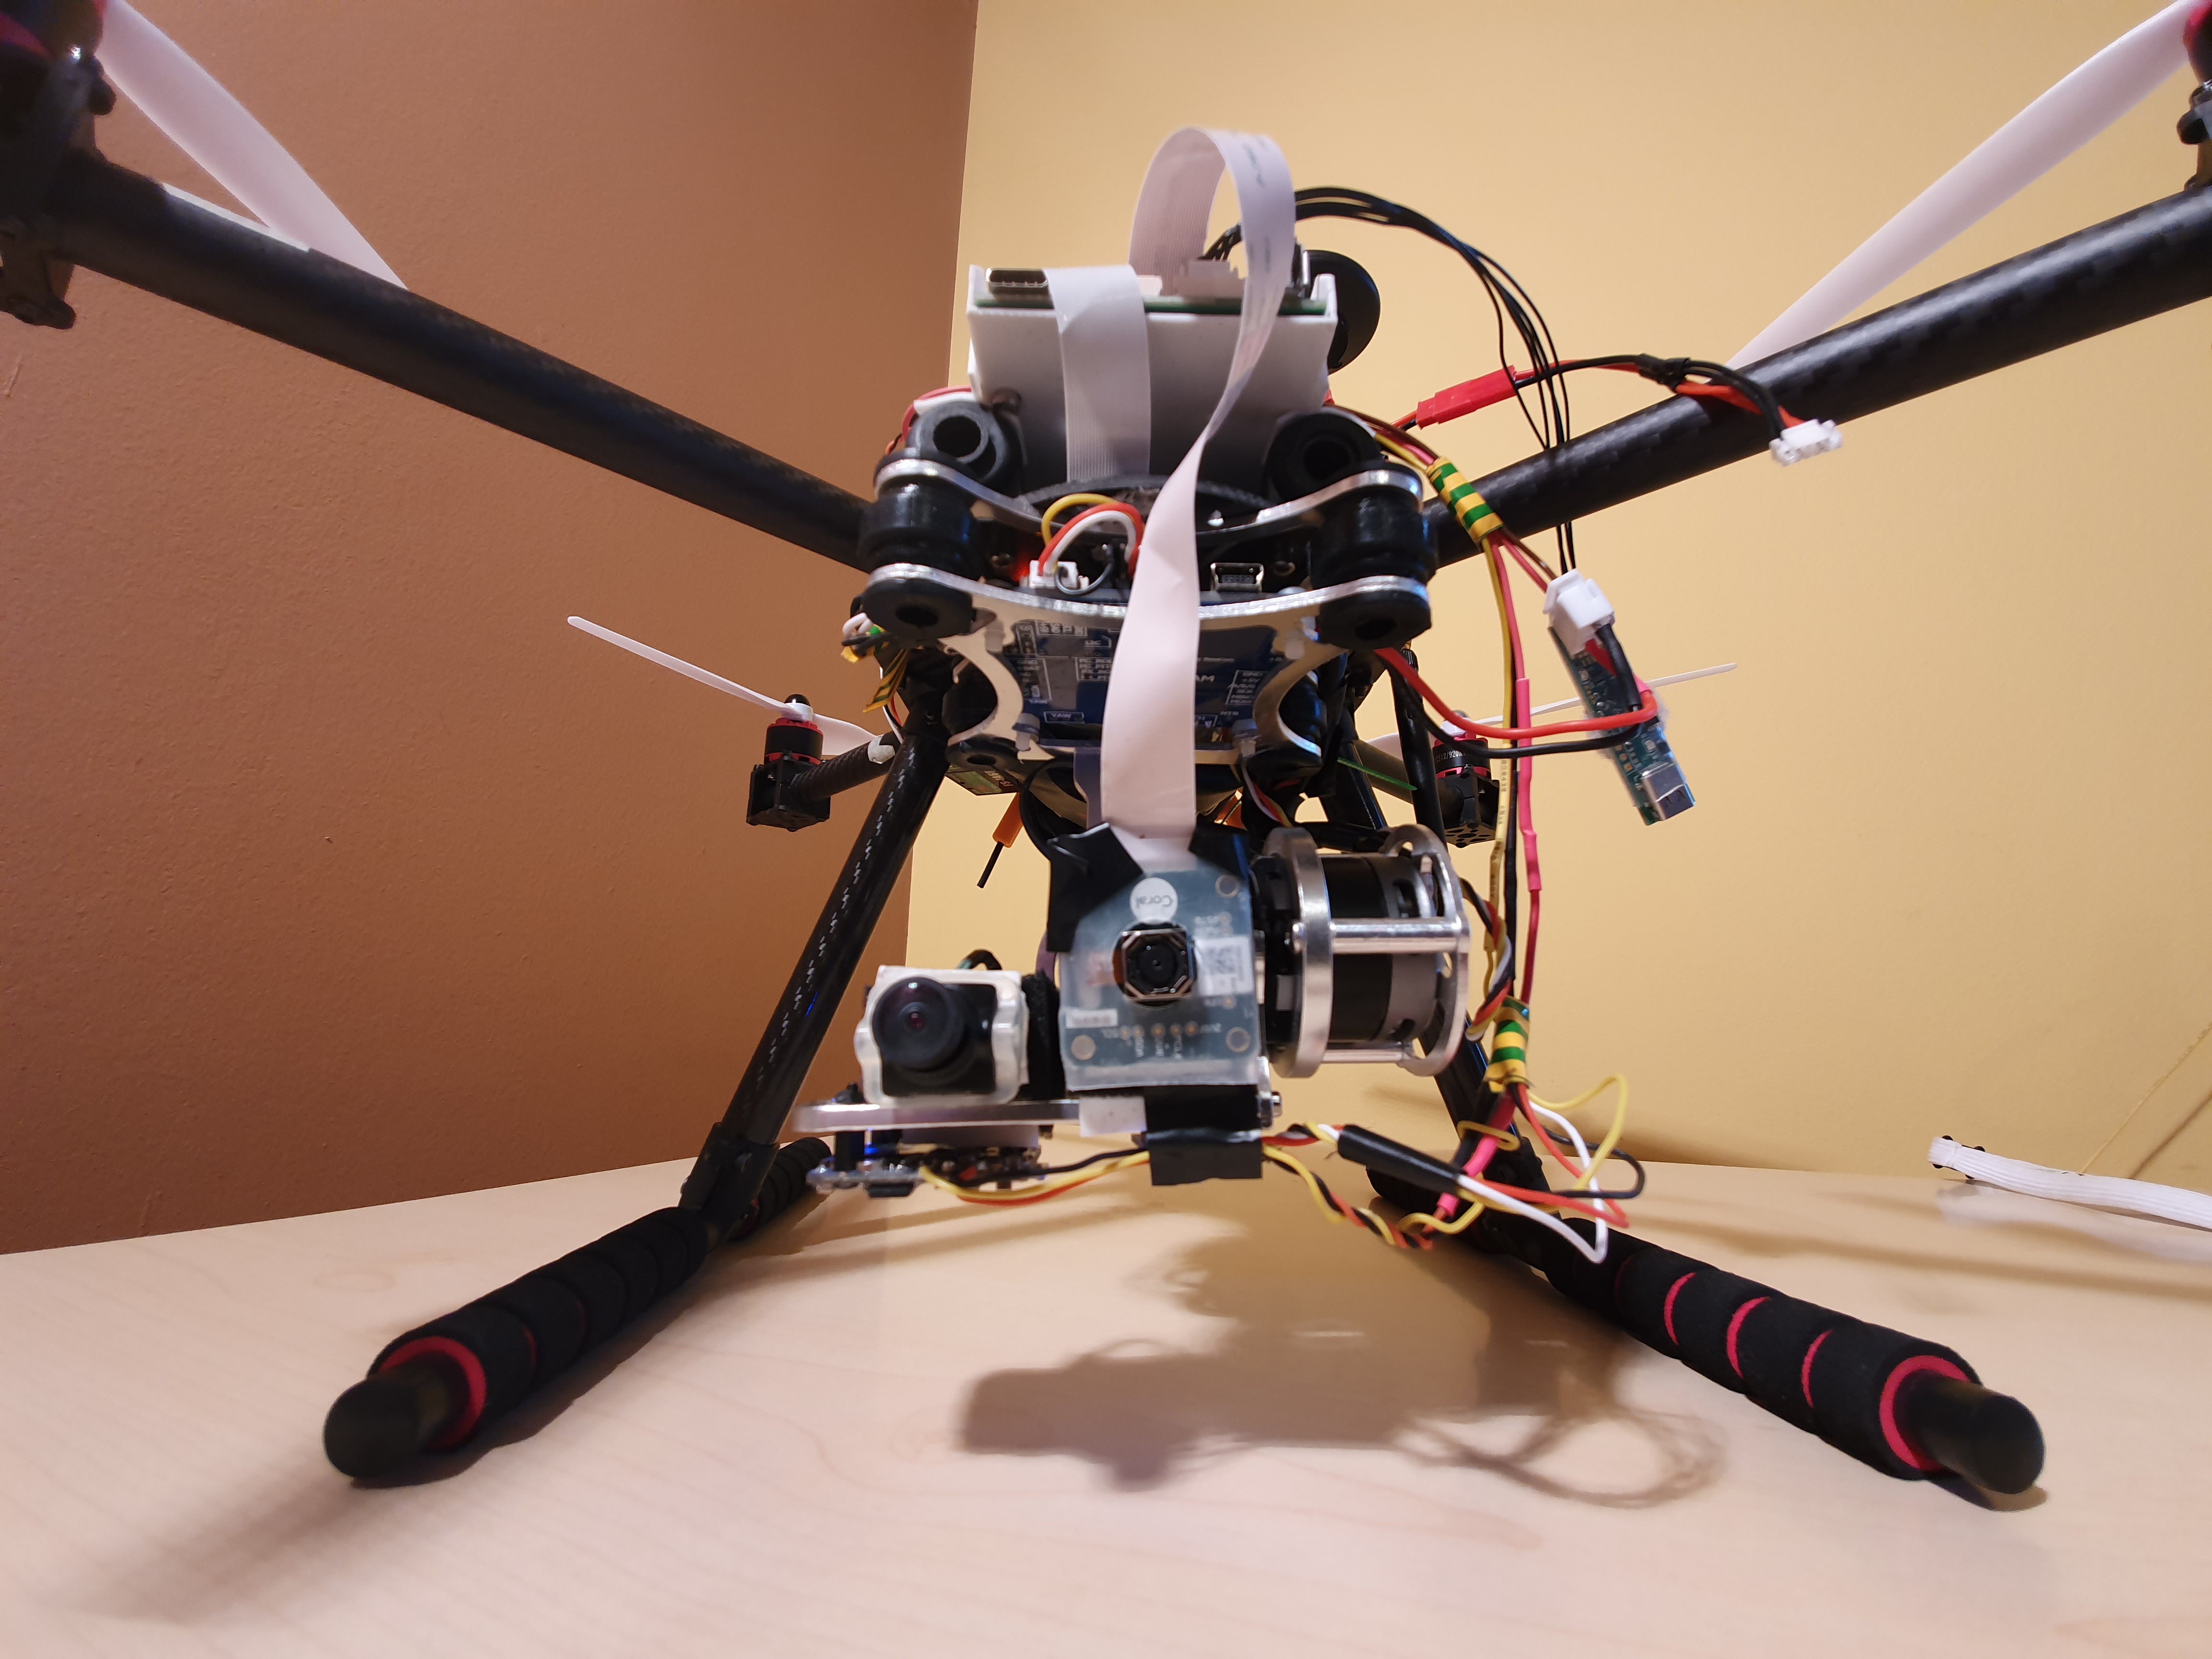
Here's a picture of the assembled drone kit.
The kit came with everything you need to assemble the drone except the battery.
Kit content:
https://nxp.gitbook.io/hovergames/userguide/getting-started/drone-kit-contents
All about the assembly process, SW and HW specs can be found here:
https://nxp.gitbook.io/hovergames/
After receiving the battery it was time to lift this cat up!
The picture above represents how dreams can be crushed in one day :)
But no worries we won't throw the gun in the cornfield for now (it's a Slovenian metaphor for not giving up).
After retrieving the log file from FMUK66 and posting it to PX4 Flight Review:
https://review.px4.io/plot_app?log=01492a35-3de6-43e8-8b1f-bd611339214d
we found out that someone didn't check the FMU motor output connections (in the assembly video instructions they said "connect the cables randomly for now and later check with software which outputs controls which motor" but yeahh....)
We got the new parts and the drone is in the air, steady as a hawk.
After some testing faith didn't want us to succeed. Why you may ask? After fooling around with the drone in the air, we emptied the Lipo battery under the Cut-Off voltage. We didn't monitor the battery voltage because we trusted the QGroundControl Low Battery Failsafe Trigger for some unknown reason it didn't work. So we tried to recharge the battery and there it happened. The Charger displayed an unknown Error13 message we couldn't find what it was for. But after some testing, we found out that one of the cell's voltage from the 4S LiPo Battery was much lower than others so we charged only that one with a homemade charging system shown in this picture
Before we could go to the next steps we needed to follow the following sections inside of the NXP Gitbook
- HG DRONE USER GUIDE
- HG DRONE DEVELOPER GUIDE
- PX4 USER GUIDE GIMBAL SECTION (Reading the whole PX4 User Guide won't hurt anyone :D)
Also take your time with NXP Gitbook NAVQ and MAVSDK.
2. Adding NAVQ and Video transmission and stabilizing systemThe RDDRONE-8MMNavQ "NavQ" is an Linux companion computer platform with Vision for Mobile Robotics based on NXP i.MX 8M Mini SOC.
https://nxp.gitbook.io/8mmnavq/
We also added 2 axis gimbal with FPV and Google Coral camera for object detection and live video transmission to the FPV Googles.
We decided to build an object detection script in the programming language Python. Where we used OpenCV2 and TensorFlow models to detect if a person is on a frame.
def classify_frame(tensorFlowNet, inputQueue, outputQueue):
    # keep looping
    while True:
    # check to see if there is a frame in our input queue
        if not inputQueue.empty():
            # grab the frame from the input queue, resize it, and
            # construct a blob from it
            frame = inputQueue.get()
            frame = cv2.resize(frame, (300, 300))
            blob = cv2.dnn.blobFromImage(
            frame, size=(300, 300), swapRB=True, crop=False)
            # set the blob as input to our deep learning object
            # detector and obtain the detections
            tensorFlowNet.setInput(blob)
            detections = tensorFlowNet.forward()
            # write the detections to the output queue
            outputQueue.put(detections)
Once we calculated the person is on the frame we calculated where is the mass center of the rectangle around the surface area of a person. The circle in the middle is representing the center.
Now imagine that person is moving right and left, at some point, it will happen that small circle is touching frame edges (colored rectangles), once this happens we will know that we need to move a drone in the detected direction.
def get_direction(circle_cord):
    global _MOVE_DETECTION
    # edges of frame
    ax = 125
    ay = 375
    bx = 525
    by = 375
    cx = 525
    cy = 125
    dx = 125
    dy = 125
    # circle cordinates (circle is on center of a rectangle)
    x = circle_cord[0]
    y = circle_cord[1]
    # edges boundries
    bax = bx - ax
    bay = by - ay
    dax = dx - ax
    day = dy - ay

    if ((x - ax) * bax + (y - ay) * bay < 0.0):
        if x < ax and y > ay:
            _MOVE_DETECTION = "LEFT-DECLINE"

        elif x < dx and y < dy:
            _MOVE_DETECTION = "LEFT-CLIMB"

        else:
            _MOVE_DETECTION = "LEFT"

    if ((x - bx) * bax + (y - by) * bay > 0.0):
        if x > bx and y > by:
            _MOVE_DETECTION = "RIGHT-DECLINE"

        elif x > cx and y < cy:
        _MOVE_DETECTION = "RIGHT-CLIMB"

        else:
        _MOVE_DETECTION = "RIGHT"

    if ((x - ax) * dax + (y - ay) * day < 0.0):
        _MOVE_DETECTION = "DECLINE"

    if ((x - dx) * dax + (y - dy) * day > 0.0):
        _MOVE_DETECTION = "CLIMB"
This approach would be sufficient if we would have the only 2D to cover.
For our project, we also needed to add a calculation for 3D space, we came out with an idea to calculate the surface area of each frame, this would give us a theoretical way of identifying if an object is going away or walking toward us. Therefore we implemented a function that calculated the average surface area of the first few frames, the result would be our reference point.
IF (reference_avg_surface - 10%) < current_frame_surface THEN drone.move("Forward")
ELIF (reference_avg_surface + 10%) > current_frame_surface THEN drone.move("Reverse")
ELIF (reference_avg_surface - 10%) < current_frame_surface AND ((reference_avg_surface + 10%) > current_frame_surface) THEN drone.move("HOLD")
With all those calculations we had all use cases covered:
Drone commands:
LEFT, RIGHT, REVERSE, FORWARD, HOLD, CLIMB, DECLINE
Special mimic movement from the master-user
The last command we wanted to capture from the video was to detect if the user raises both two hands in the air (initially we wanted to detect which arm was raised..., Unfortunately, the video stream from NavQ was too shaky for detection during the flight time.) Therefore we decided to use this special command ("both hands in the air") as a trigger for HAWK mode, which simply sends the drone in a circular path at a higher altitude level, that we can see our surrounding area through FPV goggles and camera.
Communication between NavQ and FMUK66with MAVLINK
We made communication between Python (object detection) script and C++ (controlling drone in directions). With that approach, we bypass the issue that MAVSDK - Python is still not supported for Aarch64v8 devices (our NavQ).
Due to lack of time, we simply added into Python script to always output detected direction into a text file (we know what you are thinking, but hey it is working 😃) At the same time also C++ code is reading command from that file and then forwards the command to FMUK66 with MAVSDK library.
4.Conclusion
What is working:
- drone flies and still functional after all crashes
- navq detects and locks a person, follows him (forward, backward, left and right) and recognizes gestures (for example left or right arm lifted in the air)
What we presented in this project is just the top of the iceberg. It took us a lot of blood, sweat and tears to get this project to this state, also many broken propellers. The only thing that was driving us was the fact that this simple application can be tweaked and worked on to the state that it actually can be used for saving someone's life. For everyone who made it till the last sections of this project we would like to ask you one final question in hope of motivating you to do something.
What is a more noble profession than helping others in need?


_UYaJQxEdN0.png)


Comments
Please log in or sign up to comment.