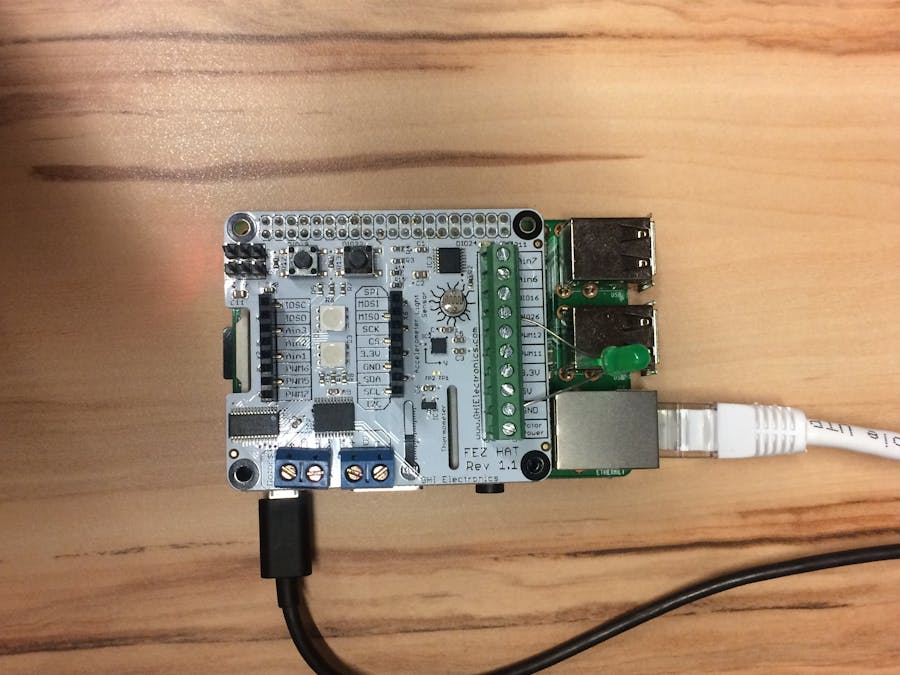
FEZ HAT, Windows 10 IoT Core and Azure IoT Hub
It is very basic application how to use sensors on FEZ HAT for Raspberry Pi and Azure IoT Hub. You can use this concept for projects using Raspberry Pi 2, Windows 10 IoT Core and Azure IoT Hub.
FEZ HAT
FEZ HAT is Raspberry Pi HAT with couple of sensors, H-bridge, LEDs and more. Here is full specification. We will use just temperature sensor in our sample to show basics of W10 IoT Core and Azure IoT Hub.
How to setup FEZ HAT
I expect you have Raspberry Pi 2 running Windows 10 IoT Core and FEZ HAT connected.
1. Create Windows UWA
2. Install FEZ HAT library GHIElectronics.UWP.Shields.FEZHAT using NuGet
3. Configure remote debugging
4. Add library reference to your code
using GHIElectronics.UWP.Shields;
Now you are ready to work with FEZ HAT.
Azure IoT Hub
Azure IoT Hub allows you to managed devices and get messages from devices or send messages to devices. To process messages, you will use your own application or another Microsoft Azure service called Stream Analytics. I will describe Stream Analytics later. All services should be in same resource group.
1. Login to Microsoft Azure Portal and switch to Azure Preview Portal
2. Click New and choose Internet of Things – Azure IoT Hub
3. Choose Name, Pricing and Resource Group. You can have one free tier.
Your IoT Hub is ready now.
Data Storage
There more ways how to process data. We will use very simple one. We put all data to Azure Table Storage.
Azure Table Storage
1. Click New and choose Data + Storage – Storage Account
2. Choose Name and same Resource Group where you put Azure IoT Hub.
Now is your storage ready.
How to put it together
We have device connected to Azure IoT Hub on one side and Table Storage on another side. Stream Analytics service can take data from Input, process it (Query) and send it to Output. There can be more inputs and outputs.
1. Click New and choose Internet of Things – Stream Analytics Job.
2. Chose Name and Resource Group
3. Configure Input to use your Azure IoT Hub. You find all keys in Azure IoT Hub settings.
4. Configure Output to use Table Storage. You find all keys in Table Storage settings. Critical is PartitionKey and RowKey. You must use field name of object you will send in JSON format from device. If you check source code of example it will be clear to you.
5. Create Query to read data from input and send it to output with no change.
6. Start Job
Now is your Cloud infrastructure ready and working.
Working with device
You must register every single device to get access key. It is recommended do not share one access key for more devices. Easiest way how to register device is to use sample application DeviceExplorer. You will need iothubowner connection string to manage your devices.
Now you can start coding.
Simple application sending temperature to Table Storage
1. Install Microsoft.Azure.Devices.Client library using NuGet
Source code
If you run
example code on Raspberry Pi 2 with Windows 10 IoT Core you can use DeviceExplorer
tool to check messages and you should see data in Table Storage.


Comments