Introduction
Ciao Guys!
In this tutorial we will create a SUPER Mini ITX Build with The Most Powerful Maker Board Ever and Nvidia GeForce RTX 2080Ti.
Step 1 - UDOO BOLT SETUP
Open the case
Remove the Power supply cover from the case
Take UDOO BOLT with the RAM already mounted
Optional: Mount the Wifi /BT Adapter in the lower M.2 slot and screw it in place
Take the M.2 key M to PCI-E X4 Adapter and connect it to the PCI-E Flat Riser
Connect the M.2 to PCI-E X4 Adapter in the NVMe slot of the UDOO BOLT and screw it in
Take the M.2 SSD and connect it into the last M.2 slot available on the UDOO BOLT
Take the 3D Printed Support with spacers at least 1 cm and screw the UDOO BOLT on it.
Step 2 - MINIITX CASE SETUP
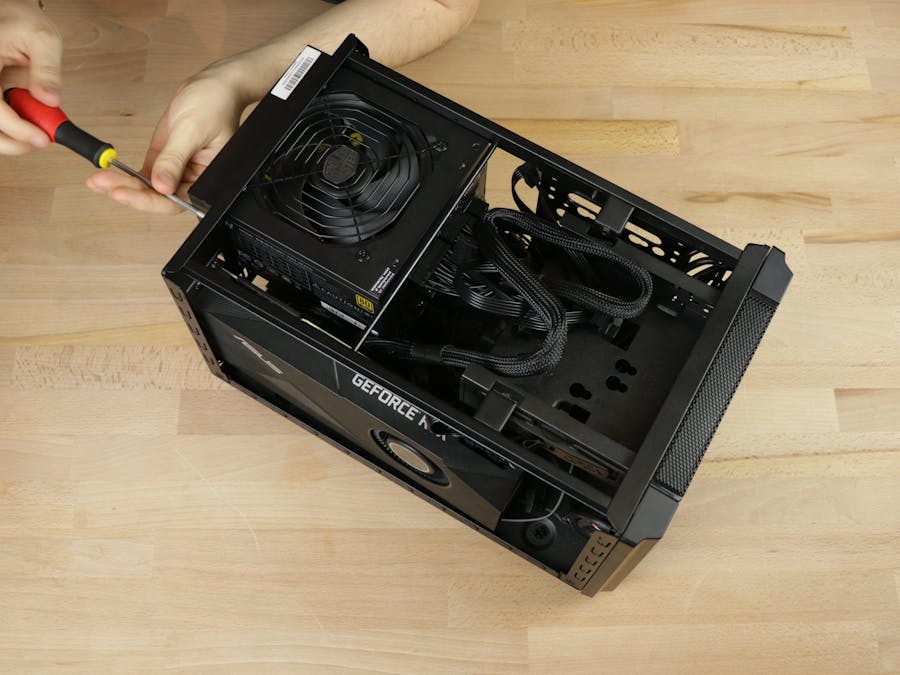
Take the Power Supply cover we removed in the Step 1 and screw it on the Power Supply
Mount the UDOO BOLT into the Case using the 3D Printed Support putting the HDMI and Ethernet side on the back of the Case
Take the PCI-E 90° Riser and connect the Nvidia GeForce RTX 2080Ti
Take the Nvidia GeForce RTX 2080Ti and put it inside the case connecting the PCI-E 90° Riser to PCI-E riser coming from the UDOO BOLT
Screw in the Nvidia GeForce RTX 2080Ti in the Case
Optional: If you want some extra storage you can connect a SSD 2.5" SATA3 into the case
Take the Power Supply and mount it into case
Bridge the 2 pin of the 24 pins Power Connector to jump the Power Supply.
Connect the Power Cable to the M.2 to PCI-E adapter
Connect 2 Power Cables to Nvidia GeForce RTX 2080Ti
Optional: If you want to connect the Front Panel of the case on the UDOO BOLT you can read the dedicated section on the User Manual (page 33)
You can now close the lead of the case
Connect the Power Cable to 750 W Power Supply
Connect the 19V 65W AC Power Adapter to UDOO BOLT
Optional: If you want a single PSU you can use a "DC/DC 12V Step Up to 19V" to power UDOO BOLT with the 750W Power Supply.Enjoy your new SUPER Mini ITX Build!


Comments
Please log in or sign up to comment.