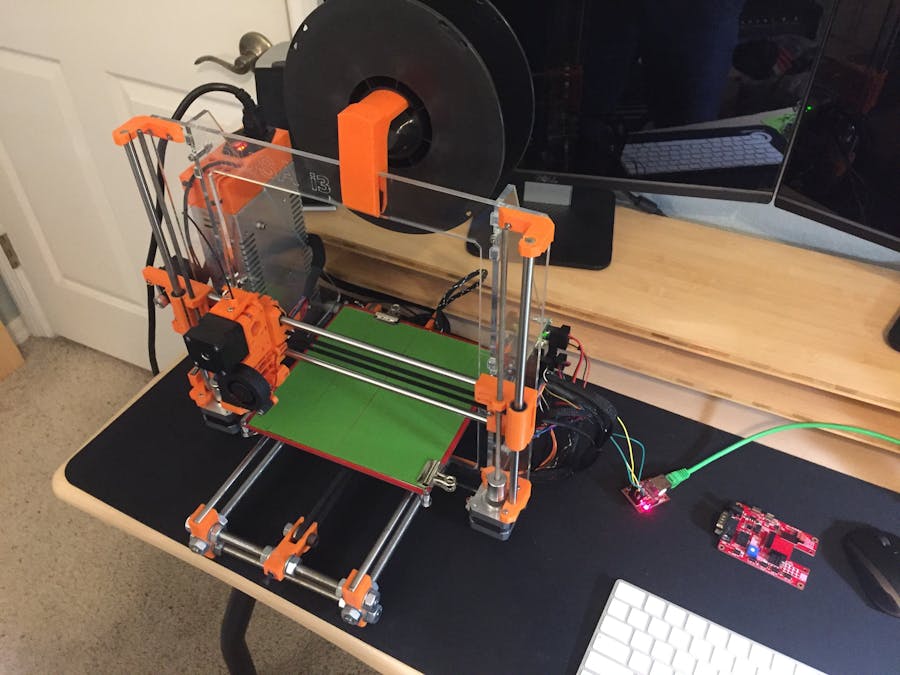
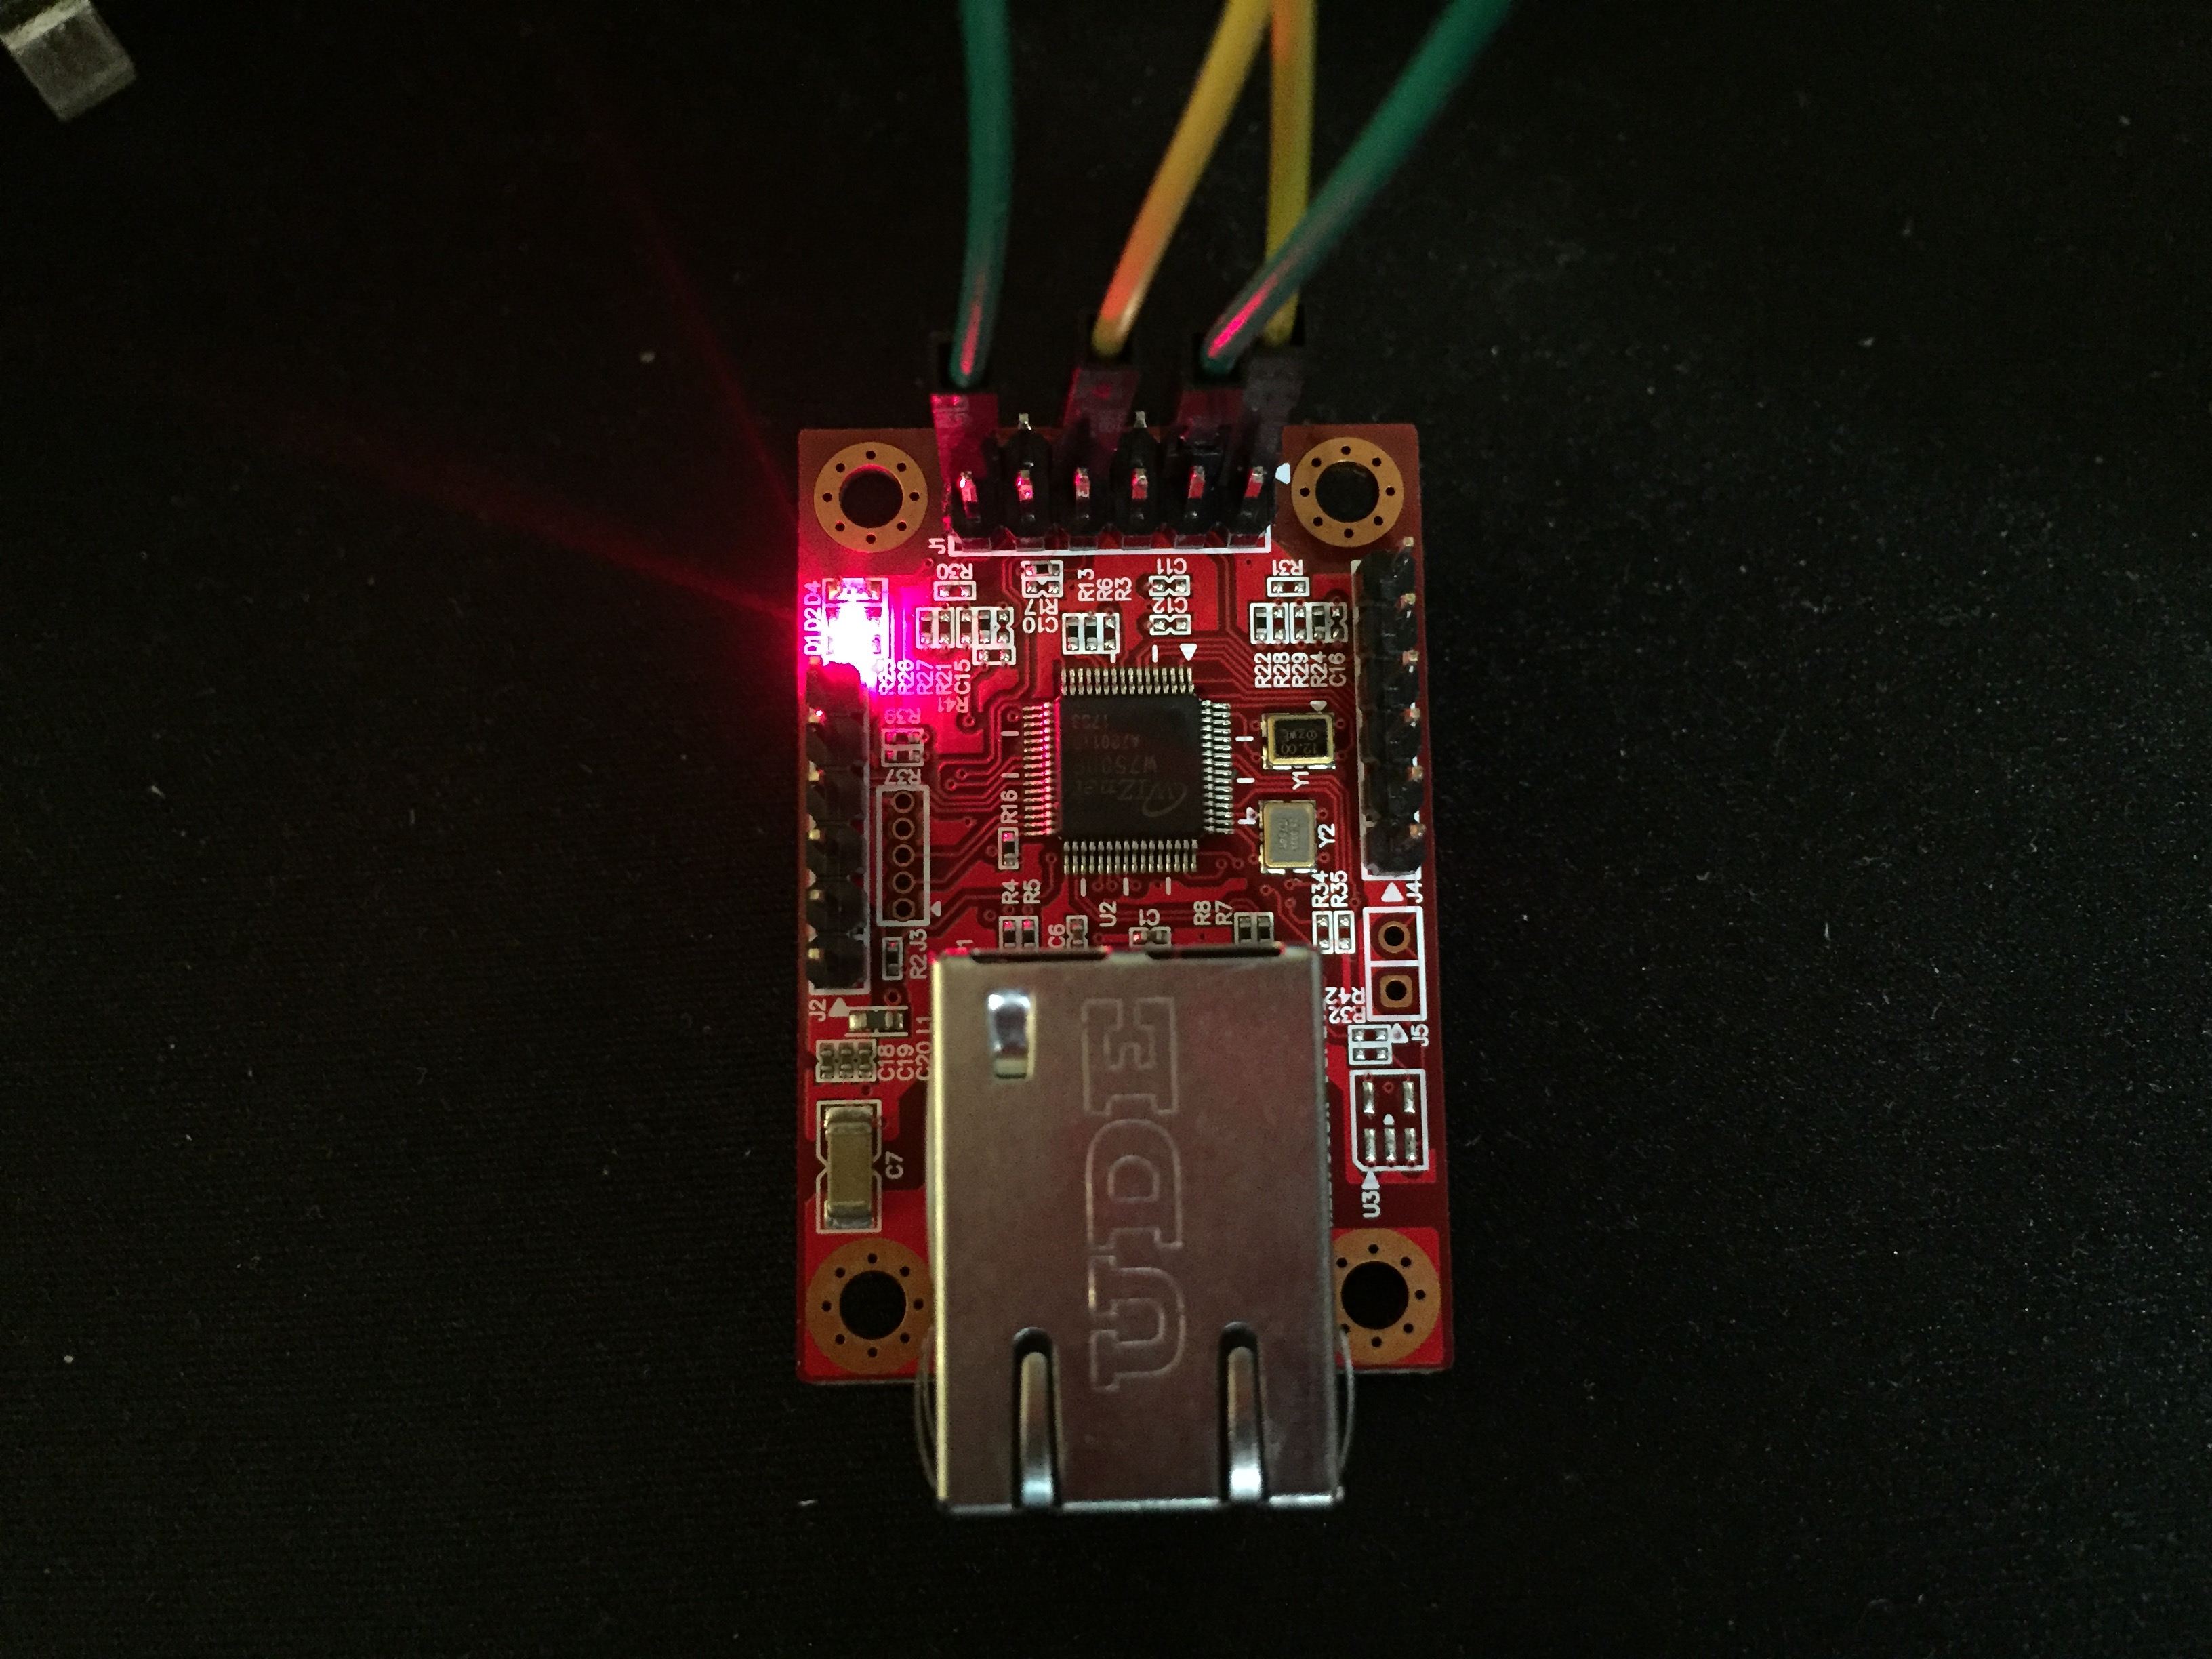
Using a WIZnet WIZ750SR you can easily print from any serial-based G-code sender. Since the virtual COM port software provided by WIZnet creates a COM device, any existing 3D print sending software will be compatible without modification.
In this demo, an Arduino-based controller (Arduino RAMBO) will connect to the WIZ750SR using 5V logic. If you have a board that uses 3.3v logic, you may need a logic level converter.
Getting StartedFirst, check out the getting started guide on WIZnet's wiki: http://wizwiki.net/wiki/doku.php?id=products:wiz750sr:gettingstarted:start
You will need to install:
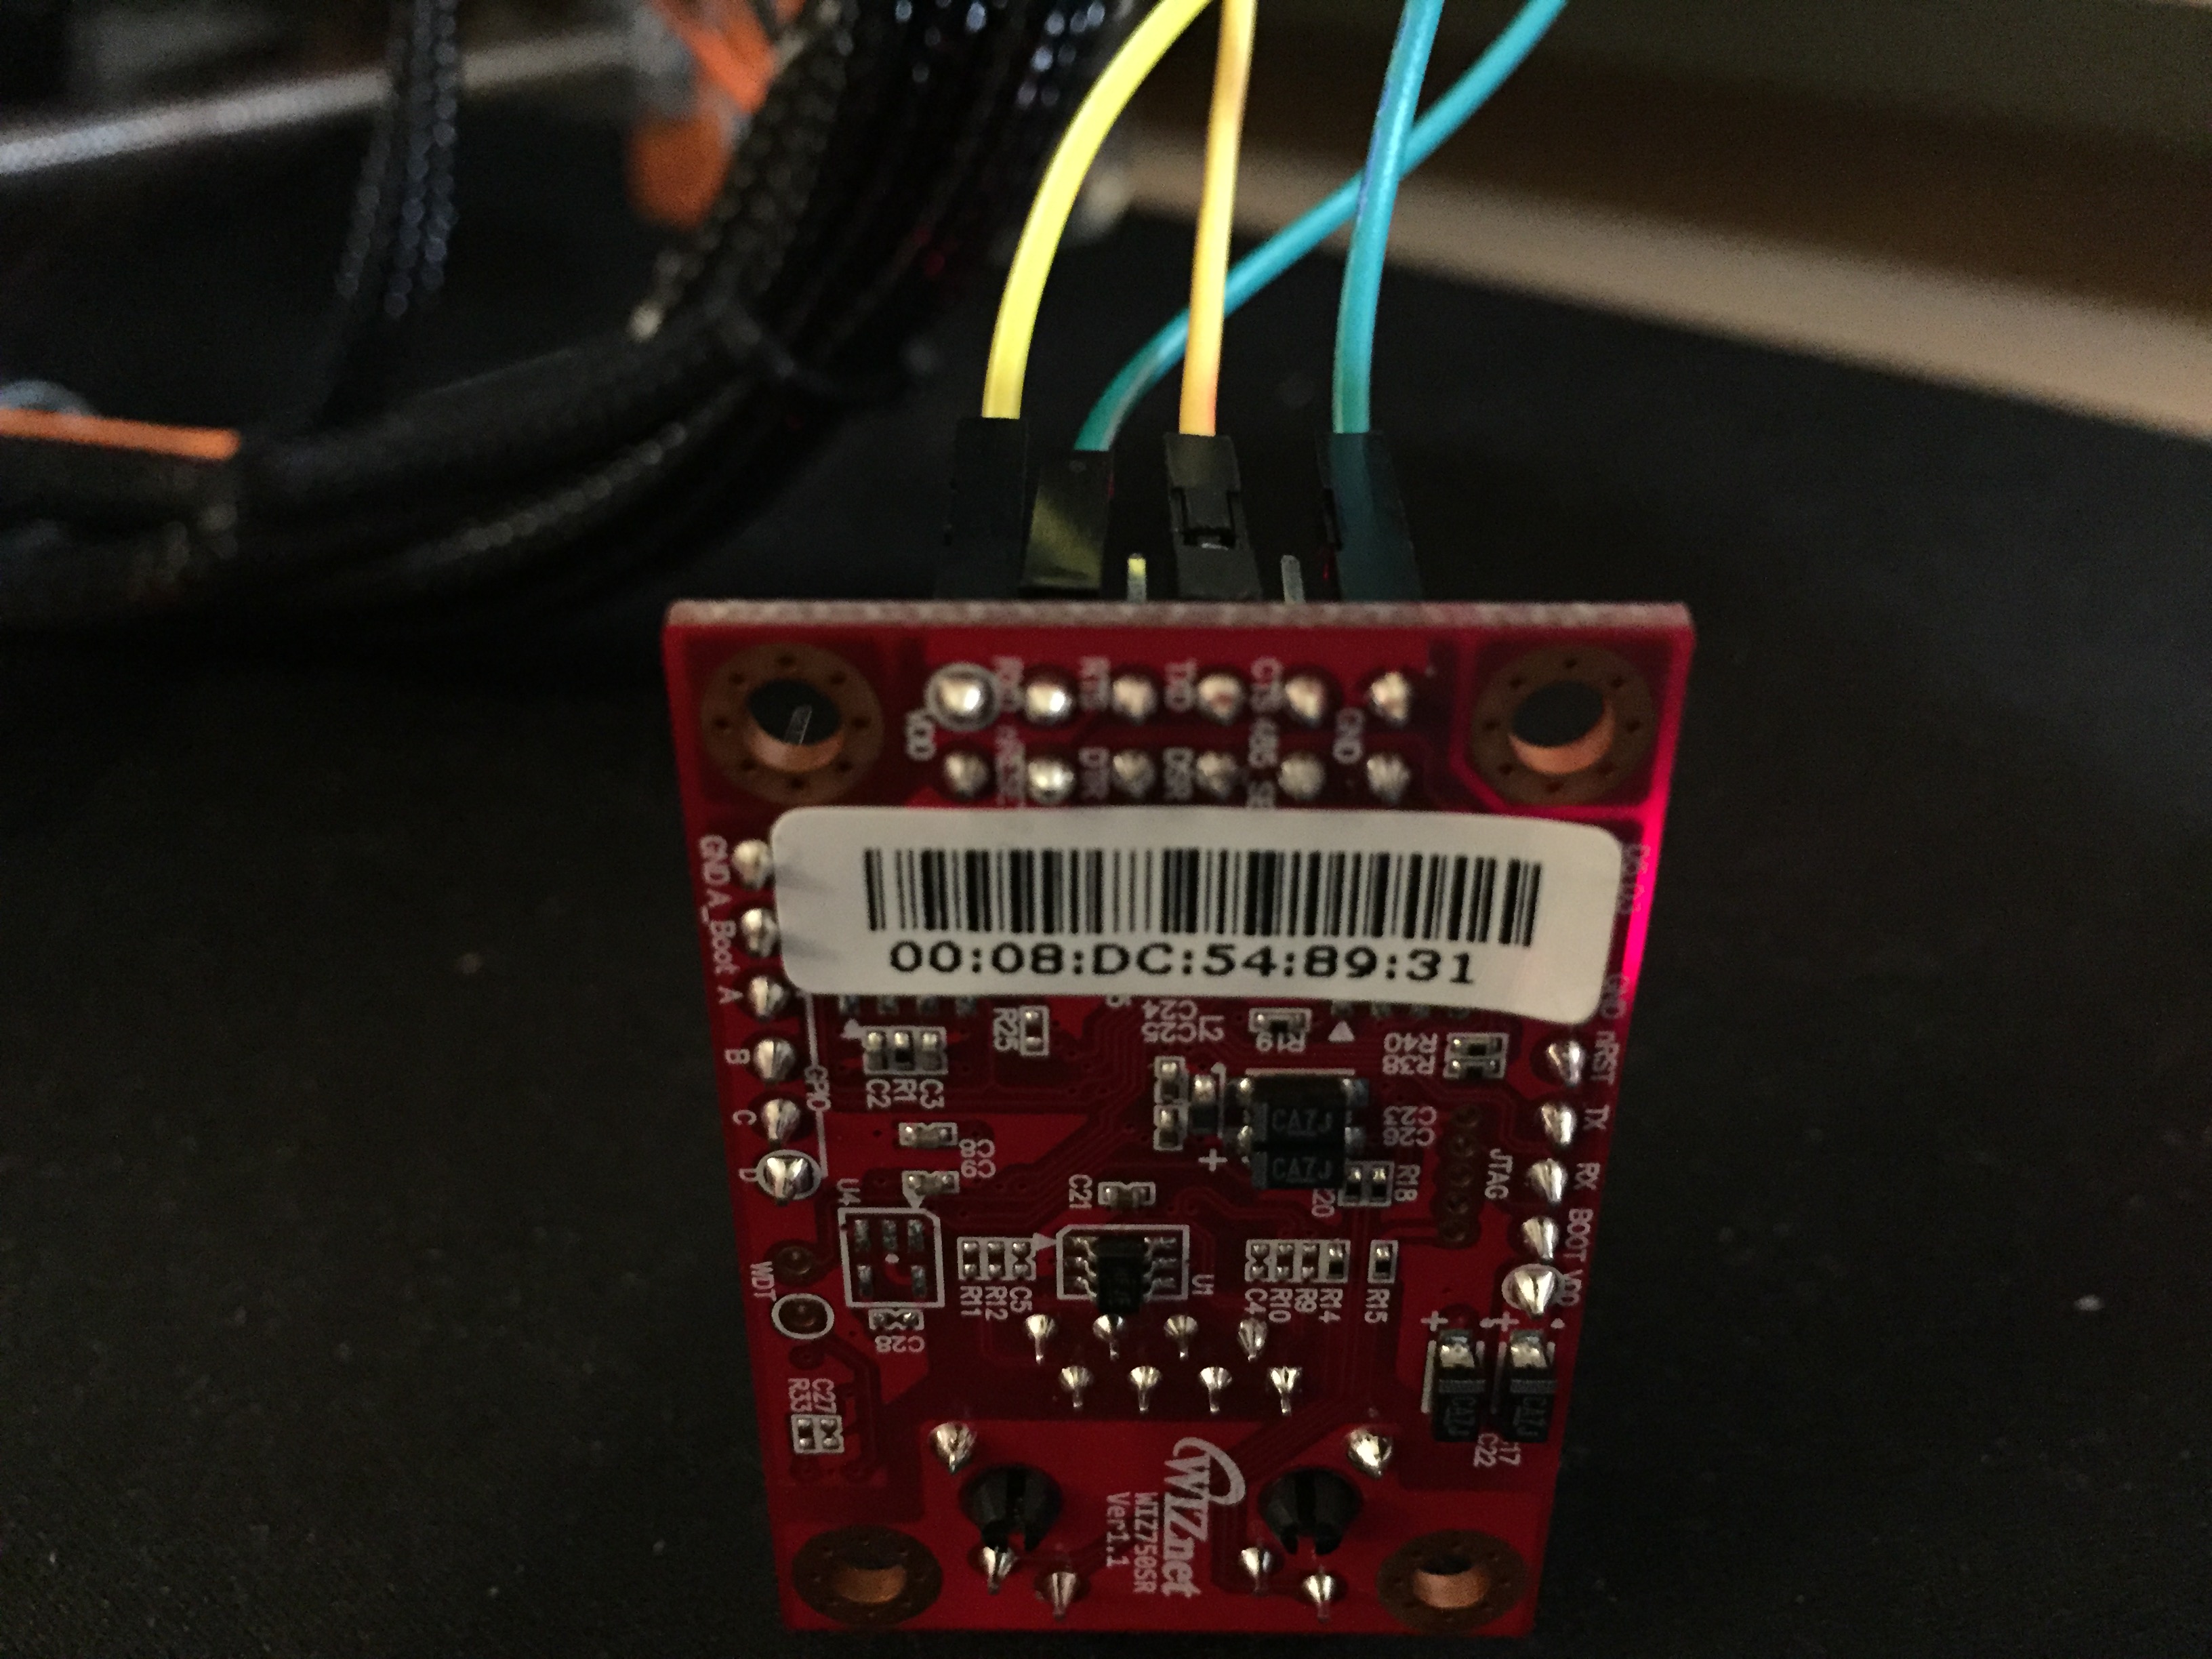
To install the VSP, you will need the MAC address of your WIZ750SR, which can be found on a sticker directly on the module.
WiringIdentify your printer board's RX, TX, GND and 5V pins and connect to the labeled pins on the WIZ750SR module (J1 Header).
In this example I am using a RAMBO and used the Open Source schematic to locate the pins.
If you are using a RAMPS board, this diagram shows how you can connect a serial device.
ConfigurationIn this configuration, the WIZ750SR will be configured as a DHCP client. This will allow your device to be connected to your existing local network and not require a direct wired connection to your machine. Also you will only need to enter its IP address on your host machine and you will not have to reconfigure the WIZ750SR when changing networks.
Once you have your eval board up (connected to local network) and discovered by the configuration tool, enter the following settings:
- IP: DHCP (get IP from your router)
- Baud rate: Match your printers speed
- Data bit: 8 (standard for marlin firmware)
- Parity: None (standard for marlin firmware)
- Stop bit: 1 (standard for marlin firmware)
- TCP server (your computer will connect to the WIZ750SR as a TCP client)
Once applied, your WIZ750SR will receive an IP address from your router. You may have to use your router's admin screen to find this IP address. If you use the IP Static option, then you will not have to use the router interface, but remember the setting.
Now create the virtual COM port using WIZ VSP. Select the Client option (since we selected TCP server above), and choose a COM port number. Finally enter the IP address of the WIZ750SR.
Note: From my experience, the client will not show up as connected until both a software application connects to the COM port, and the WIZ750SR receives the connection.
Once created you should see the entry in the Windows Device Manager.
Once your application connects to the COM port (in the example above COM60), you should be able to use the serial connection.


Comments
Please log in or sign up to comment.