AgroBlue
When BLE meets agronomy.
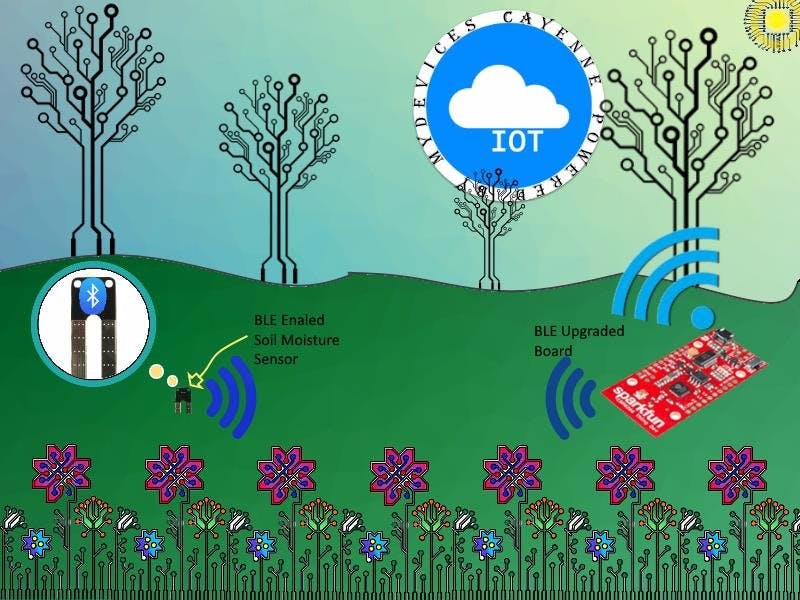
My idea is very simple yet ambitious. Imagine a fleet of BLE enabled soil probes working in harmony that can sense the environment and be able to communicate with a central unit. This central unit will be responsible for collecting data for analysis.
This proof of concept is the understanding of how the combination of all sensors reading correlate to each other, to maximize efficiency and increase crop yield in the open. Battery longevity and cost are my main goals, let's hope it will work out.
1st Step:(PCB)- Get your board fabricated! The Eagle files are provided as-is, without warranty of any kind so use it at your own risk! I used https://oshpark.com/ for my fabrication shop because I heard so many positive reviews. I initially opted for the regular service which takes 3 weeks but they upgraded me for free because they had free room on one of our Super Swift Service panels, So thank you OSH Park.
If you've gotten yourself some HM-10 clones, fear not. The following is an effective way to upload the original firmware to the module. We are going to be using v540. the original files can be found here: https://github.com/RedBearLab/CCLoader.
- Load the CCLoader Arduino sketch to the UNO board.
- Wire the pins:
- Use CCLoader.exe to load the CC2541hm10v540.bin to the UNO board and the board will burn the firmware to the BLE Mini.
a) Slave: Upload an empty sketch to Aruidno and hookup the sensor module with it like this:
HM-10 Arduino
TX<---->TX
RX<---->RX
GND<---->GND
VCC<---->3.3V
Open the serial and type the following command to switch the mode of transmission to remote:
AT+MODE2: Remote Control Mode
AT+ROLE0: Peripheral Mode (Default)
AT+PWRM0: Auto Sleep
AT+ADVIF: Set the advertising interval to 7s (MAX)
AT+NAMEXXX: Where XXX is your preferred name
AT+BAUD4: Set the baud rate to 115200
AT+RESET: Restart module
b) Master Hook up the BLE Module Breakout board the same way as the Sensor per below and type the following commands:
On master side:
AT+RENEW: Restore all setup value to factory setup
AT+IMME1: Only respond the AT Commands
AT+ROLE1: Central/Master Mode
AT+NAMEXXX: Where XXX is your preferred name
AT+BAUD4: Set the baud rate to 115200
AT+RESET: Restart module
c) Upgrade firmware on genuine BLE module (Optional)
AT+VERR?: Will give you the version For example, you need to be at least at V526 for analog support.
HM-10 is designed and made by JNHuaMao Technology Company More info on the upgrading process, visit http://www.jnhuamao.cn/
4th Step: (Getting the ESP8266 Dev Ready)1- Make sure you hookup the BLE Central/Master with the ESP8266 per below because we will be using SoftSerial library.
2- Use your Cayenne/Wifi credentials and upload main.ino located in Arduino/Code folder to the ESP8266. Open the serial and set it the baud rate to match your BLE Central.
3- Alternatively, you can use CentalBLEConfig.ino for debuging purposes. The code echos the serial input to the BLE and vice versa.
4- I found hooking up a lipo battery to the Slave BLE module works best because I found 3.3V is unusually lower for this kind of circuit. Make sure you don't hookup the cell and the lipo at the same time. There is no reverse current protection.
5- Water your plan and you should see some reading coming through your cloud interface through channel 0.
I thank all the sponsors that made this contest possible. Special thanks to Sparkfun for their gratuitous dev board. I made mamy mistakes a long the way but the experience and sense of accomplishment was beyond what I imagined. I hope my work can pave the way for a continuation for finding inovative ways to improve on my design to make the world a better place. Res stands for resistive, the probes can corrode very easily which will require replacement. As is this iteration can only be used indoor. I've done current consumption readings: Sleep mode: 20uA Advertising: 80uA Connected: 8mA Moisture Sensing: ~100mA I found out very inefficient compared to capacitive sensing which can consume about 5mA while sensing. Very interesting indeed.
Also, to harness the full power of any BLE module is to be able to program it myself. Most of the advanced BLE modules use a flavor of ARM Cortex M processors, since they are engineered for maximum power efficiency, it makes them the rightful candidates for my next project which will be called AgroBlue-Cap. For outdoor usage, I highly recommend you apply silicone conformal coating because the module as is can be easily damaged by environmental elements. Ideally, I would enclose the circuitry in a water/moisture proof box and use an external antenna.
Tidbits:- Sparkfun originally shipped the wrong Wifi module. They later shipped the correct one, since it was a mistake, they let me keep both.
- OshPark upgraded my order to the express service for free which costs double and take a lot less, so thank you OshPark.
- The datasheet provided by JNHuaMao Technology Company has a serious mistake. PIN3 is listed as ADC compatible while it wasn't. So bonded PIN4 to it for immediate fix, the schematics has been corrected.
- Since I was rushing to get the project out, I accidently exposed my cayenne/wifi credentials. A fatal mistake but I got a good laugh at it, so always double check and don't rush.
- I am a first timer on all levels, contest, github, eagle, board fabrication, smd soldering, youtube publishing and video recording. Quite a story there.


_3u05Tpwasz.png?auto=compress%2Cformat&w=40&h=40&fit=fillmax&bg=fff&dpr=2)
Comments
Please log in or sign up to comment.