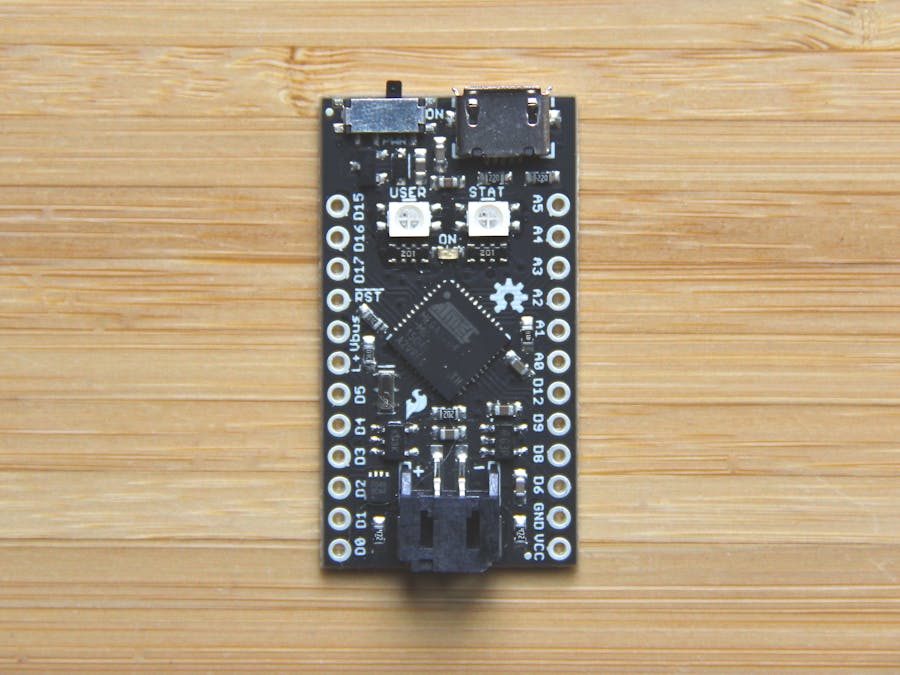
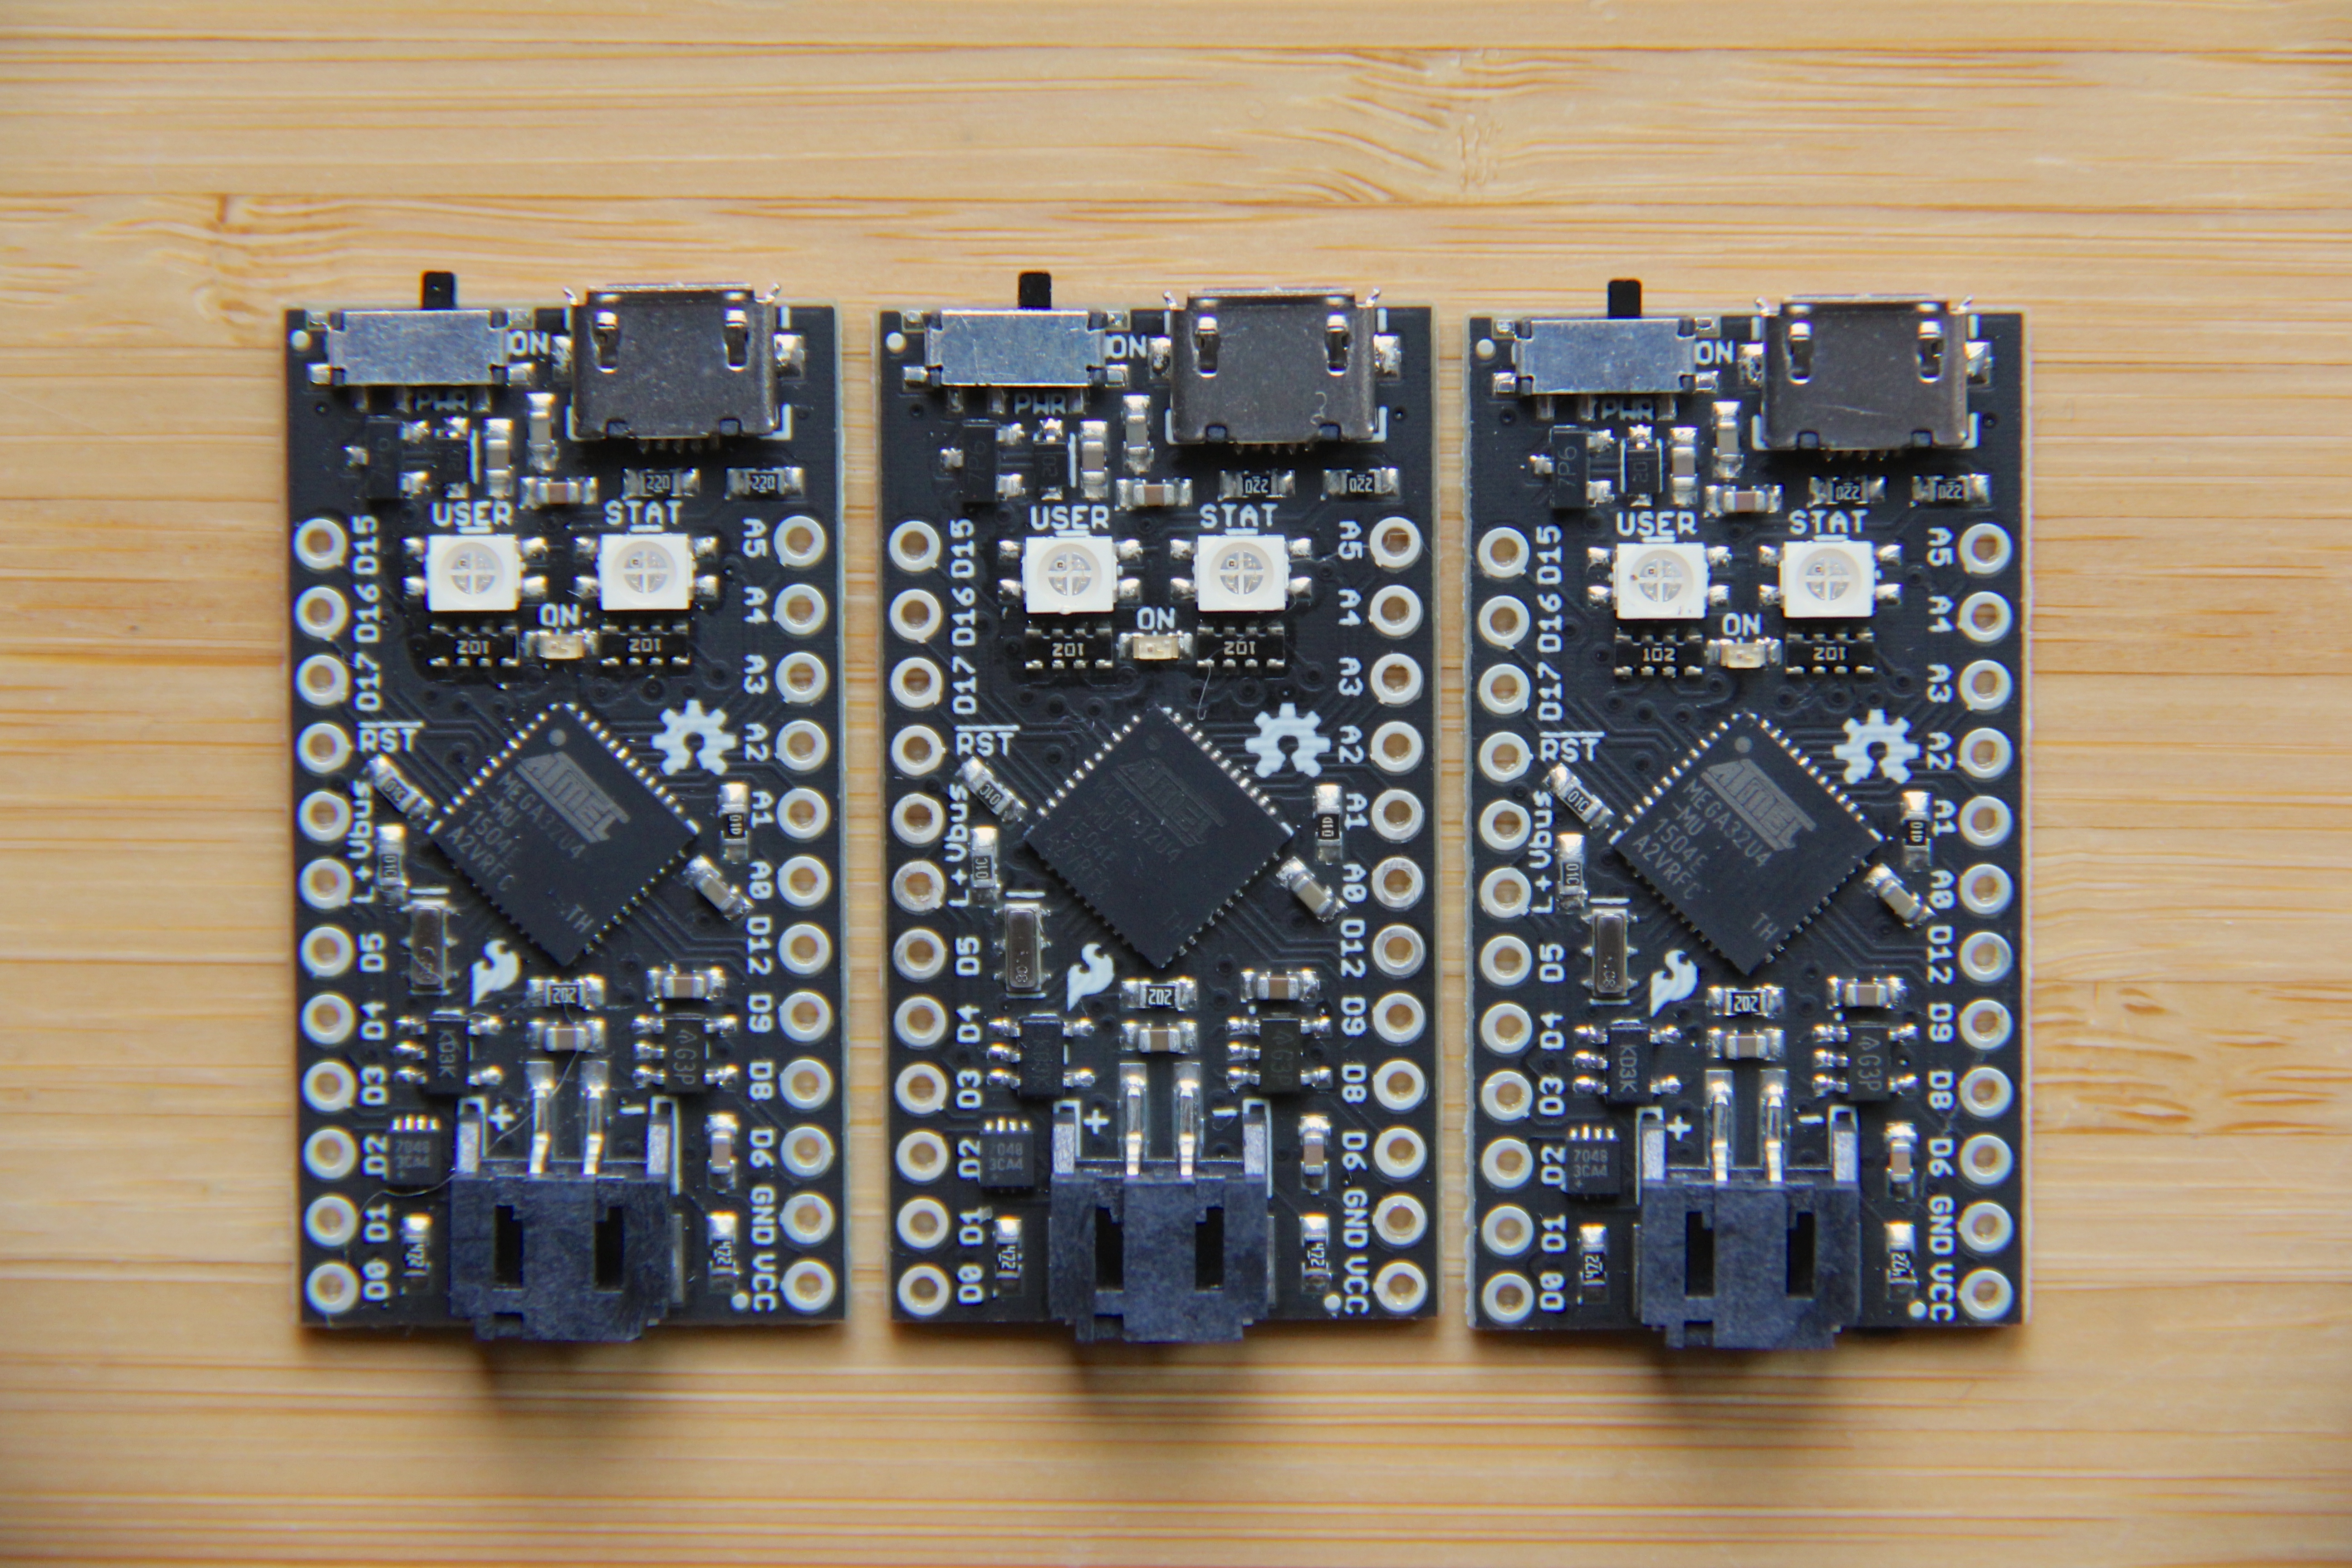
Hello!
We'll teach you how to get your Qduino Mini up and running in no time - and show you how to use the Arduino library to read the battery fuel gauge and control the built-in RGB LED. This tutorial is for beginners and advanced users - if you just received your board and want to get started, start at step 1. If you have the Arduino IDE installed & the board files installed, skip to the reference at the bottom of the page.
Step 1:Download the Arduino IDE from arduino.cc & follow the installation guide.
Step 2:
Click Arduino > Preferences - then add in the URL of
https://raw.githubusercontent.com/sparkfun/Arduino_Boards/master/IDE_Board_Manager/package_sparkfun_index.json
to the box titled "Additional Boards Manager URLs" below:
And click OK!
Click Tools>Boards>Board Manager... Wait for the board manager to load, and scroll down to the bottom to 'Qtechknow Boards'
Click install, and wait for the board files to download. When complete, click close, and move on to Step 3.
Step 2.5 (Windows users only) - Signed driver
Navigate to \Arduino15\packages\Qduino Mini\hardware\avr\1.0.6\ and install the signed drivers like below:
and click install for the .inf file!
Step 3:
Start by opening the rgbLED demo sketch (program that runs on the Qduino Mini) in the Arduino IDE - click File>Examples>Qduino>rgbLED>rainbow & plug the Qduino Mini into your computer with a microB USB cable.
Click Tools > Boards > Qduino Mini. Make sure that you DO NOT choose Arduino Leonardo in the Boards menu, as you will need to re boot load the Qduino!
Then click Tools > Port > /dev/cu.usbmodemXXXX where XXXX is any string of numbers - make sure that it is not anything similar to /dev/cu.Bluetooth
Hit the right arrow at the upper-left hand corner of your screen, to upload the program to your Qduino Mini!
Reference:
There are two parts of the Arduino Library, one for the fuel gauge, and one for the RGB LED - make sure that you include both the Qduino.cpp / .h library at the top of your code, and the I2C library as well.
RGB LED syntax:
- "qduino x" initiates the library, where x is the prefix used to call all other functions
- "x.setup()" sets up the library, declare this once in the setup loop -> since the RGB LED is common anode, this code declares it as an output as well as turns it off
- "x.setRGB(int r, int g, int b)" can set the RGB LED to specific red, green, and blue values, in-between 0 and 255.
- "x.setRGB(String color)" can set the RGB LED to a specific color, without having to use specific values for each pin. There are preset colors that you can use in the syntax of "x.setRGB("red");" - these are the following options: red, green, blue, cyan, pink, purple, white, yellow, orange. Make sure that you use a pair of "" and have all lowercase letters.
- "x.rainbow(int duration)" can fade the RGB LED into a rainbow pattern - int duration is a number between 1 and 5, to declare how fast the LED should cycle
- "x.ledOff()" turns the RGB LED off
Fuel Gauge Syntax - the built in alert interrupt is still experimental, please email or tweet us if you have any tips to make it better! For advanced users who want to tinker around with the fuel gauge alert, the interrupt that is internally connected to the alert pin is D7.
- "fuelGauge y" initiates the library, where x is the prefix used to call all other functions
- "int y.chargePercentage()" is a number between 1 and 100, used to find the % of charge left in the battery
- "y.setup()" sets up the library, and turns the fuel gauge on as well as initiates it.
- "y.reset()" resets the battery fuel gauge
- "y.setThreshold(uint8_t level)" sets the alert level for the battery fuel gauge, anywhere from 0 to 100 % - this isn't one hundred percent accurate, and is an experimental function
- "int y.currentThreshold()" is the alert level threshold that can be set by the y.setThreshold function above
Please email us if you have any tips or comments at info@qtechknow.com, or tweet us at @Qtechknow


Comments
Please log in or sign up to comment.